A camera’s built-in flash isn't always a great feature. It can create images that appear flat, unnatural, overexposed, and contain harsh and unwanted shadows.
With that being said, photographing in low light situations without a flash can be a challenge if you don’t know what you’re doing and can result in photos that are too dark, blurry, or grainy.
Lucky for you, there are several things you can do in order to get excellent shots in low light situations without the need for your camera’s flash.
1. Increase ISO Settings
Adjusting the ISO on your digital camera will determine how sensitive your camera’s image sensor is to light. For example, if you increase the ISO to 400 or 800, you will allow more light to reach the camera’s sensor than if the settings were at ISO 100 or 200.
So then, why not have higher ISO settings all the time? A lower ISO will produce sharper images, and the higher the ISO, the more image noise (grain) will be present. For low light photography, try setting your ISO to 800 and adjust accordingly.
If you end up capturing a photo you love but it includes a lot of image noise, all is not lost! Try printing it on a product that has a unique and artistic feel to it, like a Wood Print or a Classic Silver Metal Print.
Because your photo is printed directly onto the wood or brushed aluminum, the raw material your photo is printed on will show through in areas where the image includes white or low saturation, helping to soften the imperfections in the photo.
Related: How to Print Low Resolution Photos and Get Results You Love!
2. Use Slower Shutter Speeds
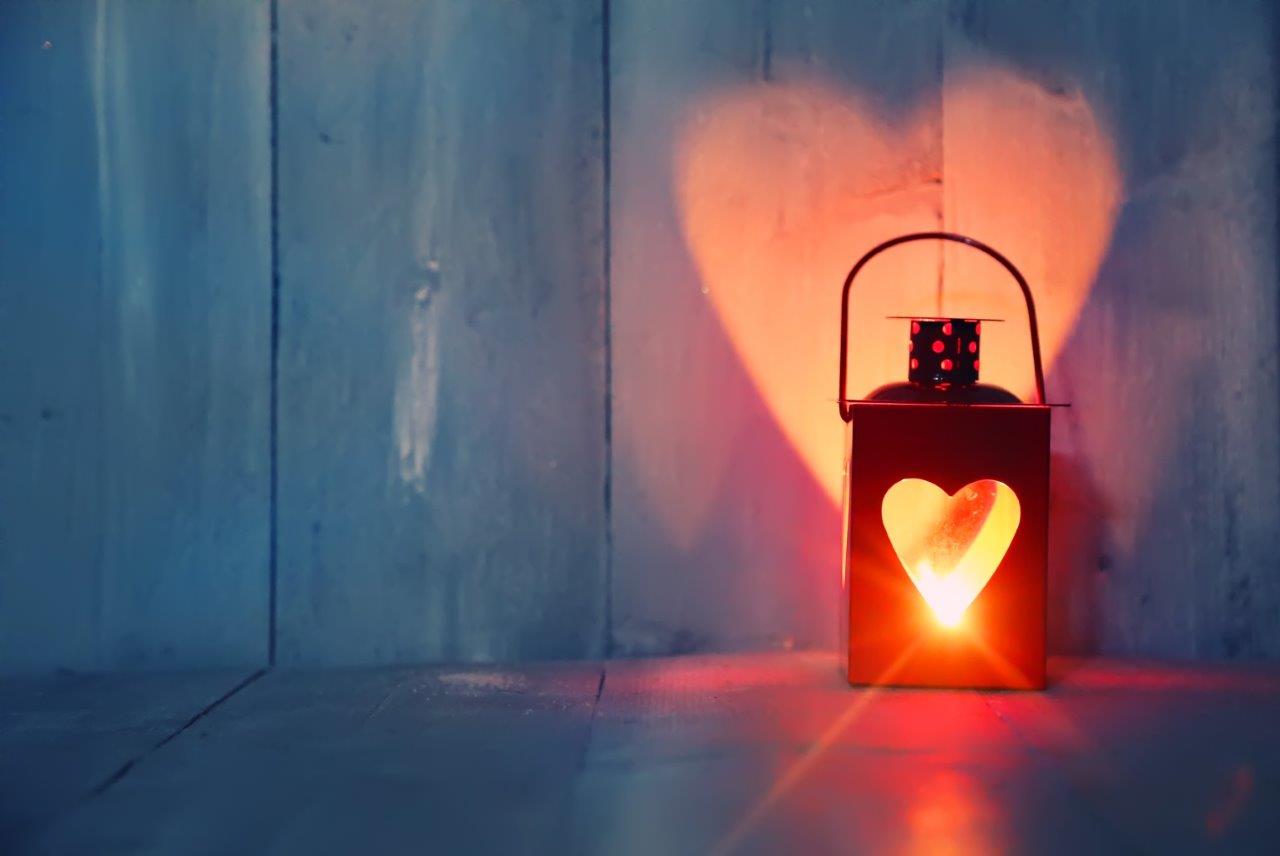
A longer exposure time will allow more light in. However, in order to get a crisp, clear photo in low light using a slow shutter speed and no flash, it is crucial you keep your camera as still as possible.
Any sort of movement will result in blurry images, so be sure to follow tip #4 if you plan to use slower shutter speeds.
3. Adjust the Aperture
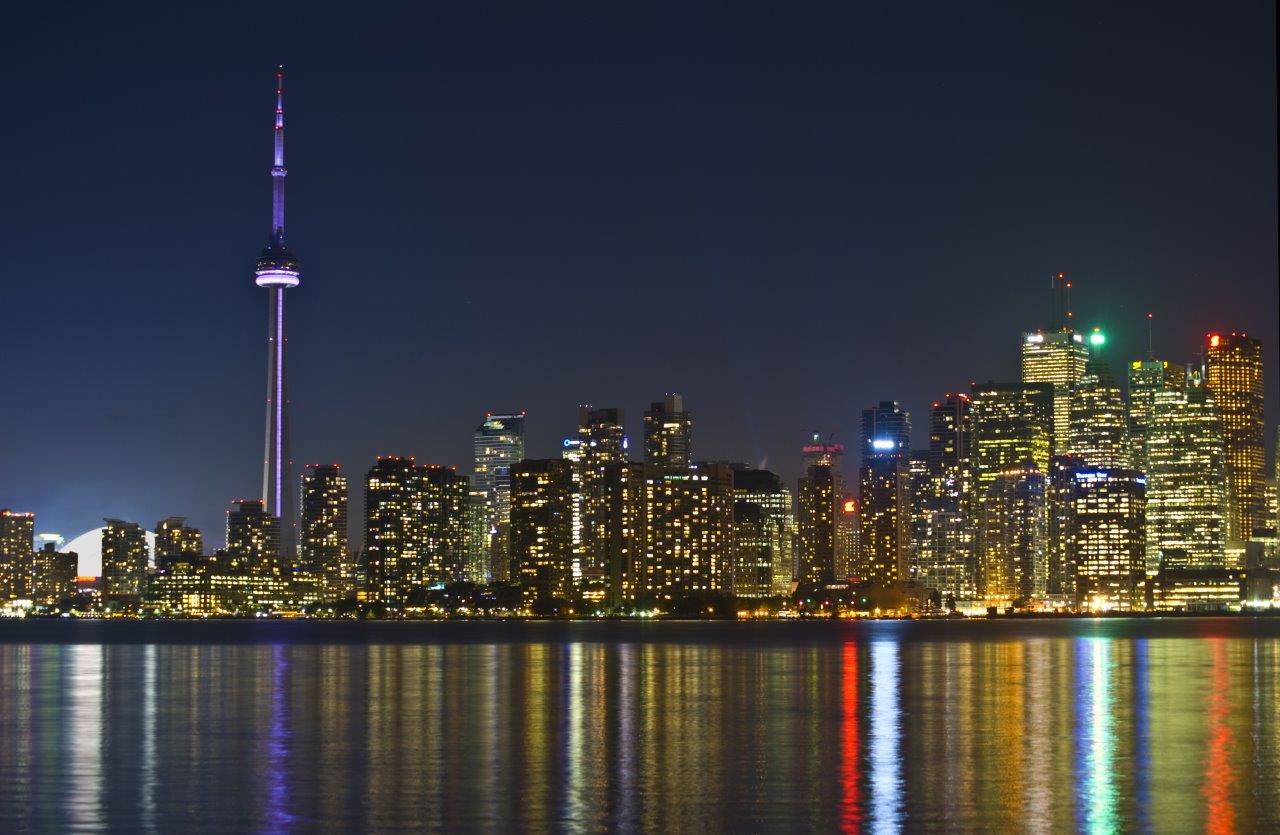
While ISO determines the speed of which light reaches your camera’s image sensor, the aperture determines how much light it allows in – because if this, a wide aperture (small f-stop number) can also help you capture decent low light photographs without the use of a flash.

4. Reduce Camera Shake
When dealing with slow shutter speeds, in order to get sharp photos in low light situations, it is imperative to eliminate camera shake entirely. You can do this by using a tripod and either setting your camera’s timer or using a shutter release cable.
You can also eliminate camera shake by using your camera’s built-in stabilization features. Depending on your camera, this option may be found on the camera body or the camera lens.
What brand of camera you use will also determine what the image stabilization features are called: Nikon is Vibration Reduction (VR), Canon is Image Stabilization (IS), Sony is SteadyShot INSIDE, and so on.
5. Use Other Light Sources
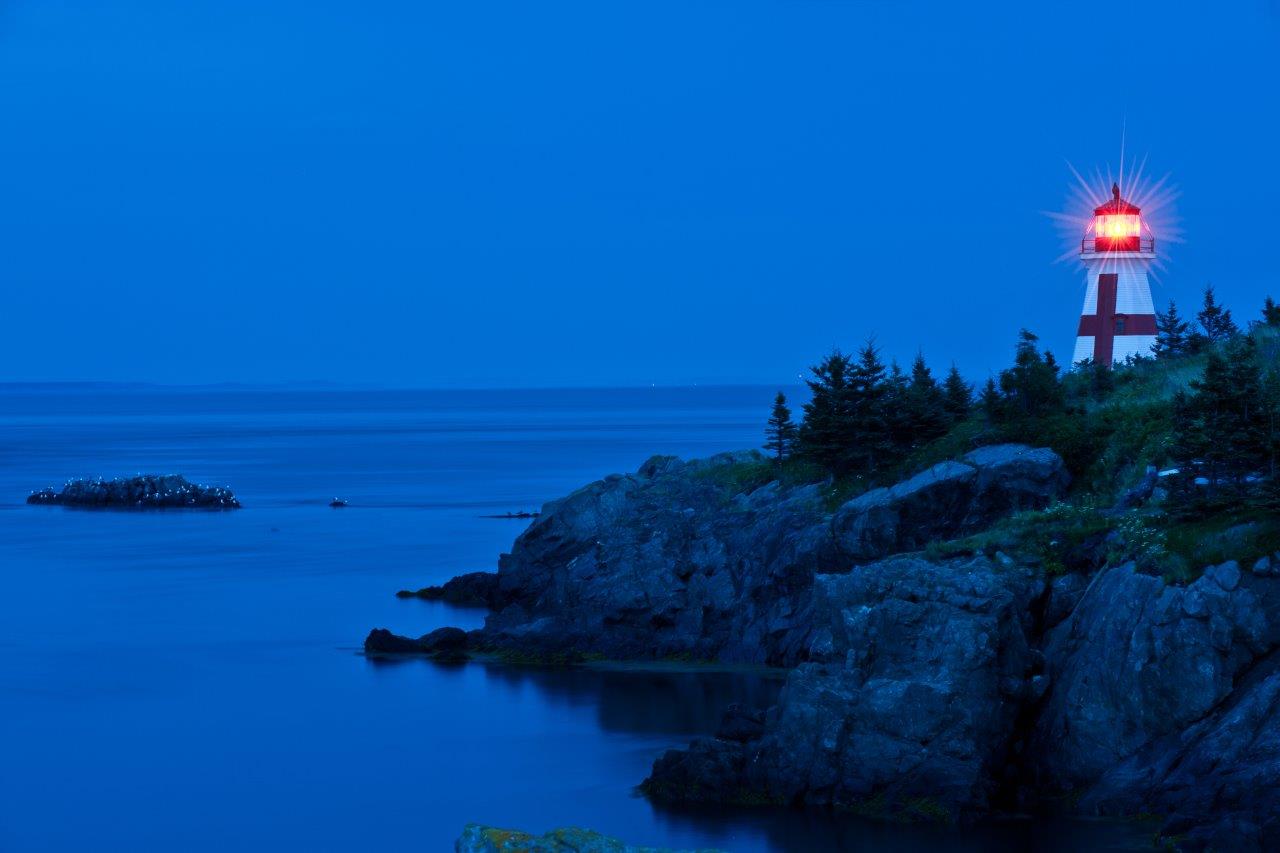
Low light photography doesn’t mean no light photography. To get as sharp of an image as possible without the use of a flash, try to incorporate as much light as you can.
If your subject isn’t stationary, position it near the light source or, if possible, move the light towards your subject.
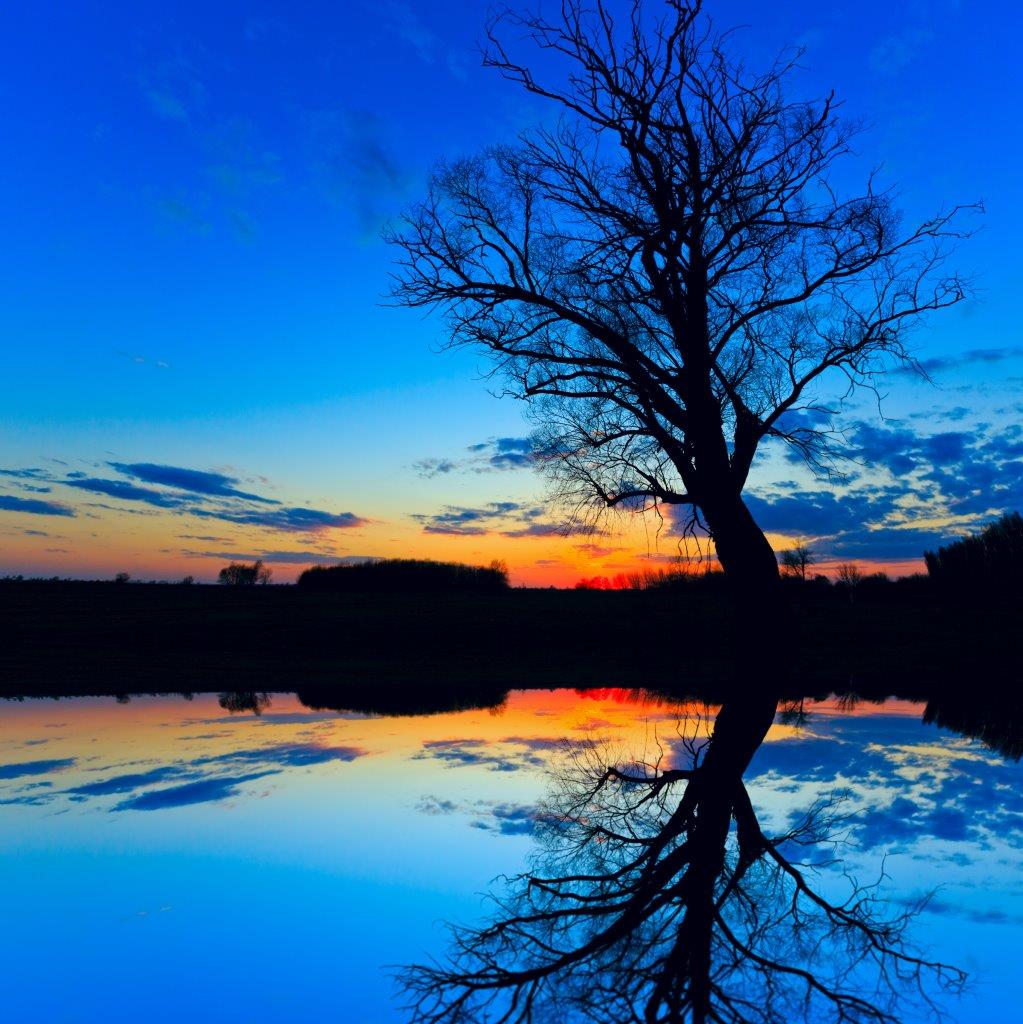
Do not, however, position the light behind your subject if it’s the only source of light unless your goal is to create a silhouette.

6. Use a Faster Lens
If you’re shooting with a DSLR camera and are considering purchasing a new lens to help accommodate your low light photography, you’ll want to buy a fast lens.
A fast lens is that which has a wide aperture—typically f/1.4, f/1.8, or f/2.8—and is great for low light photography because it enables the camera to take in more light.
A wider aperture also allows for a faster shutter speed, resulting in minimal camera shake and sharper images.

7. Adjust the White Balance
Shooting in low light conditions can result in your photographs looking washed out, or lacking in detail and colour.
By customizing your digital camera’s white balance, you’re essentially telling your camera what white should look like in your image, so the camera can adjust accordingly to try to capture colours as accurately as possible.
To prevent your images from having a yellow, orange, or blue shade to them, adjust the white balance to coordinate with the type of light you’re using.

8. Shoot in B&W
If you want to get great low light images without a flash but you really don’t feel like messing around with your camera’s white balance, you can capture your photos in black and white, which will do away with poor colour issues all together.
9. Shoot in RAW
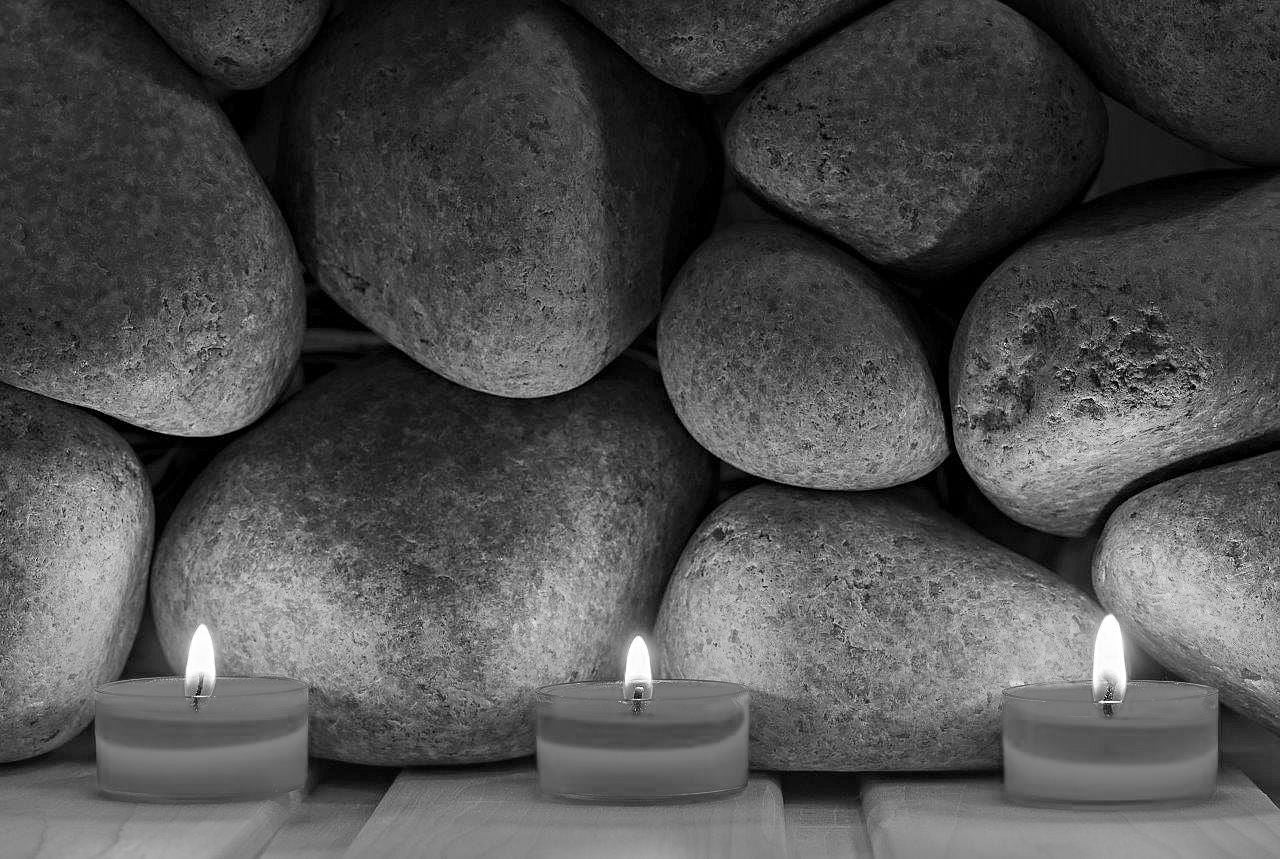
Of course, shooting in RAW will create higher quality, sharper images than shooting in JPEG format, so if you can shoot in RAW, do it. Also, you’ll have more post-processing options if you shoot in RAW.
Related: The Ultimate Guide to Photo Enlargements
10. Post-Processing
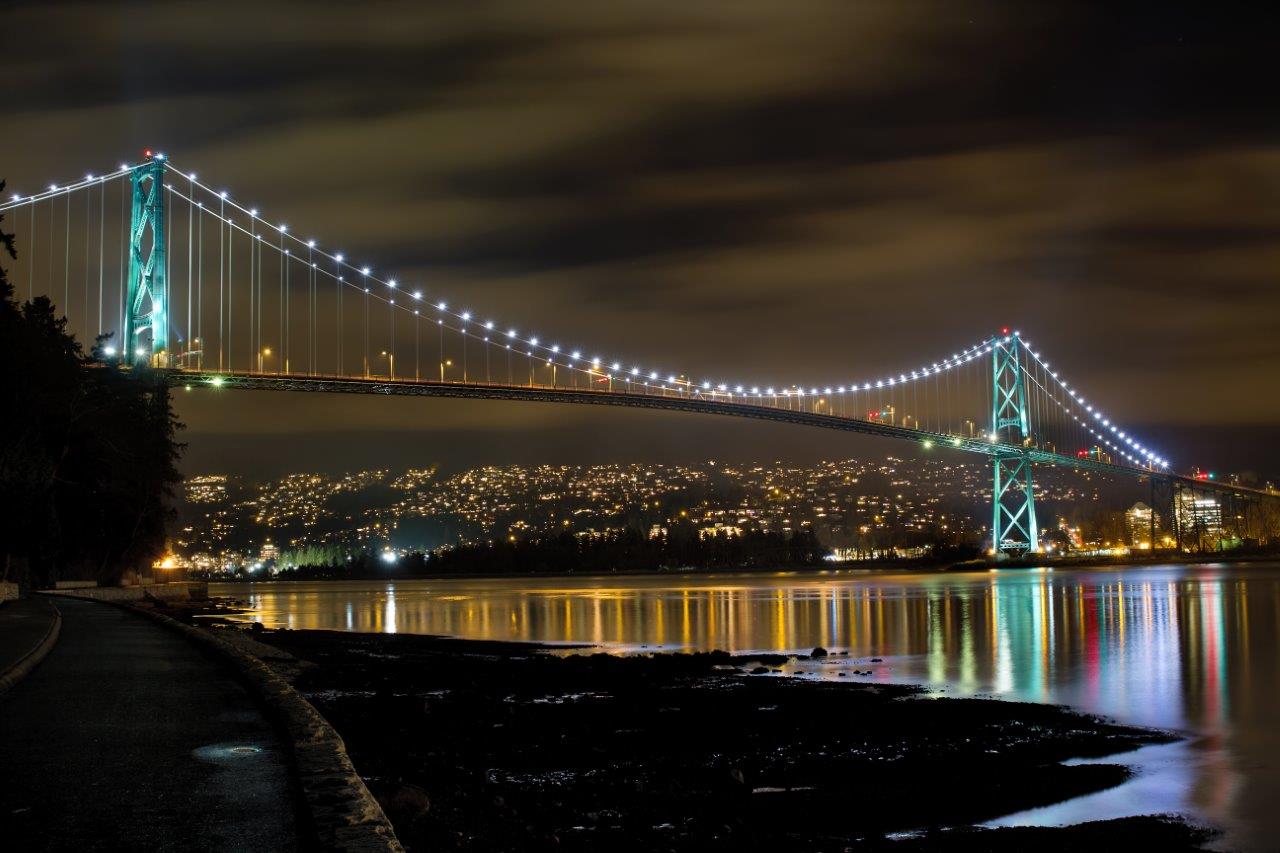
Using photo editing software can help enhance your low light photography, but don’t expect miracles. You can post-process your images to reduce image noise caused from shooting with a high ISO, to convert to B&W, to adjust the contrast, brightness, shadows, highlights, sharpness, etc. Just keep in mind that if it’s a bad photo to begin with, you’re not going to be able to edit it to be something amazing.
11. Experiment and Practise
Unless you’re some sort of prodigy, you’re not likely to master low light photography immediately. Like anything, to become great at something, you need to experiment and practise.
Start by shooting non-moving subjects (to reduce your chances of getting blurry images) and take all of the photography tips listed above into consideration. If something doesn’t work for you, try again with different camera settings.
With a lot of practise and experimenting, you should become fairly comfortable shooting low light photos and will have crisp, clear shots—without the use of a flash—in no time.
Let’s See Your Low-Light Photos!
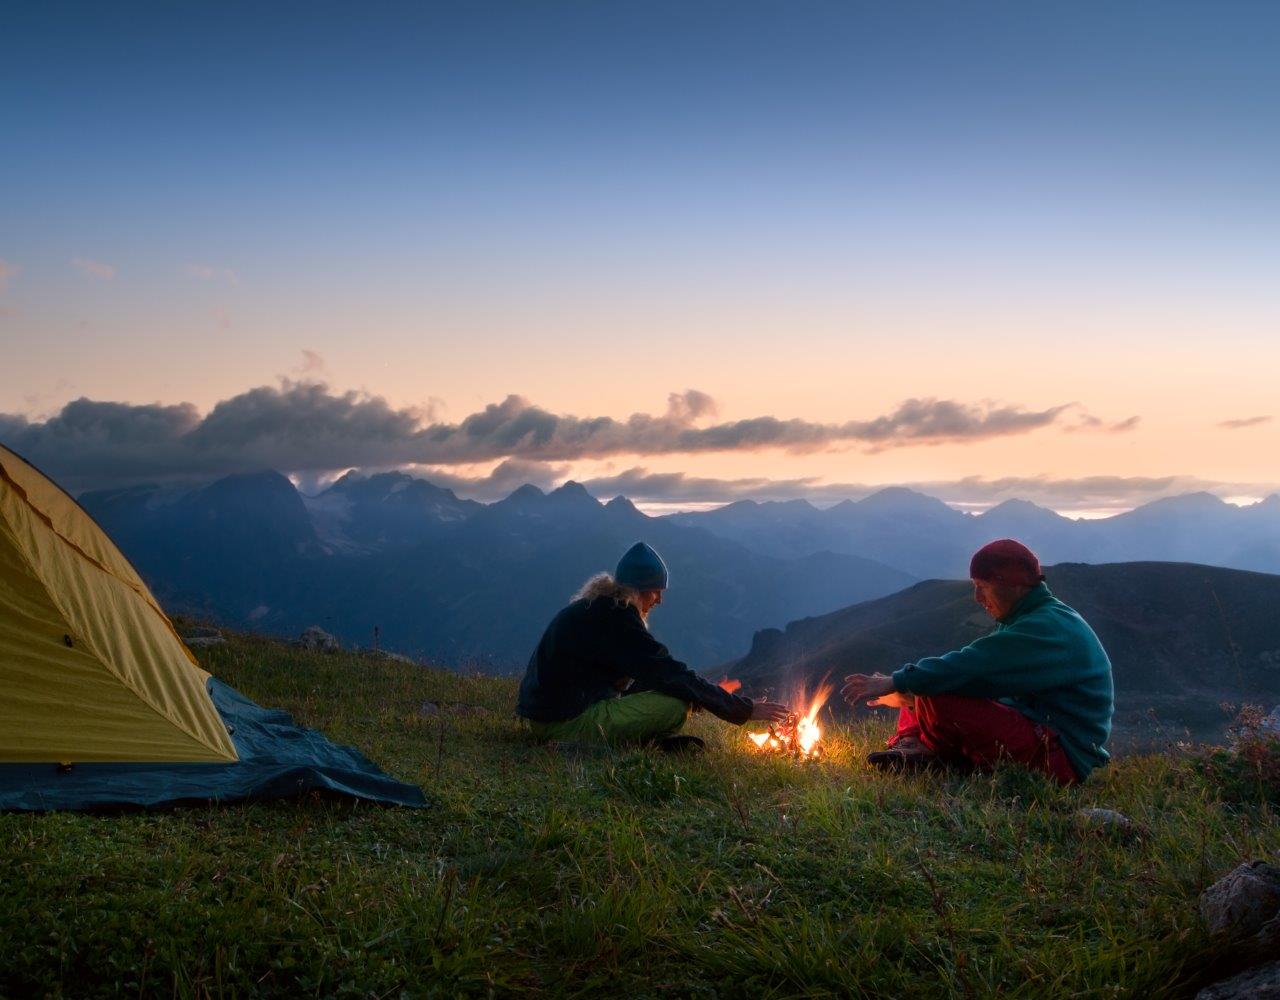
We would love to see how you’re working your low-light photography skills. Feel free to share your photos with us on Facebook or Instagram! If you’ve already turned your photos into Posterjack art, sharing your photos can win you $150 in free prints every month!
Still trying to decide how you’d like to print your photo? You can see a summary of all our photo art product here, or check out some of the following blog post to help make your decision.
- Matte vs. Glossy: Deciding Which is Best for Your Pictures
- HD Metal Prints vs. Canvas Prints
- Metal Prints vs. Acrylic Prints
- What is An Acrylic Print
- 7 Creative Ways to Include Canvas Prints in Your Decor
- Better Than Vinyl: Personalized Your Space With Peel & Stick Prints
As always, we’re more than happy to answer any questions you have. Please feel free to get in touch with our amazing support team!
