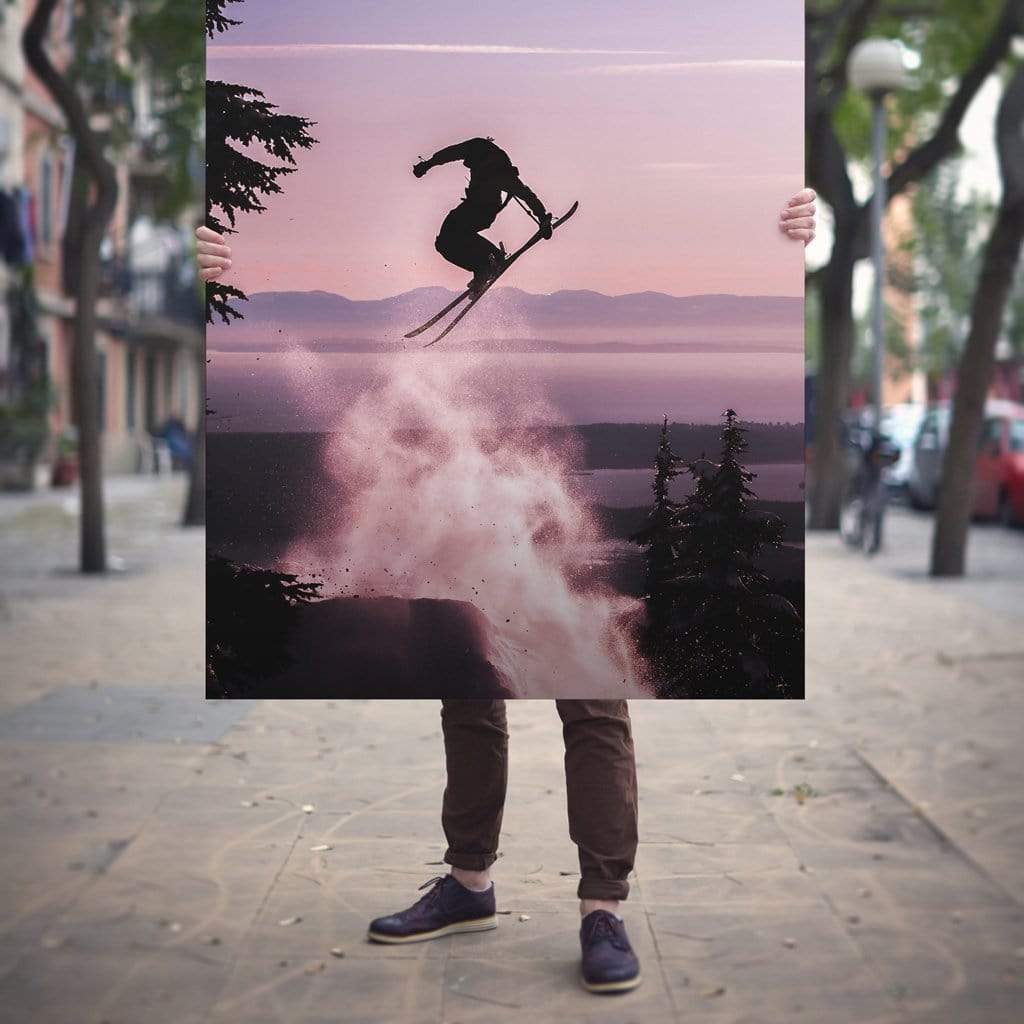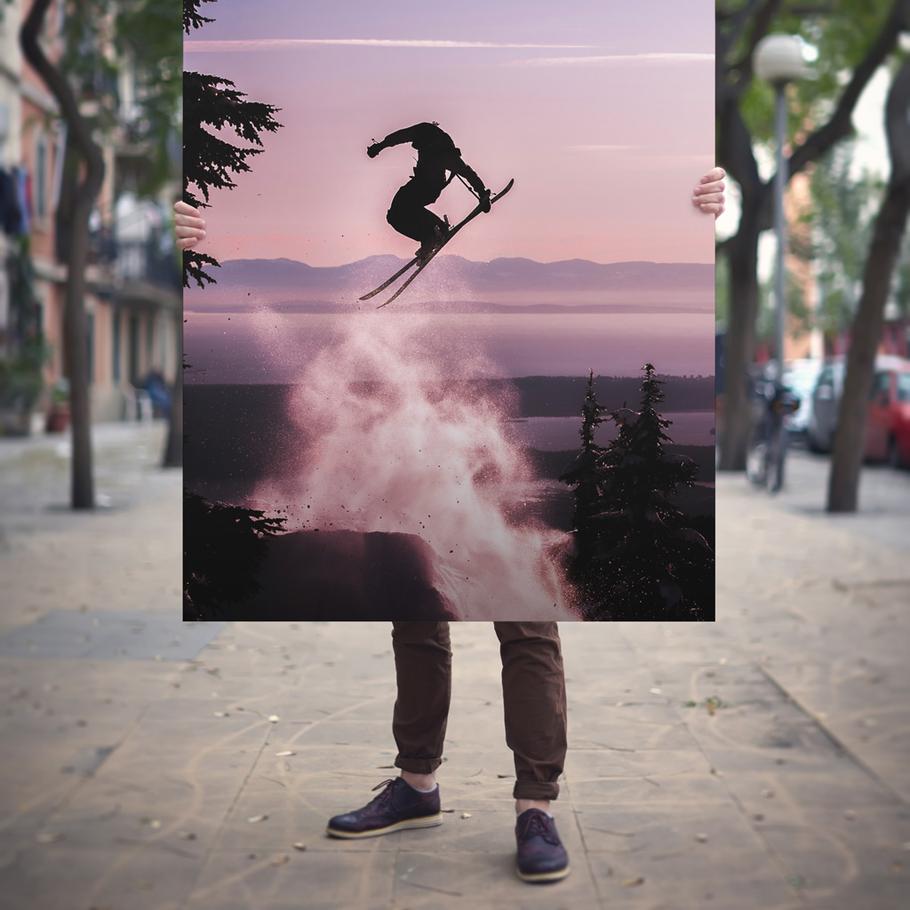
Printing digital photos in large sizes is becoming increasingly popular. With advances in digital cameras, software, and printer technology, the results of photo enlargements are better than ever and can make a photo look spectacular. With that said, to get the best results possible, it helps if you first understand the details.
First, the Simple Stuff
When capturing photos with your digital camera, you want to ensure your camera is set to capture as many pixels as possible so that you have the highest resolution available. While shooting with a high resolution will not improve your composition, focus, sharpness, or clarity, your options for printing large photos becomes very limited if your photo is of low resolution.
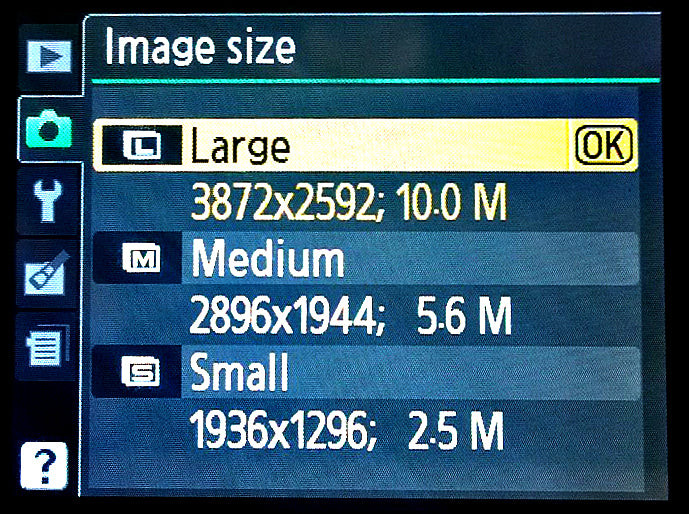
To ensure that you are getting the best resolution possible, choose the highest quality setting in your camera’s menu by finding the “image size” option and selecting “large.”
Most DSLR cameras allow you to shoot your photos in multiple formats at once, such as RAW and JPEG. A lot of photographers prefer to manipulate their images in RAW, but be sure to save it as a high resolution JPEG or TIFF before printing. Most photographers feel more comfortable with TIFF because of image compression. While it is true that TIFF trumps JPEG, the differences usually aren’t noticeable to the human eye when the images are printed large.
How Low Can You Go?
So what happens when you have an amazing photo with low resolution? Can it still be enlarged? While it is possible, there are definitely a few things to keep in mind. Photos with soft curves, soft colours, and smooth lines will work best when enlarged with a lower resolution. As photo enlargements are generally viewed from a distance, it is possible to have some pixelation in a landscape photo and it still appear sharp when the viewer sees it from a few feet away. Portrait photos, however, are less forgiving and enlarging one with a low resolution will likely result in a low quality print – there is nothing attractive about a big pixelated face!
If you do have a photo that won’t look great printed at a large size, you can still give it the attention is deserves. After all, it must be a great photo if you want to enlarge it! Instead of turning your photo into a poster-sized print, consider turning it into desk decor, like an Acrylic Block or Woodstand Print. Or, if you’d like to display it on your wall, you could print it as a Canvas Mini or Metal Mini and incorporate it into a gallery wall display. Your options are endless!
![]()
The 300 DPI Question
The million dollar question for many photographers is whether they should digitally enlarge their photos using software tools before going to the printers. People are often taught that they need 300 DPI (dots per inch) in order to get crisp photo enlargements. They treat this information like it’s some type of photo printing Holy Grail. In reality, it is rare to attain 300 DPI when printing a photo in large proportions, as most cameras can’t produce an image with enough pixels. Keep reading for a more detailed explanation on what DPI actually means.
So, should you try to artificially make your image 300 DPI?
In one word: no.
First, some terminology: “re-sizing” generally refers to changing the set dimensions of an image, but the overall pixel count remains the same. In order to add pixels, you must “re-sample” the image.
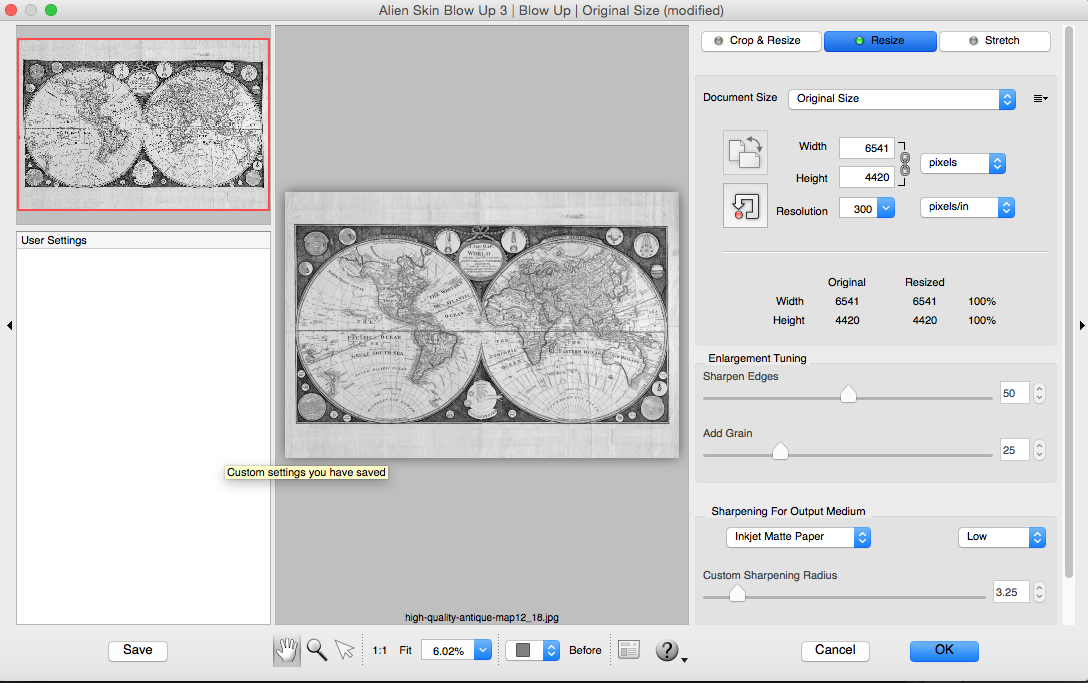
To be clear, any re-sampling to add pixels will degrade your image and cause unwanted effects such as rough edges, changes in colours, pixelation, and fuzziness. If you must test this out for yourself, there are tools in most software packages, such as Photoshop, that allow for image re-sampling that you can experiment with. If you are serious about re-sampling and are stuck with low resolution images that need to be enlarged – you should use a tool like Alien Skin’s Blow Up. Specialized software like Blow Up is designed to do the least amount of damage to the image and provide more control over the sharpening effects and the reduction of compression articles.
Never More Than Once
A final basic, but very important, tip about resizing images is that you should only resize an image once from the original file. Some people believe they can do a series of smaller re-sampling maneuvers to lessen the negative effects, but re-sampling programs already have built-in algorithms that are far superior to this approach. Re-sampling an image that has already been re-sampled will lead you down a slippery slope. If you need to create multiple re-sampled image sizes from the same digital image, start each re-sample process from the original image file.
Understanding DPI
DPI is a term that confuses professional photographers and amateurs alike. The major misconception stems from the double usage of the word. DPI can be used as:
- A way to measure the capabilities of a printer; and,
- A measurement ratio for digital photos
The DPI of the printer itself is not relevant to this article, so let’s concentrate on image DPI.
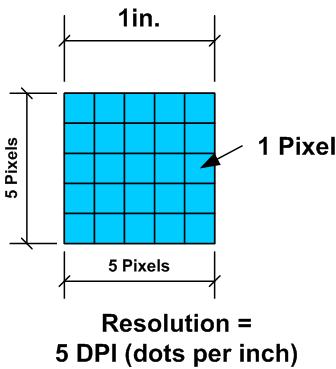
As previously mentioned, the DPI of a digital image stands for “dots per inch.” DPI is a useless measurement unless you understand the inch part. The inch measurement denotes the print size, like a 16”x24” print, for example. Isn’t it all starting to make more sense now?
To put this in perspective, every little dot—called a pixel—will make up the printed image. Now imagine a line an inch long – if you could fit 300 little dots across that length you would be able to make an image with great detail. If you had only 10 little dots to fill in that inch, you would have a very rough sketch.
Understanding Megapixels
There are some detailed calculations below that you can try with your digital photos, but before doing so, you should be comfortable with finding the pixel length of your image. You can look at the properties of your image file from any file folder system, or you can call up the information in Photoshop or other photo editing software tool. If your photo has dimensions of 3000 pixels by 4000 pixels, for example, you will know that your image is 12 megapixels. How? Because 3000 multiplied by 4000 equals 12,000,000 (there are one million pixels in a single megapixel). So if your image is only 200 pixels by 300 pixels, you know your photo will not look good if you enlarge it, as the image is only 0.6 megapixels. Generally, you want at least a three megapixel image in order to get a decent photo enlargement. Luckily, today’s cameras and smartphones offer more megapixels than that.
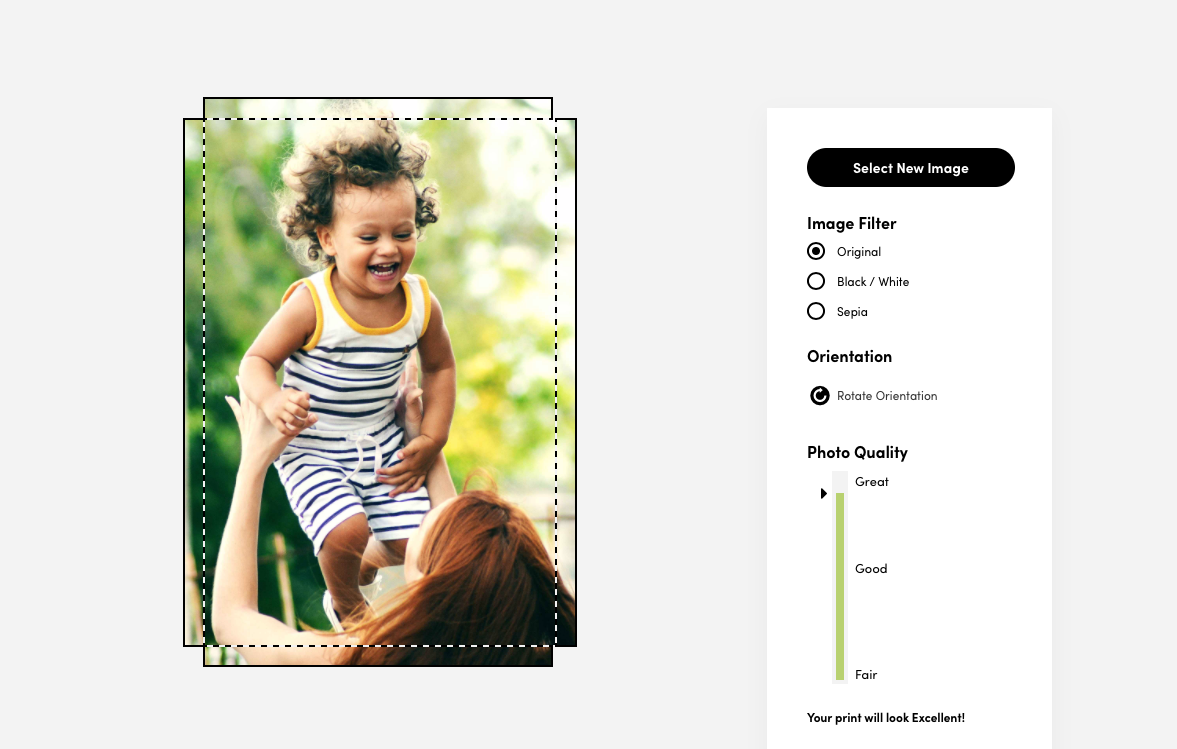
So how do you calculate the DPI of your image in respect to the image print size you want? The following calculation shows how to compute it or, if you don’t have an interest in learning this, you can simply upload your photo to Posterjack and we’ll provide you with a quality score based on this calculation – quick and easy!
A. Take the square root of the product from the pixel length and width of the digital image: A = SQRT (Lpx*Wpx)
B. Take the square root of the product from the length and width in inches of the desired print size: B = SQRT (L*W)
C. DPI = A/B
Let’s try the calculation using the 12 megapixel example from above:
A = SQRT (3000×4000) → A = 3464
B = SQRT (24 x32) → B = 27.71
DPI = 3464/27.71 → DPI = 125
The Results Are In
Okay, so we started with a 12 megapixel image and printed it at 24”x32” and the DPI is only 125! Isn’t that going to look terrible, you ask? Actually no, the results will be VERY good. Why is that? There are three main reasons:
- When you print an image large, you look at it from farther away, so the detail looks just as crisp as when you look at a smaller image right in front of your nose.
- The RIP (Raster Image Processing) software that is used to tell the printer how to print your image is very advanced and does a tremendous job of enlarging the prints on paper.
- Your photo is a really high quality image taken with a quality camera and a skilled photographer. The better the photo, the better it will look at any size, especially enlarged!
So, what is the rule of thumb for the optimal DPI when printing an enlargement? Although no hard and fast rule is available, if the photo itself is high quality, you can probably print at much less DPI than you previously thought. If you are pushing up into the 20”x30” print size range and above, having 100 DPI and sometimes less is going to be just fine. Don’t be scared to give it a try!
The best thing to do is experiment to learn and see for yourself. First, try printing some of your favourite images in large sizes on an inexpensive medium like Poster Prints. When you do this, try printing the same image in three different sizes so that you see the difference and make note of what your personal preferences are. Once you are more comfortable with the process, you might want to try some different mediums such as printing on canvas.
Hopefully you enjoyed reading this guide and it’s helped you to better understand photo enlargements and print resolution. If you have more questions, please feel free to leave a comment below!
