Enjoy flat rate shipping for only $10 and free shipping on orders over $150* when you make prints of your original artwork and paintings with Posterjack. Get started today!
Whether you’re an artist looking to replicate your original paintings for resale or you’re simply looking for a way to make a print of your artwork to gift to a friend or family member, you don’t need access to fancy scanning equipment or expensive photography gear to get professional quality prints.
In fact, by following a few tips, you can even get beautiful prints of your art using nothing more than your smartphone! This article will teach you how to photograph your artwork like a pro, so your prints will look absolutely incredible.
Is It Better to Scan or Photograph Artwork?
If you have access to a scanner and your artwork is suitable for scanning, this will probably be your best option, as it’ll be easier to reproduce your art with greater accuracy and you won’t need to worry about distortion, shadows, image blur, or other issues you may encounter when trying to photograph artwork. With that said, scanning your artwork might be difficult—or impossible—depending on the medium and size. Artwork that has a lot of texture and/or embellishments likely won’t scan well because you will lose a lot of the depth and dimension the original artwork had. If the size of your artwork is larger than the scanner, you will need to scan it in sections and then use editing software, like Photoshop, to stitch it all together. In these cases, photographing your artwork for prints could be a better option.
If you do decide you’d like to scan your artwork to create prints, here are a few tips (originally shared in How to Enlarge Old Photos and Get Amazing Results):
Depending on the make and model of your scanner, the exact steps you take to scan your artwork will vary, but it will probably just be a matter of placing the art face-down on the scanner’s glass and pressing the scan button. Before scanning, however, there are a few settings you should check to ensure you’re going to get the best scan for the purpose of creating prints of your artwork.
Colour mode: Make sure you’re scanning in colour, not black and white or greyscale.
Resolution (DPI): For the purpose of scanning artwork for prints, the resolution should be set to 300 dpi.
Data format/file type: JPEG
Once you’ve scanned your artwork using these settings, it’s ready to be printed. All you need to do now is upload the file to our website and choose the product and size you would like your print to be created as and we’ll take it from there!
Related: Preserving Your Kids Artwork With Posterjack
How to Photograph Artwork for Prints
If using a scanner to reproduce your artwork isn’t an option, you can still get professional-looking results photographing your artwork for prints.
Option 1: Using a Smartphone to Take Photos of Your Art
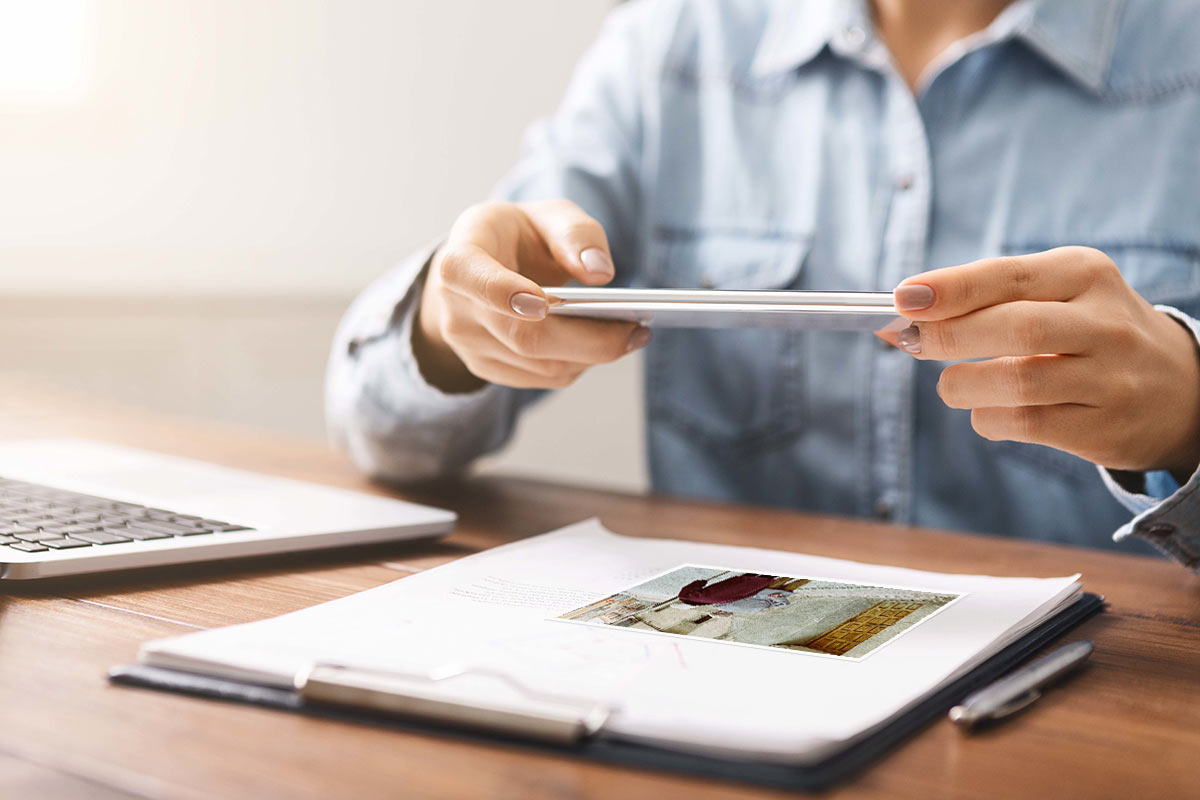
Ideally, when photographing your artwork for prints, you should use a DSLR camera because you will have more options and control over the settings and the camera’s sensor and lens will produce better images. However, if all you have access to is a smartphone, you can still capture photos of your artwork that will result in fantastic prints! Follow the lighting and composition tips below, just as you would with a DSLR camera, but if you’re using a smartphone, don’t forget to clean the lens. Because our phones are constantly in our hands, being put in and out of our pockets, maybe even being handled by the sticky little fingers of our tiny humans, the lens on the phone easily picks up finger prints, oils, and grime. Take a second to wipe it off with a cloth before photographing your artwork to ensure you get the sharpest, clearest image possible.
Option 2: Using a DSLR Camera to Take Photos of Your Art
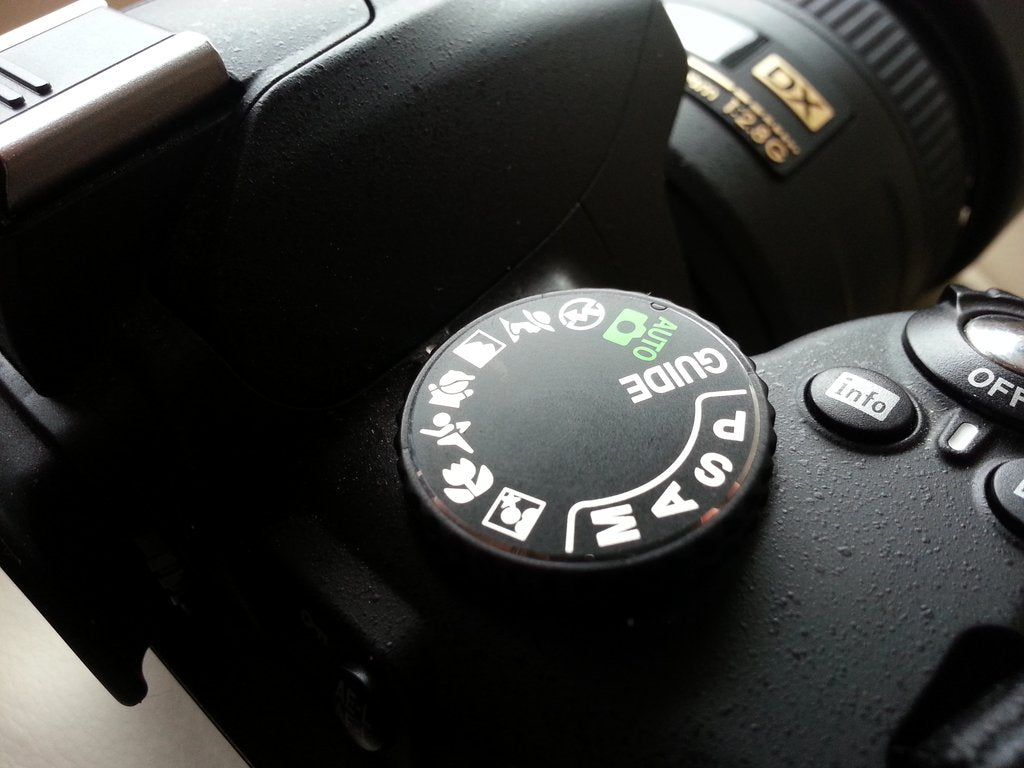
As we just mentioned, capturing photos of your artwork using a DSLR camera is a better option than using a smartphone camera, as it’ll produce sharper images and you’ll have more control over your settings.
Lens: A 50mm prime lens is ideal for photographing artwork. If you have to use a lens with a shorter focal length, try to avoid anything under 24mm. Shooting with a wide angle lens can cause barrel distortion, which means straight lines in your artwork will appear to bend in the photograph.
Aperture: The sharpest images are produced with the aperture set to f/5.6 to f/11. Using a wide aperture creates a shallow depth of field, which isn’t necessary when photographing artwork, and lens diffraction will decrease the sharpness of your image if you shoot at anything much greater than f/11.
Related: Understanding Depth of Field
ISO: ISO settings control how sensitive your camera’s sensor is to light. A high ISO allows more light in, which is great when shooting in low-light conditions, but the payoff is image noise and grain in the photo - something you don’t want when photographing artwork to create prints! For the sharpest image possible, set your camera’s ISO to 100.
White Balance: When taking photos of your artwork to create prints, you want the image’s colours to be as close to the original art as possible. Adjusting your camera’s white balance settings will significantly help with this because it’s letting your camera know what light sources are being used and will adjust the colour temperatures accordingly. If you’re not sure which setting to choose, don’t be afraid to experiment and try a few! You can also adjust the white balance using photo editing software later.
Setting Up Your Lighting in 5 Steps
Specialized equipment, like softboxes and polarizing filters, can make it easier to photograph your artwork, but you can get by without these accessories and still get outstanding results. In fact, you can successfully take pictures of your artwork without studio lights or a tripod, but we’ll get to that in a moment.
For an indoor photoshoot, you will need:
- A tripod
- Two bright, identical lights
- A wall to hang your artwork on
- Measuring tape
Optional, but helpful:
- Two white sheets (or something similar to diffuse each light)
- Camera remote shutter release
- White piece of paper
- Level
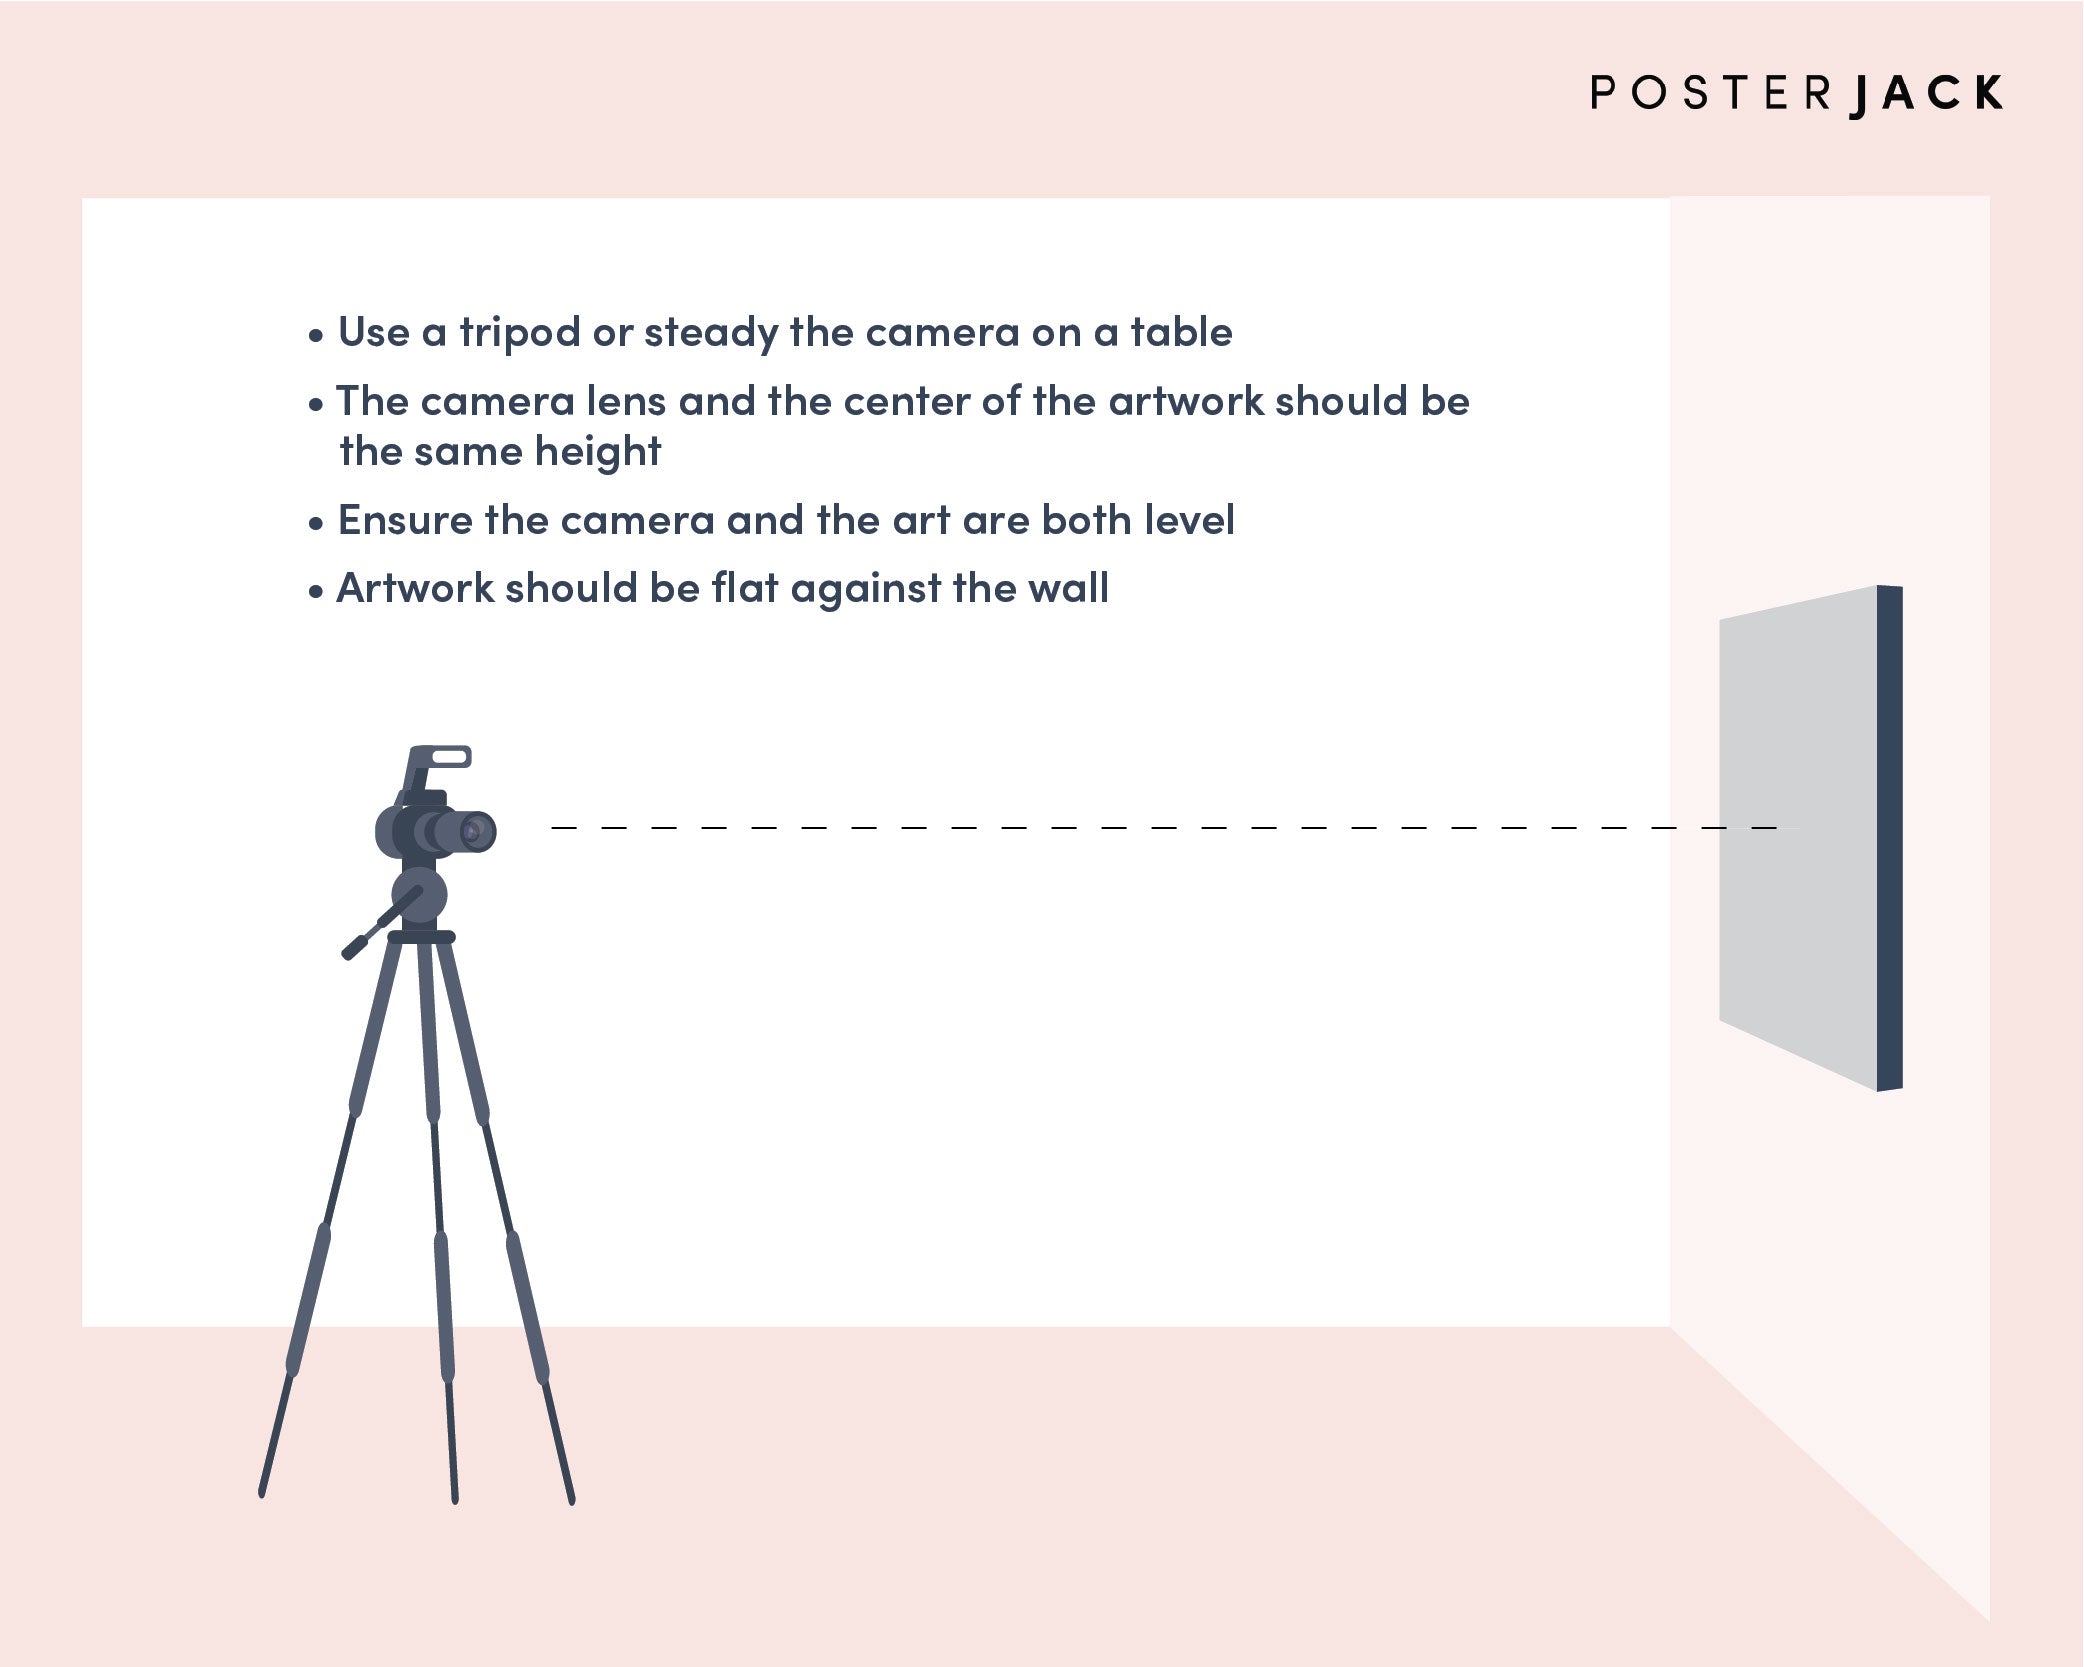
Step 1: If your artwork is in a frame, you’ll need to remove it in order to avoid glare and reflections. Likewise, if you’re planning to add varnish to your original artwork, photograph it before doing so if possible.
Step 2: Hang your artwork flat on the wall. Assuming your art isn’t too heavy, a thumbtack should do the trick, as it won’t be up there for long. If you have a level, check to make sure it’s straight. If you plan to edit your image later to adjust its colours and white balance, consider either hanging your artwork against a pure white wall or simply hang a white piece of paper directly beside yours art (it’ll be cropped out later). This will allow you to use the eyedropper tool in your editing software to adjust the white balance later.
Step 3: Position your camera on a tripod at a distance from the artwork which allows you to fill the camera’s frame without needing to optically or digitally zoom. When you compose the shot, although you want to fill your frame, don’t do so too tightly - if you include an inch or so of the background behind your artwork, it will make editing your photo a little easier later since you’ll be able to rotate/straighten the shot without any of the artwork being cropped out in the process.
Step 4: When positioning your camera, it’s very important that the camera lens is parallel to the artwork and the lens of the camera and center of the artwork is at the same height. Use a measuring tape to measure from the ground to the center of the artwork and then adjust the height of your camera to be the same. If the height isn’t the same or if the camera is angled from the artwork, your photograph of your artwork will be distorted.
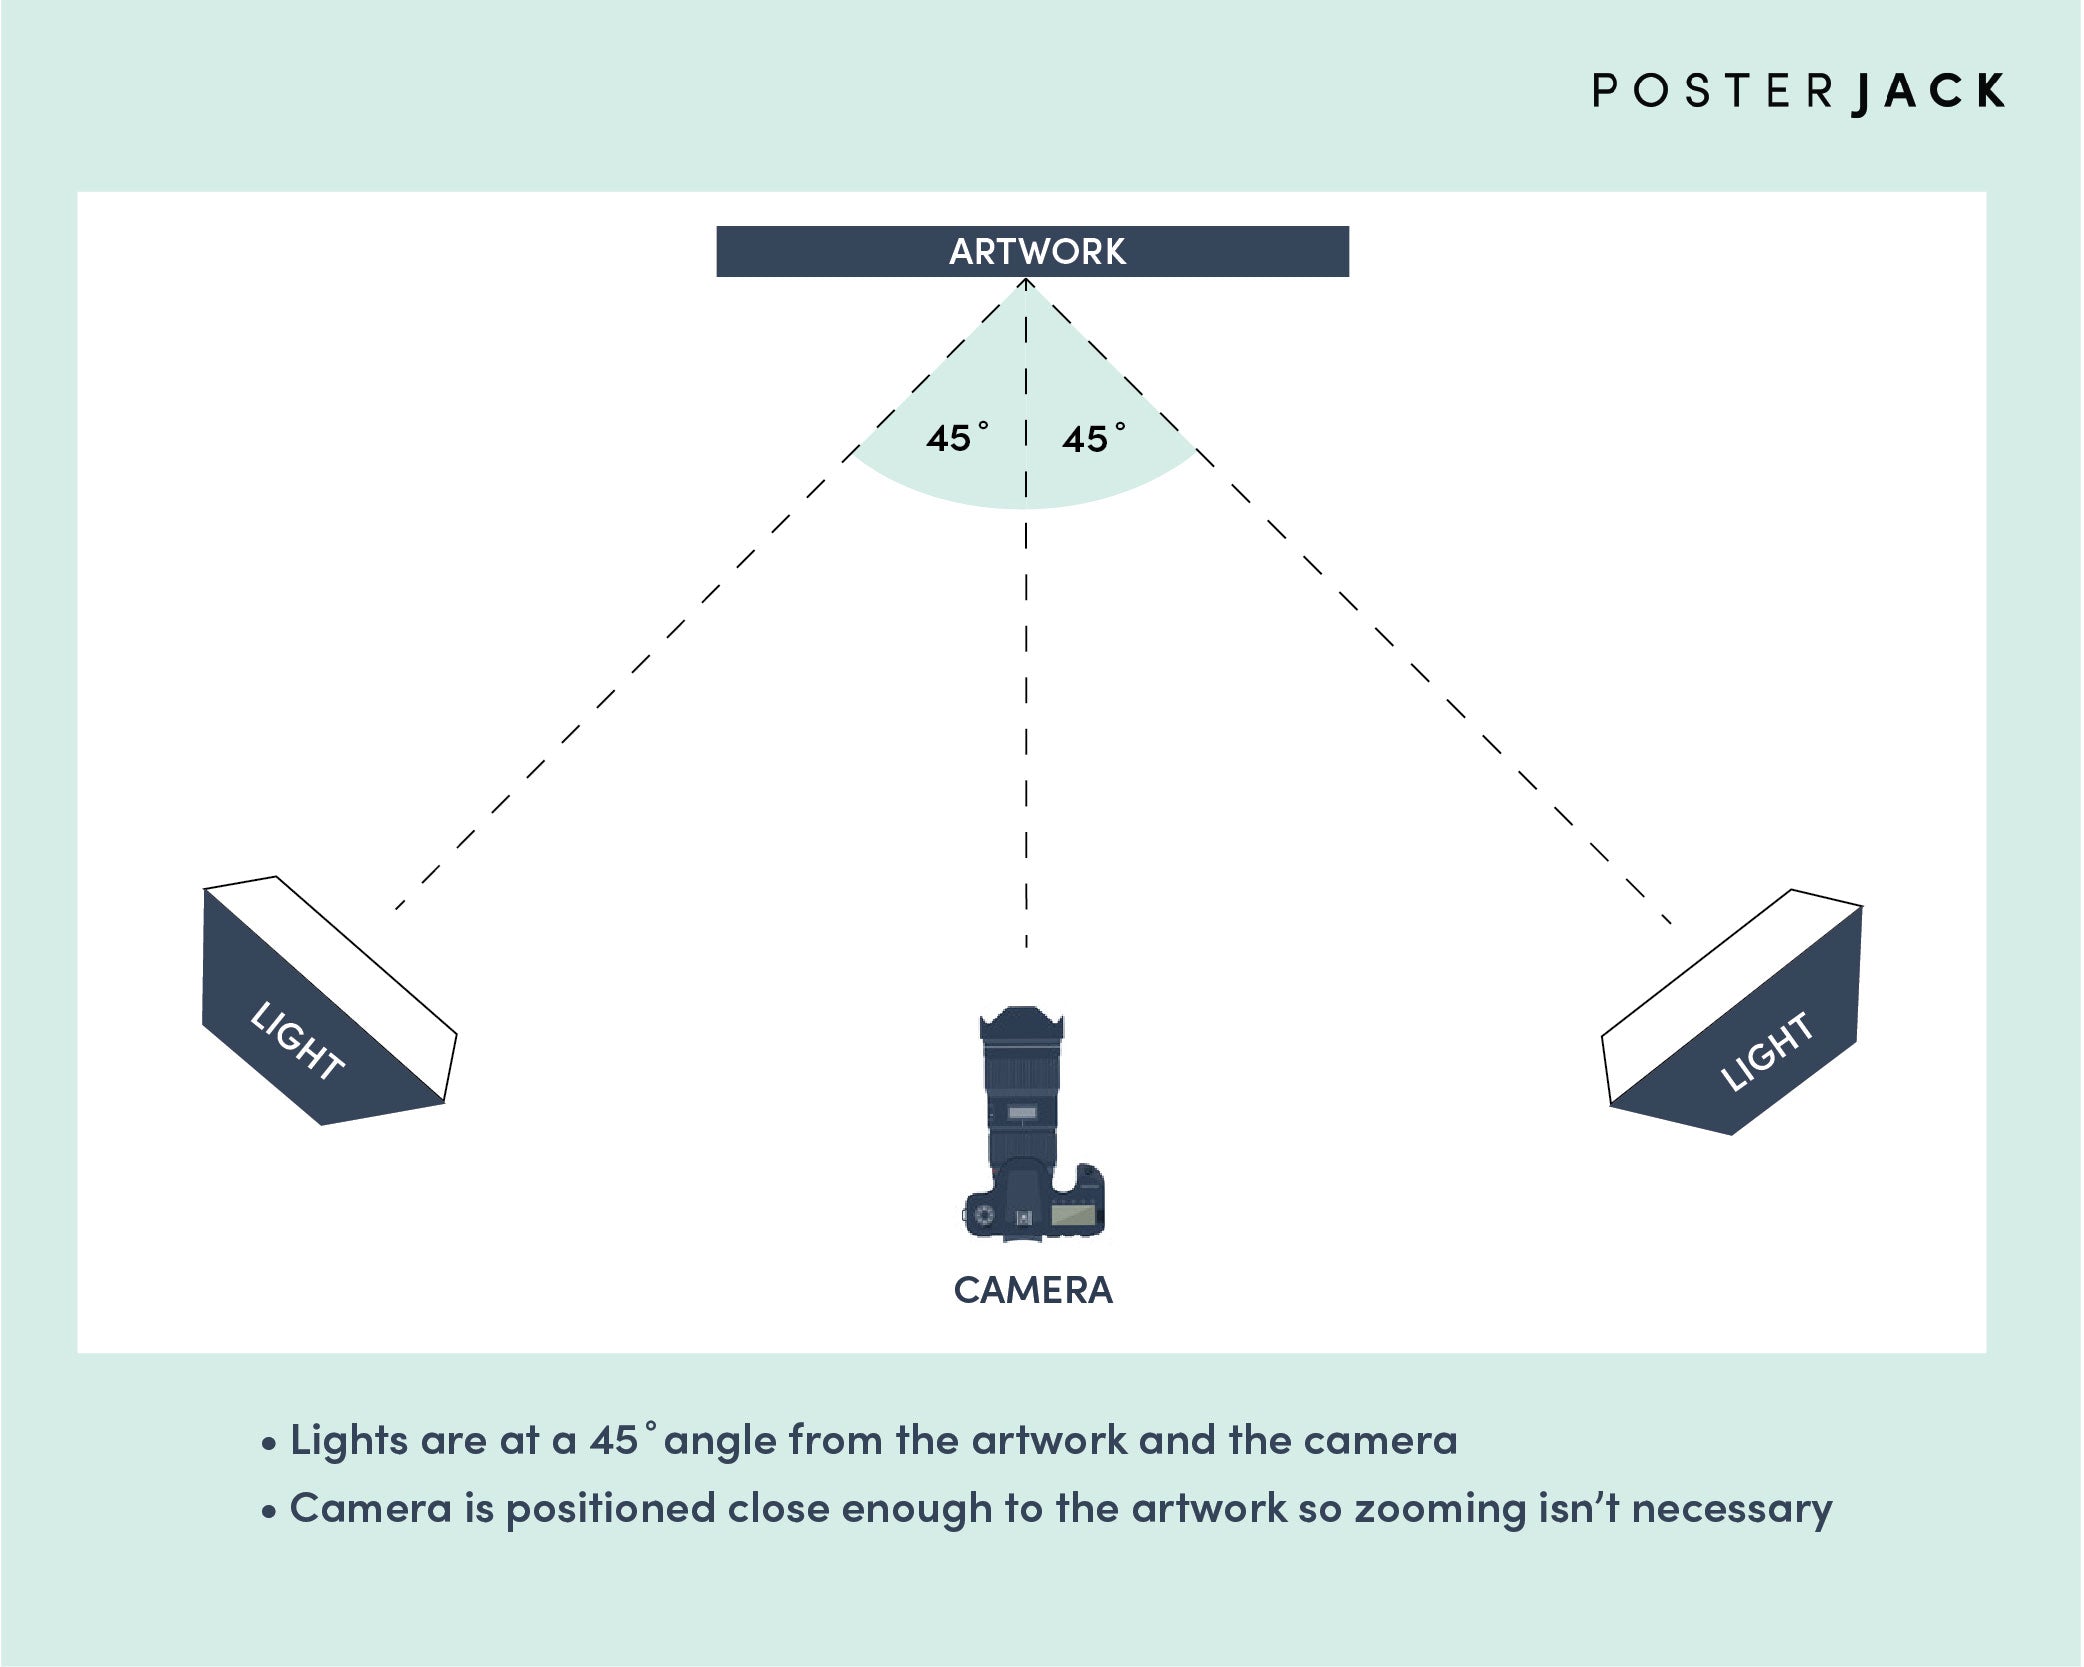
Step 5: With your artwork and camera set up, you can now position your lights. You want them directed at your artwork and at a 45º angle on each side of the camera. Although your lights need to be bright, you’ll get better results if you can diffuse the lighting. You can do so simply by hanging a white sheet in front of each light. If you don’t have white sheets, you can experiment with other semi-transparent white objects you can find around the house, like t-shirts, parchment or wax paper, white garbage bags, or even printer paper.
Important: The lights can get hot and the material you use can be flammable, so be careful you don’t set up your diffusers where they can catch on fire!
Tips for Photographing the Art
- If you’re shooting indoors with your camera’s ISO settings at 100, your camera needs more external light in order to capture good photos. Use the brightest lights possible (with a diffuser). Allowing more light into your camera’s sensor will produce a higher quality, sharper image.
- For the sharpest images possible, it’s important to keep your camera as steady as possible. If you don’t have a tripod, position your camera on a table. You can stack books on top of the table too to adjust your camera to the correct height.
- Pressing the shutter button on your camera can even cause you to lose sharpness in your photo. Use a remote shutter release if you have one or set your camera’s timer so you don’t need to manually hit the shutter button.
- Don’t use your camera’s flash.
- If you don’t have lights to use like in the set-up above, you can photograph your artwork successfully outdoors using natural light! A cloudy day is the best, since the clouds naturally diffuse the light. Failing that, when shooting outdoors, find a shady area at the side of your house or other large structure. You want to avoid the harsh, direct sunlight, as it will cast shadows on your artwork.
Tips for Editing Your Artwork Photos Before Printing
When editing the photos of your artwork, a few post-processing steps you can consider are:
Straightening: If needed, rotate your image so that it’s completely straight. This is why we recommended that you include an inch or so of the background behind your artwork when composing your shot. Digitally rotating the image without that extra space would cut off part of the artwork.
Cropping: Once you’ve adjusted your photo so it’s straight, you can go ahead and crop out the background. You don’t want to see anything in the image except your masterpiece when creating professional-quality prints of your original artwork!
Colour Correction: You can adjust the white balance, contrast, brightness, and sharpness of your image, but don’t go overboard! You want your image to look as close to the original artwork as possible.
Making Prints of Your Artwork
Now that you’ve created digital copies of your original artwork, it’s time for the fun part: making prints! We offer a large variety of photo art products, but here are a few worth considering that are popular with artists.
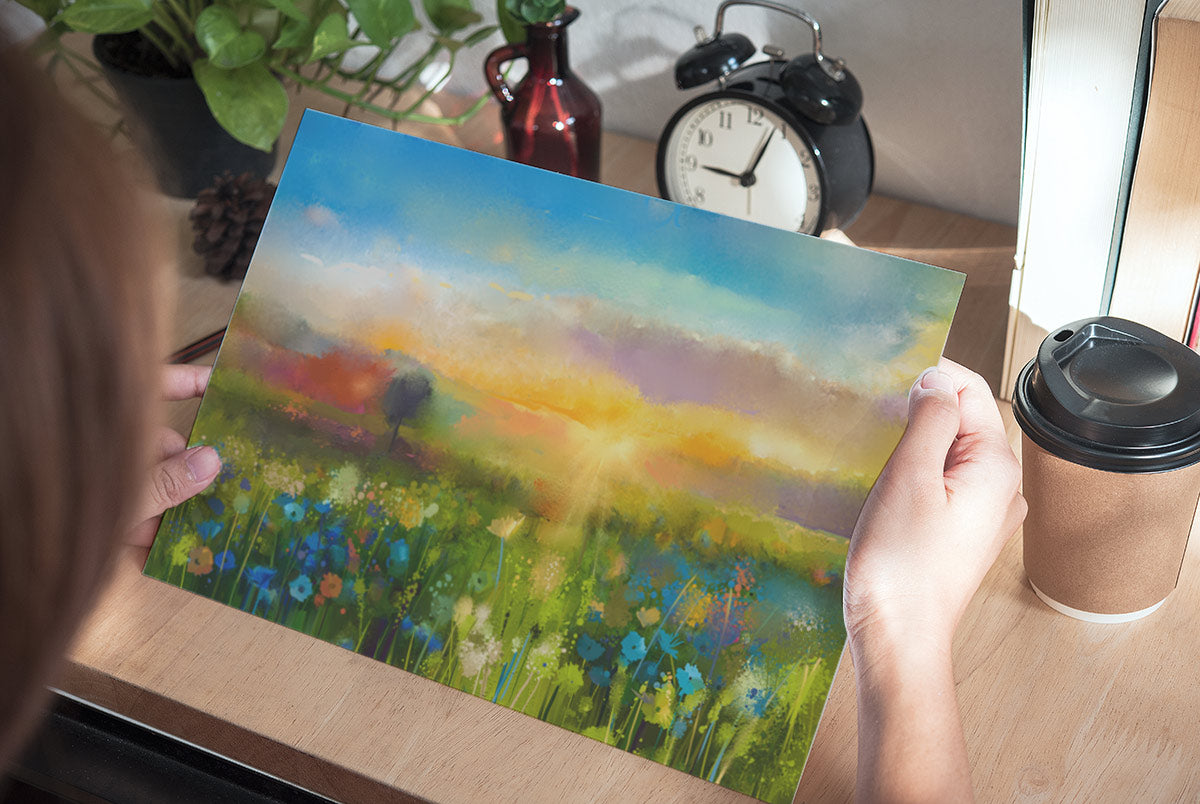
Posterjack Fine Art Prints are made with 308 GSM 100% cotton Hahnemuehle Photo Rag, one of the world’s best fine art papers. Using the giclee (inkjet) method, we use non-toxic and eco-friendly HP Vivera inks and proprietary printing software, so your prints will be vibrant and beautiful. They’re also rated to be fade-resistant for 200+ years! They’re available in over 40 different sizes, and you can even have them custom framed in one of six different frame styles. If you’re considering printing your artwork on something like canvas, metal, or acrylic but want to first print a sample to ensure you’re happy with the photo of your artwork, Fine Art Prints are great for this purpose too.
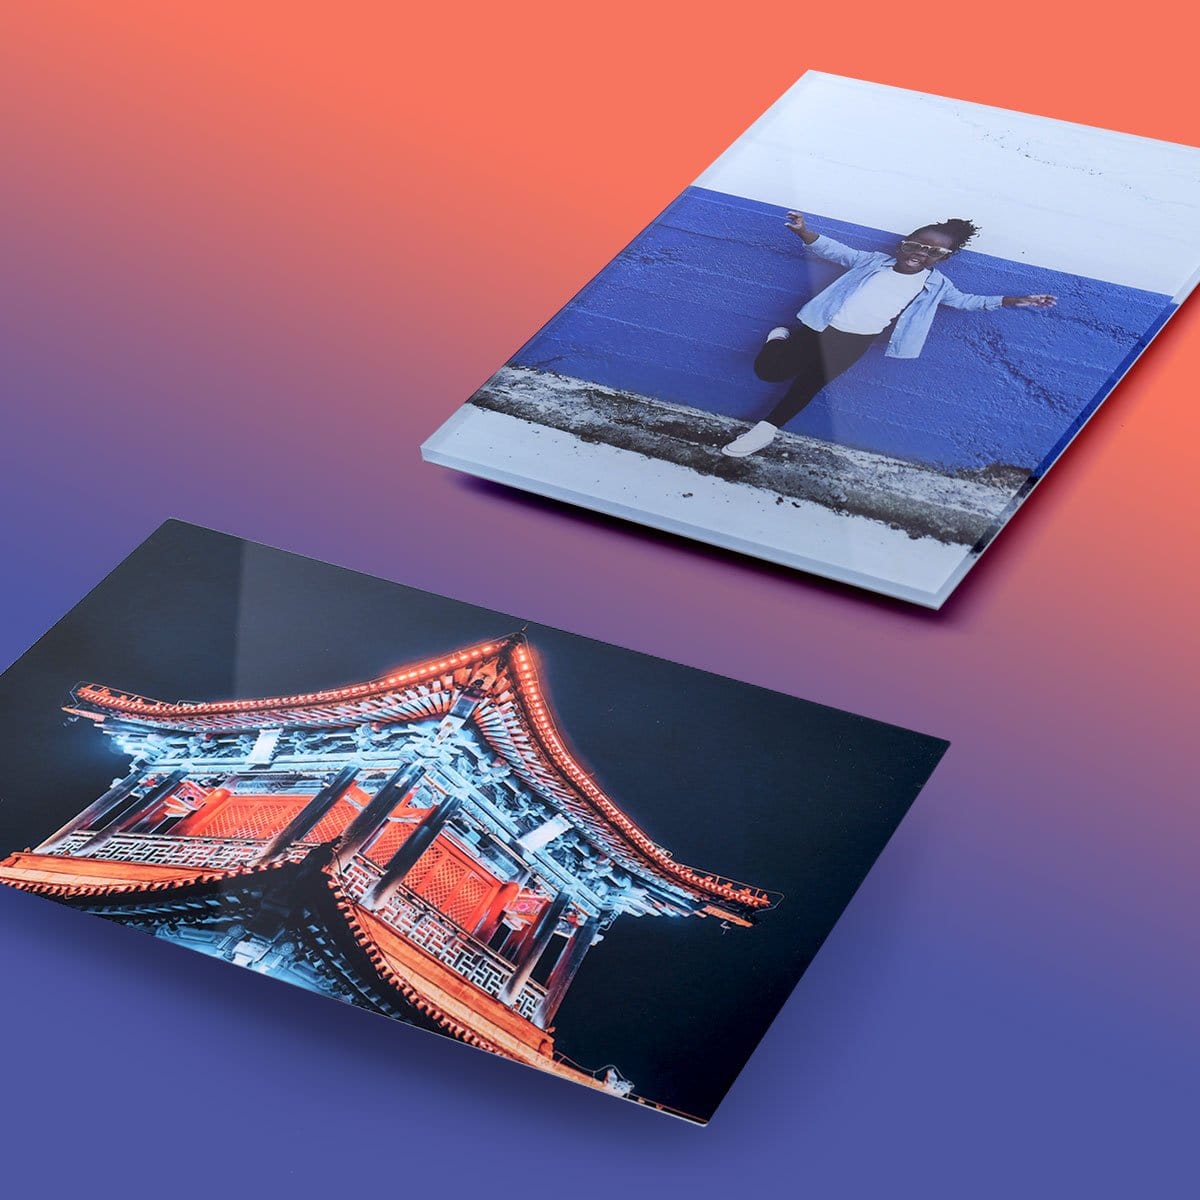
A Posterjack Acrylic Print is a custom piece of photo art made with premium-quality materials. From our Toronto workshop, we print your photo directly onto 1/4-inch thick, optically clear acrylic glass using the giclée method. Once your photo is printed on the acrylic, our Photo Art Experts mount it to a white protective backing sheet and then finish it off by polishing the edges to a crystal-clear sheen. It’s our top product, and for good reason! Check out What Is An Acrylic Print to learn more about them.
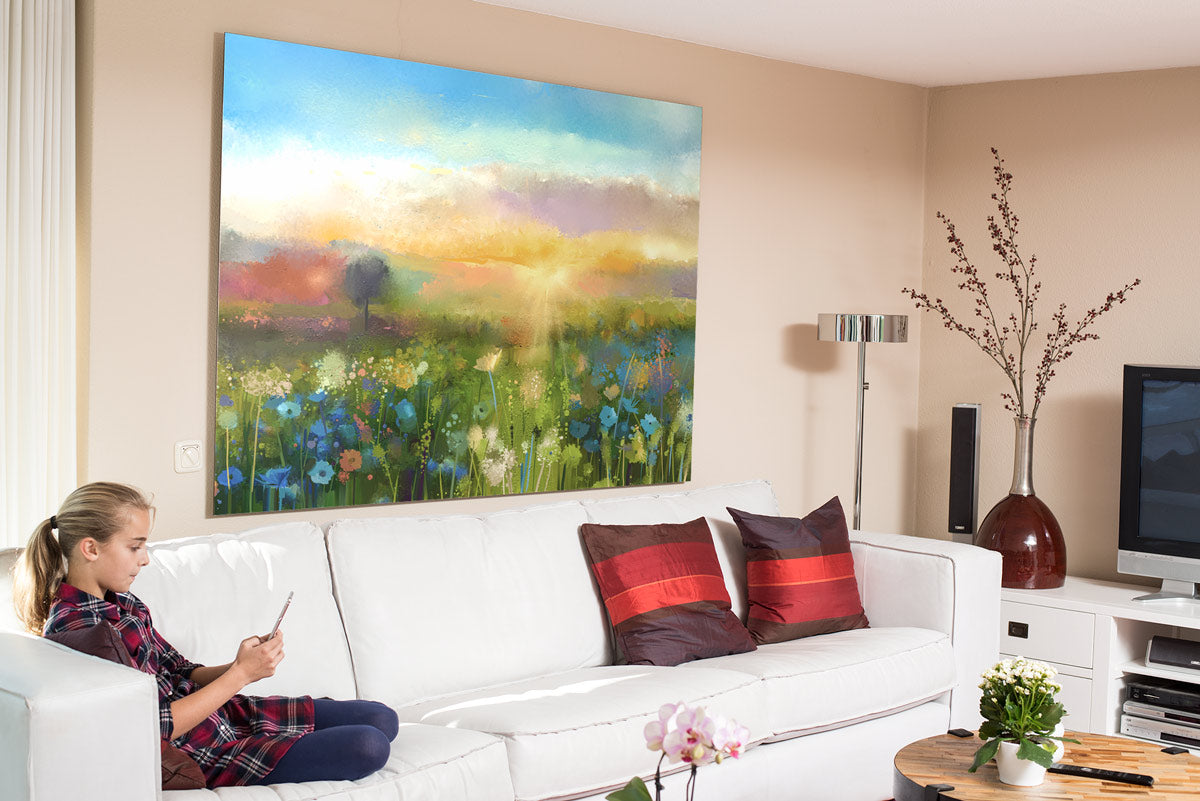
Although we offer three different types of Metal Prints, each with their own unique characteristics, our Matte White Metal Prints are a popular option for printing artwork because of their satin-matte finish. They’re perfect for displaying in nearly any situation, including rooms with bright lights or overhead lighting. They’re rated to be fade-resistant for 200+ years, and are printed using advanced SwissQ print equipment for superior image quality. Your artwork will be printed on a 3mm white-coated aluminum panel and you can choose one of four hanging options—Float Mount, Standoff Kit, Modern Float Frame, or Standard Frame—no hanging/framing options are also available.
Related: Everything You Need to Know About Metal Prints
Posterjack Canvas Prints are are expertly hand-stretched and made right here in Canada, from our Toronto location. Our goal is to provide Canadians the best canvas prints available, which means we only use premium materials like thick poly-cotton canvas that won’t sag, and kiln-dried Canadian basswood frames that won’t warp. In addition to ensuring the materials we use are second to none, we put just as much effort into making sure your artwork looks its best! We print photos using our proprietary PJ-PRINT™ software and world-class printers using green certified HP inks that will not fade for 200 years. The quality and care we put into creating our Canvas Prints means you get a beautiful piece of custom art you can proudly display on your wall and years down the road, it will look just as vibrant as the day you got it.
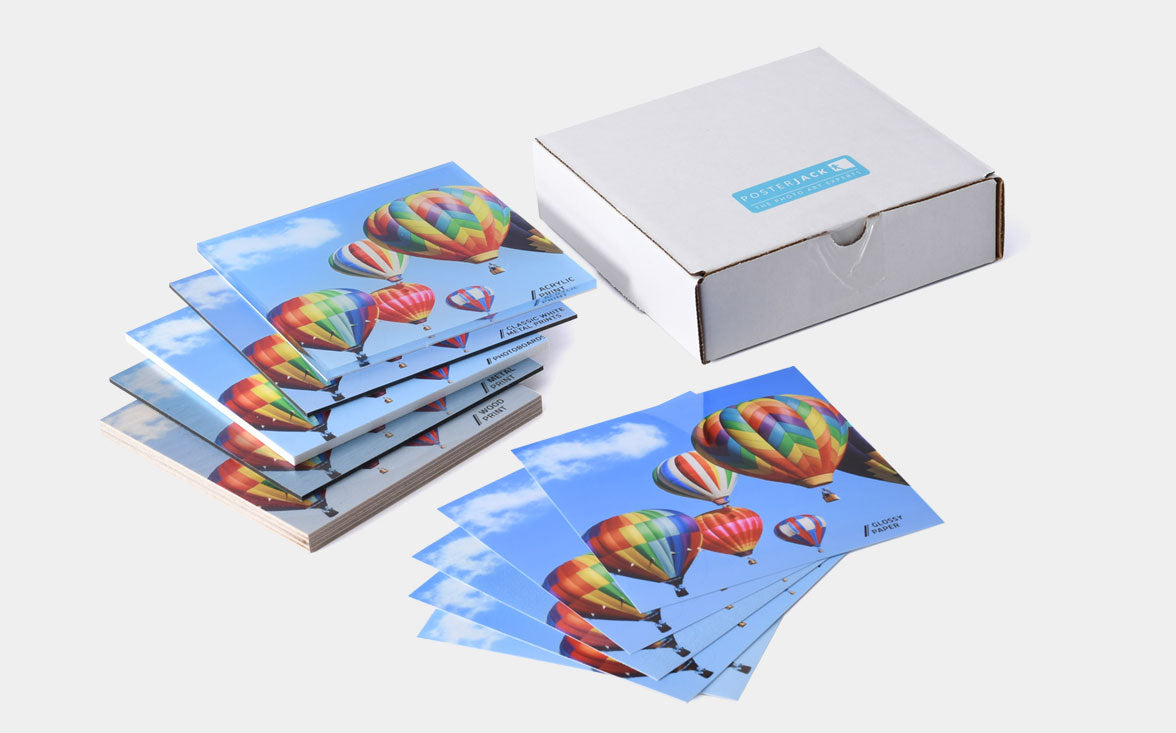
If you can’t decide what you’d like to print your artwork on, you can order a Sample Box, which includes a variety of materials we print on, plus a $10 gift certificate to use on your next order.
