When it comes to displaying metal prints, there are various mounting and hanging options available to suit your personal style and preferences.
Whether you prefer a frameless modern look, a classic frame, or a secure hanging system for high-traffic areas, you can find the perfect print for your space.
In this article, we will explore the different options for mounting and hanging metal prints, as well as provide step-by-step instructions on how to hang them on your wall.
We’ve also included some tips and considerations to help you decide on the best place to display your photo art. By following these guidelines, you can ensure that your metal prints are securely and beautifully displayed in your home.
Metal Print Mounting & Hanging Options

[Posterjack Brushed Metal Prints with Modern Float Frames]
From modern Float Mounts to industrial Standoff Kits, we offer several different options to hang your Metal Print on the wall making it easy to have your new photo art fit in perfectly with your home decor style.
You will see the various hanging options that are available during the ordering process when creating your custom print.
Note that options will vary based on the type of metal print and size you choose.
Here’s a look at our Metal Print hanging and framing options, along with the print types and sizes which are available for each.
1. No Frame
With this option, your print will be created as simply the print alone, with nothing on the back for hanging.
This is a good option to choose if you plan to have a custom frame made for the print, intend on using your own hanging system, or want the print for an alternative use.
We’ve also seen customers choose this option when they plan to display their print in a small or narrow space where their photos could get bumped, like in a staircase or hallway.
Using 3M strips, the Metal Print will be flat against the wall so the photos won’t be in constant need of being straightened if they’re bumped. This option is available with all three of our Metal Print types.
2. Float Mount
This is our most popular Metal Print hanging option. It offers a modern, frameless look and the installed hanging wire on the back of the print makes mounting it to the wall quick and easy.
The Float Mount will cause the print to “float” approximately 1/2-inch away from the wall. This option is available with all three of our Metal Print types.
3. Standoff Kit
This is a very secure hanging option, making it another fantastic option for displayed prints in high-traffic areas.
The Standoff Kit is a wall-anchor and bolt system. The print is bolted into the wall through holes drilled in the four corners of the print.
Step-by-step Installation instructions are provided below but are also included with your order.
This option is available with our Matte Metal Prints and Brushed Metal Prints only.
4. Modern Float Frame
This option features a deep boxed frame made from solid wood. The Metal Print is mounted flush with the front edge of the frame.
It has a depth of 1.75-inch and is available in four colours: black, white, espresso, and silver.
Our Modern Float Frames are fitted with a wire for easy hanging and is available with our Matte Metal Prints and Brushed Metal Prints only.
5. Standard Frame
A classic frame style made from solid wood with a satin finish.
The print is set in the rear of the frame, with the inner lip of the moulding covering the edge of the print, and has a 1.25-inch front frame profile.
Fitted with a key-hole hanging system on the rear of the frame, this option is available with all three of our Metal Print types.
6. Aluminum Easel
A fold-out aluminum standing leg for setting the print on a desk, shelf, or other flat surface, the Aluminum Easel is mounted directly onto the back of the print and is available with all three of our Metal Print types in sizes 12”x18” and smaller.
How to Hang a Metal Print on the Wall [Making custom photo art inside the Posterjack Print Shop.]
Hanging a metal print on the wall is a straightforward process. Here are step-by-step instructions to help you:
1. Gather the Necessary Materials
- Metal print: Ensure that it has a hanging mechanism, such as a wire hanger or key-hole hanging system, on the back.
- Hanging hardware and tools: Depending on your wall and print, you may need items such as screws, nails, or wall anchors, along with the tools to install these (like a hammer or drill).
- Level: To ensure your metal print hangs straight.
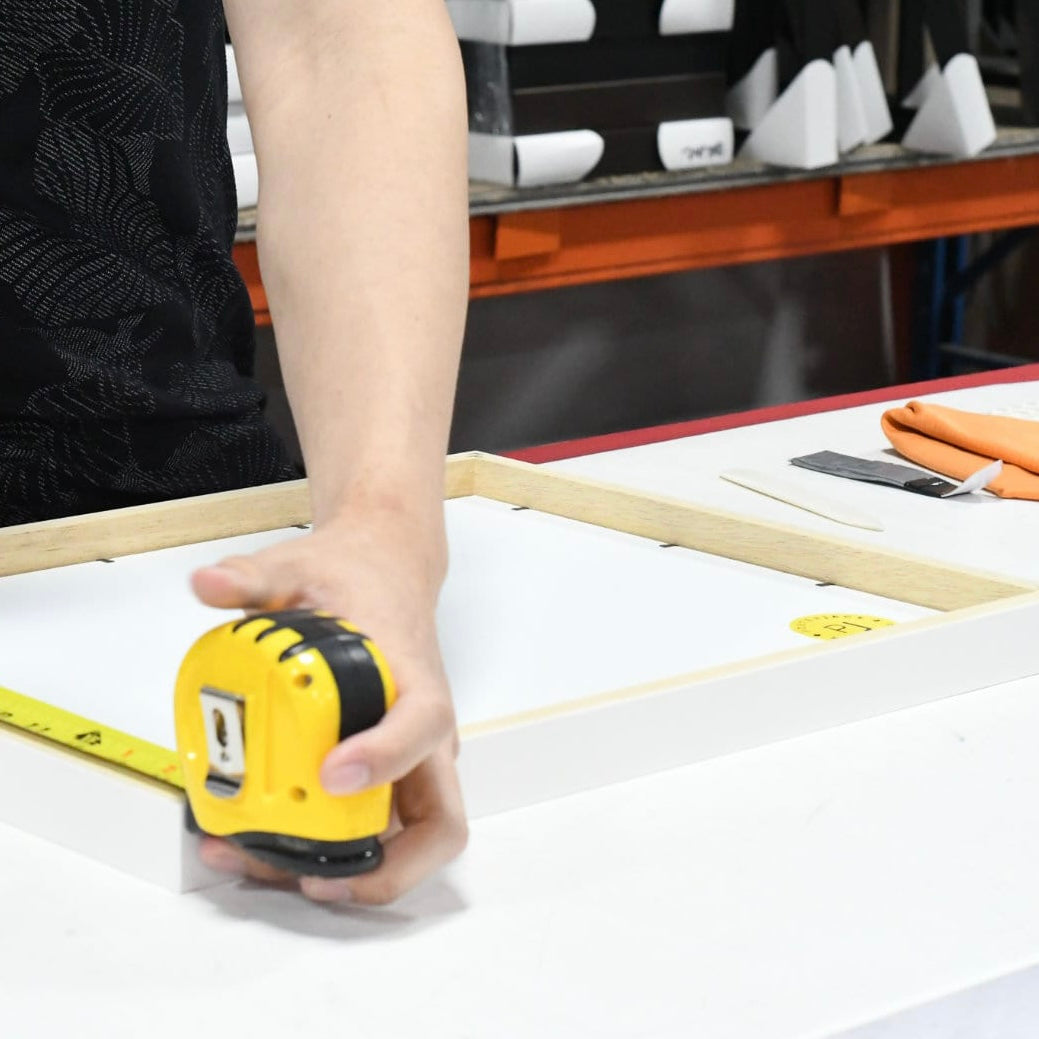
- Tape measure: To accurately measure and mark the hanging position.
- Stud finder (optional): A tool to help you locate the wall studs to securely hang your metal print.
- Pencil: To mark hanging positions.
2. Choose the Location
Decide where you want to hang your metal print. Consider factors such as wall space, lighting, and the desired height for display. To help you decide which hanging options might be the best for your situation, we’ve included some helpful tips below.
3. Measure and Mark the Hanging Position
Use a tape measure to determine the desired height and position of your metal print. Measure from the floor or an adjacent reference point to ensure accuracy. Use a pencil to mark the spot lightly.
4. Locate Wall Studs (Optional)
If you're hanging a heavy metal print, it's advisable to secure it to wall studs for added stability.
Use a stud finder tool to locate the position of the studs within your marked area.
Mark the edges of the studs with a pencil and aim to hang your print near the centre of the stud.
💡 Tip: If you don’t have a stud finder, you can still locate studs behind the drywall. Studs can be positioned up to 24-inches from each other but are typically placed 16-inches apart on walls and are used around windows and doors, as well as in the corners of rooms.
Using a measuring tape, measure in 16-inch increments from any of these starting points and you will likely find a stud.
Once you think you’ve located a stud, you can do the knock test where you gently tap on the wall to see if it sounds solid or hollow.
If it sounds hollow, there isn’t a stud behind the wall.
Note that this test isn’t a foolproof way to locate studs, but combined with measuring, could help and hopefully prevent putting unnecessary holes in the wall.
5. Attach Wall Fasteners
Based on your wall type and the weight of your metal print, select the appropriate wall fasteners.
If you're attaching to studs, simply drill screws into the marked locations. For drywall or other wall types, use wall anchors or other suitable fasteners.
6. Hang the Metal Print
With the wall fasteners securely in place, it's time to hang your metal print. If your metal print has a wire hanger, ensure it is centered.
If it has a sawtooth hanger or keyhole, position it at the desired height. Carefully lift the metal print and align the hanging mechanism with the fasteners on the wall.
Lower the print, making sure it hooks securely onto the fasteners.
7. Level the Metal Print
Use a level to ensure your metal print is perfectly straight. Adjust the position if necessary, gently lifting it off the fasteners and reattaching it until it is level.
8. Step Back and Assess
Take a step back to examine the placement and alignment of your metal print. Make any adjustments if needed.
9. Clean and Enjoy!
Finally, wipe the surface of your metal print gently with a soft, lint-free cloth to remove any smudges or fingerprints and admire your beautifully hung metal print!
Tips for Deciding Where to Hang Your Metal Print
 [Posterjack Metal Prints are durable enough to be displayed outdoors.]
To help you enjoy your metal prints in all their glory, here are a few tips and considerations:
- Lighting: Consider what type of lighting will be in the area you’re planning to hang your metal print. If there’s overhead lighting or even natural sunlight that will fall on the print, there’s a good chance your print will be affected by glare. To help reduce the likelihood of this, you can hang your metal print in a different space or choose a metal print type that isn’t high-gloss, like our Matte Metal Prints.
- Location: Part of what makes metal prints so great is their durability. They can be wiped clean with a damp cloth and can even be displayed outdoors. With that said, if you’re planning to hang your metal print in a high-traffic area like a hallway or staircase, you might want to consider choosing a hanging system that is more secure, like our Standoff Kit. Although not necessary, a hanging system like this will mean you don’t need to constantly be straightening frames when they get bumped by the kids running up and down the hallway.
- Height: Where and how you choose to display your metal prints is a personal preference, but ideally, the center of the print should be about 57-inches from the floor. Refer to this infographic on how to display your artwork for more tips.
- Trial Run: To help reduce the chances of putting unnecessary holes in the wall, cut craft paper or newspaper to the size of your metal print(s) and hang them on the wall using painter’s tape. Step back to see if you like how it looks and make adjustments if needed. This is a great way to play around with various gallery wall layouts too if you plan on hanging multiple metal prints.
Show Off Your Metal Prints
Mounting and hanging metal prints can be a breeze when armed with the right knowledge and tools. By choosing the best hanging system and the ideal display location, you can present your metal prints in a way that truly reflects your personal style.
Don't forget to gather all the necessary materials, accurately measure and mark the hanging position, and use reliable hanging hardware for a secure hold.
By following these simple steps, you can proudly showcase your metal prints in your home and office, just like these Posterjack customers!

"Peony season may be behind us, but thanks to my new Posterjack prints, I’ll be able to enjoy my favourite flowers all year round! I can’t get over how life-like these HD Metal Prints look. Loving how vibrant the colours are, living for the glossy finish, and adore it’s durable, yet lightweight, aluminum design.” Image and Quote Source

"Thanks Posterjack for always making my pieces pop." Image and Quote Source

"Posterjack had a sale on metal prints and I ordered two. They turned out great. Here is one of them." Image and Quote Source


