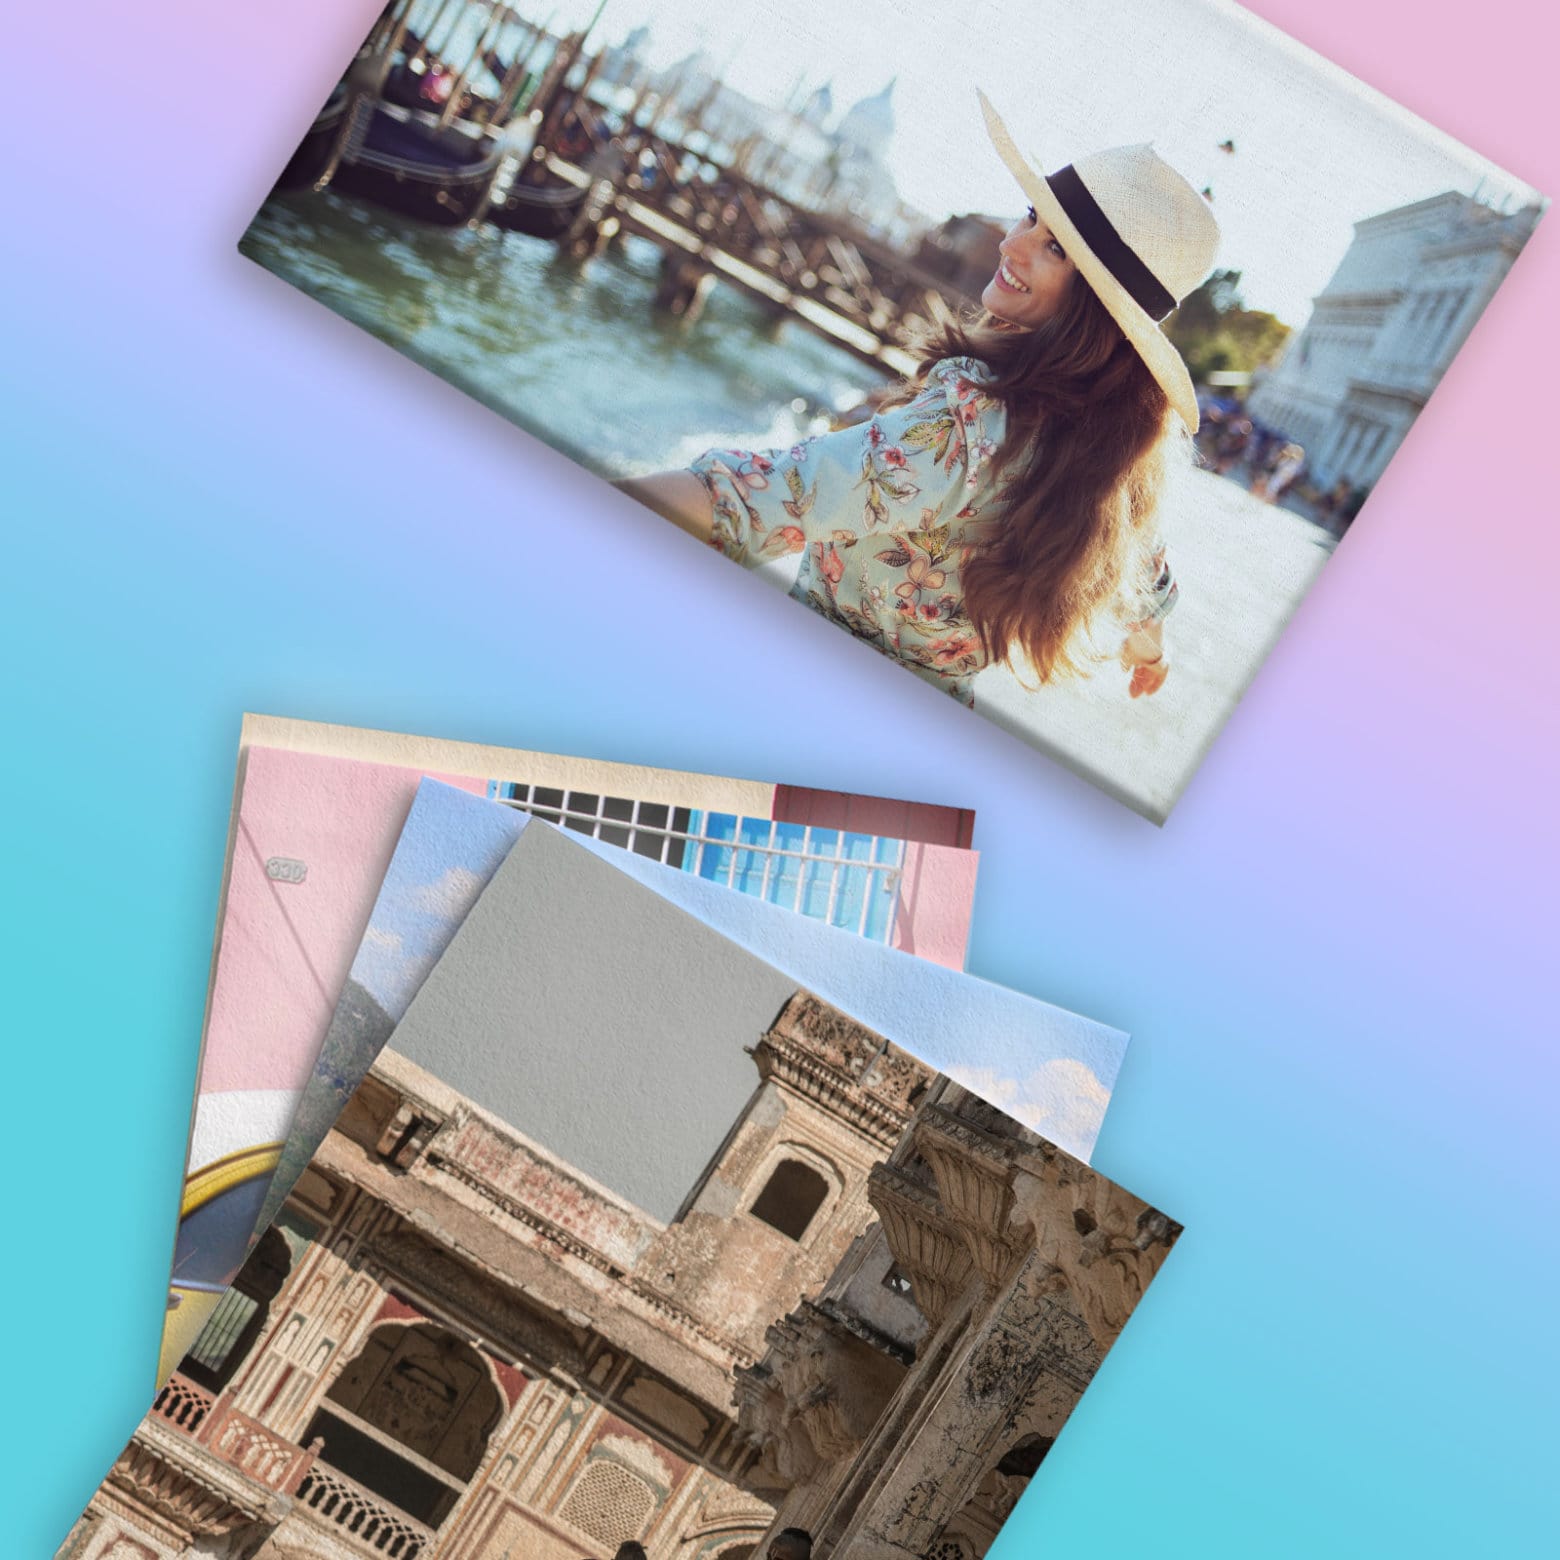
Lorsqu'il s'agit d'exposer des impressions sur métal, plusieurs options de montage et d'accrochage sont disponibles pour s'adapter à votre style personnel et à vos préférences.
Que vous préfériez un look moderne sans cadre, un cadre classique ou un système de suspension sécurisé pour les zones très fréquentées, vous pouvez trouver l'impression parfaite pour votre espace.
Dans cet article, nous explorerons les différentes options de montage et de suspension des impressions sur métal, et nous fournirons des instructions étape par étape sur la façon de les accrocher à votre mur.
Nous avons également inclus quelques conseils et considérations pour vous aider à décider du meilleur endroit pour exposer vos photos d'art. En suivant ces directives, vous pourrez vous assurer que vos impressions sur métal sont affichées en toute sécurité et avec élégance dans votre maison.
Options de montage et de suspension pour les impressions sur métal

[Impressions sur métal brossé Posterjack avec cadres flottants modernes]
Des supports flottants modernes aux kits d'entretoises industriels, nous offrons plusieurs options différentes pour accrocher votre impression sur métal au mur, ce qui permet à votre nouvelle œuvre d'art de s'intégrer parfaitement à votre style de décoration intérieure.
Vous verrez les différentes options de suspension disponibles lors du processus de commande lorsque vous créerez votre impression personnalisée.
Notez que les options varieront en fonction du type d'impression sur métal et de la taille que vous choisissez.
Voici un aperçu de nos options de suspension et d'encadrement pour impressions sur métal, ainsi que les types et tailles d'impression disponibles pour chacune.
1. Sans cadre
Avec cette option, votre impression sera simplement créée telle quelle, sans rien au dos pour la suspension.
C'est une bonne option si vous prévoyez de faire réaliser un cadre sur mesure pour l'impression, si vous avez l'intention d'utiliser votre propre système de suspension ou si vous souhaitez l'impression pour une utilisation alternative.
Nous avons également vu des clients choisir cette option lorsqu'ils prévoient d'exposer leur impression dans un espace petit ou étroit où leurs photos pourraient être heurtées, comme dans un escalier ou un couloir.
En utilisant des bandes 3M, l'impression sur métal sera à plat contre le mur, de sorte que les photos n'auront pas besoin d'être constamment redressées si elles sont heurtées. Cette option est disponible avec les trois types d'impressions sur métal.
2. Montage flottant
C'est notre option de suspension d'impression sur métal la plus populaire. Elle offre un look moderne et sans cadre, et le fil de suspension installé au dos de l'impression rend le montage au mur rapide et facile.
Le montage flottant fera « flotter » l'impression à environ 1,27 cm du mur. Cette option est disponible avec nos trois types d'impressions sur métal.
3. Kit d'entretoises
C'est une option de suspension très sécurisée, ce qui en fait une autre option fantastique pour les impressions exposées dans les zones à fort trafic.
Le kit d'entretoises est un système d'ancrage mural et de boulons. L'impression est boulonnée au mur à travers des trous percés dans les quatre coins de l'impression.
Les instructions d'installation étape par étape sont fournies ci-dessous, mais sont également incluses avec votre commande.
Cette option est disponible uniquement avec nos impressions sur métal mat et nos impressions sur métal brossé.
4. Cadre flottant moderne
Cette option présente un cadre caisson profond en bois massif. L'impression sur métal est montée au ras du bord avant du cadre.
Il a une profondeur de 4,45 cm et est disponible en quatre couleurs : noir, blanc, espresso et argent.
Nos cadres flottants modernes sont équipés d'un fil pour une suspension facile et sont disponibles uniquement avec nos impressions sur métal mat et nos impressions sur métal brossé.
5. Cadre standard
Un cadre de style classique en bois massif avec une finition satinée.
L'impression est placée à l'arrière du cadre, le bord intérieur de la moulure couvrant le bord de l'impression, et a un profil de cadre avant de 3,18 cm.
Équipée d'un système de suspension en trou de serrure à l'arrière du cadre, cette option est disponible avec nos trois types d'impressions sur métal.
6. Chevalet en aluminium
Un pied pliant en aluminium pour poser l'impression sur un bureau, une étagère ou toute autre surface plane, le chevalet en aluminium est monté directement au dos de l'impression et est disponible avec nos trois types d'impressions sur métal de tailles 12"x18" et plus petites.
Comment accrocher une impression sur métal au mur [Création d'œuvres d'art personnalisées dans l'atelier d'impression de Posterjack.]
Accrocher une impression sur métal au mur est un processus simple. Voici des instructions étape par étape pour vous aider :
1. Rassemblez le matériel nécessaire
- Impression sur métal : Assurez-vous qu'elle dispose d'un mécanisme de suspension, tel qu'un fil ou un système de trou de serrure, à l'arrière.
- Quincaillerie et outils de suspension : Selon votre mur et votre impression, vous pourriez avoir besoin d'articles tels que des vis, des clous ou des chevilles, ainsi que des outils pour les installer (comme un marteau ou une perceuse).
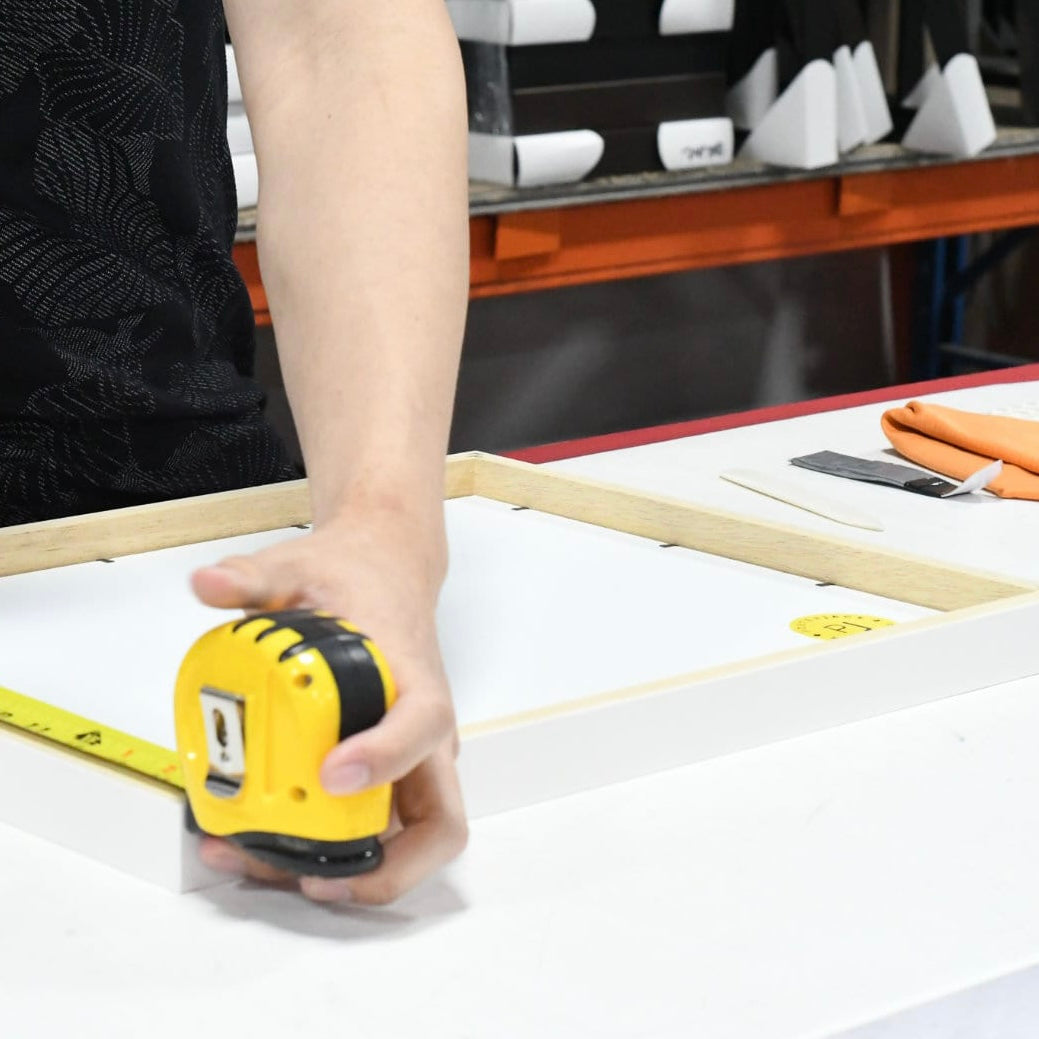
- Niveau : Pour vous assurer que votre impression sur métal est droite.
- Mètre ruban : Pour mesurer et marquer précisément la position de suspension.
- Détecteur de montants (facultatif) : Un outil pour vous aider à localiser les montants du mur afin d'accrocher solidement votre impression sur métal.
- Crayon : Pour marquer les positions de suspension.
2. Choisissez l'emplacement
Décidez où vous voulez accrocher votre impression sur métal. Tenez compte de facteurs tels que l'espace mural, l'éclairage et la hauteur de présentation souhaitée. Pour vous aider à choisir les meilleures options de suspension pour votre situation, nous avons inclus quelques conseils utiles ci-dessous.
3. Mesurez et marquez la position de suspension
Utilisez un ruban à mesurer pour déterminer la hauteur et la position souhaitées de votre impression sur métal. Mesurez à partir du sol ou d'un point de référence adjacent pour garantir la précision. Utilisez un crayon pour marquer légèrement l'endroit.
4. Localisez les montants muraux (facultatif)
Si vous suspendez une impression métallique lourde, il est conseillé de la fixer aux montants du mur pour une stabilité accrue.
Utilisez un détecteur de montants pour localiser la position des montants dans la zone marquée.
Marquez les bords des montants avec un crayon et visez à suspendre votre impression près du centre du montant.
💡 Astuce : Si vous n'avez pas de détecteur de montants, vous pouvez toujours localiser les montants derrière les cloisons sèches. Les montants peuvent être espacés jusqu'à 60 cm les uns des autres, mais sont généralement espacés de 40 cm sur les murs et sont utilisés autour des fenêtres et des portes, ainsi que dans les coins des pièces.
À l'aide d'un mètre ruban, mesurez par incréments de 40 cm à partir de n'importe lequel de ces points de départ et vous trouverez probablement un montant.
Une fois que vous pensez avoir localisé un montant, vous pouvez faire le test du coup en tapotant doucement sur le mur pour voir s'il sonne solide ou creux.
S'il sonne creux, il n'y a pas de montant derrière le mur.
Notez que ce test n'est pas un moyen infaillible de localiser les montants, mais combiné à la mesure, il pourrait aider et, espérons-le, éviter de faire des trous inutiles dans le mur.
5. Fixez les fixations murales
En fonction du type de votre mur et du poids de votre impression sur métal, choisissez les fixations murales appropriées.
Si vous fixez aux montants, vissez simplement les vis aux emplacements marqués. Pour les cloisons sèches ou d'autres types de murs, utilisez des chevilles murales ou d'autres fixations appropriées.
6. Accrochez l'impression sur métal
Une fois les fixations murales solidement en place, il est temps d'accrocher votre impression sur métal. Si votre impression sur métal a un fil de suspension, assurez-vous qu'il est centré.
Si elle est munie d'un crochet en dents de scie ou d'un trou de serrure, positionnez-la à la hauteur souhaitée. Soulevez délicatement l'impression sur métal et alignez le mécanisme de suspension avec les fixations murales.
Abaissez l'impression, en vous assurant qu'elle s'accroche solidement aux fixations.
7. Mettez l'impression sur métal à niveau
Utilisez un niveau pour vous assurer que votre impression sur métal est parfaitement droite. Ajustez la position si nécessaire, en la soulevant délicatement des fixations et en la rattachant jusqu'à ce qu'elle soit de niveau.
8. Prenez du recul et évaluez
Prenez du recul pour examiner le placement et l'alignement de votre impression sur métal. Effectuez les ajustements nécessaires.
9. Nettoyez et profitez !
Enfin, essuyez délicatement la surface de votre impression sur métal avec un chiffon doux et non pelucheux pour enlever les taches ou les empreintes digitales et admirez votre magnifique impression sur métal accrochée !
Conseils pour choisir où accrocher votre impression sur métal
 [Les impressions sur métal Posterjack sont suffisamment durables pour être exposées à l'extérieur.]
Pour vous aider à profiter de vos impressions sur métal dans toute leur splendeur, voici quelques conseils et considérations :
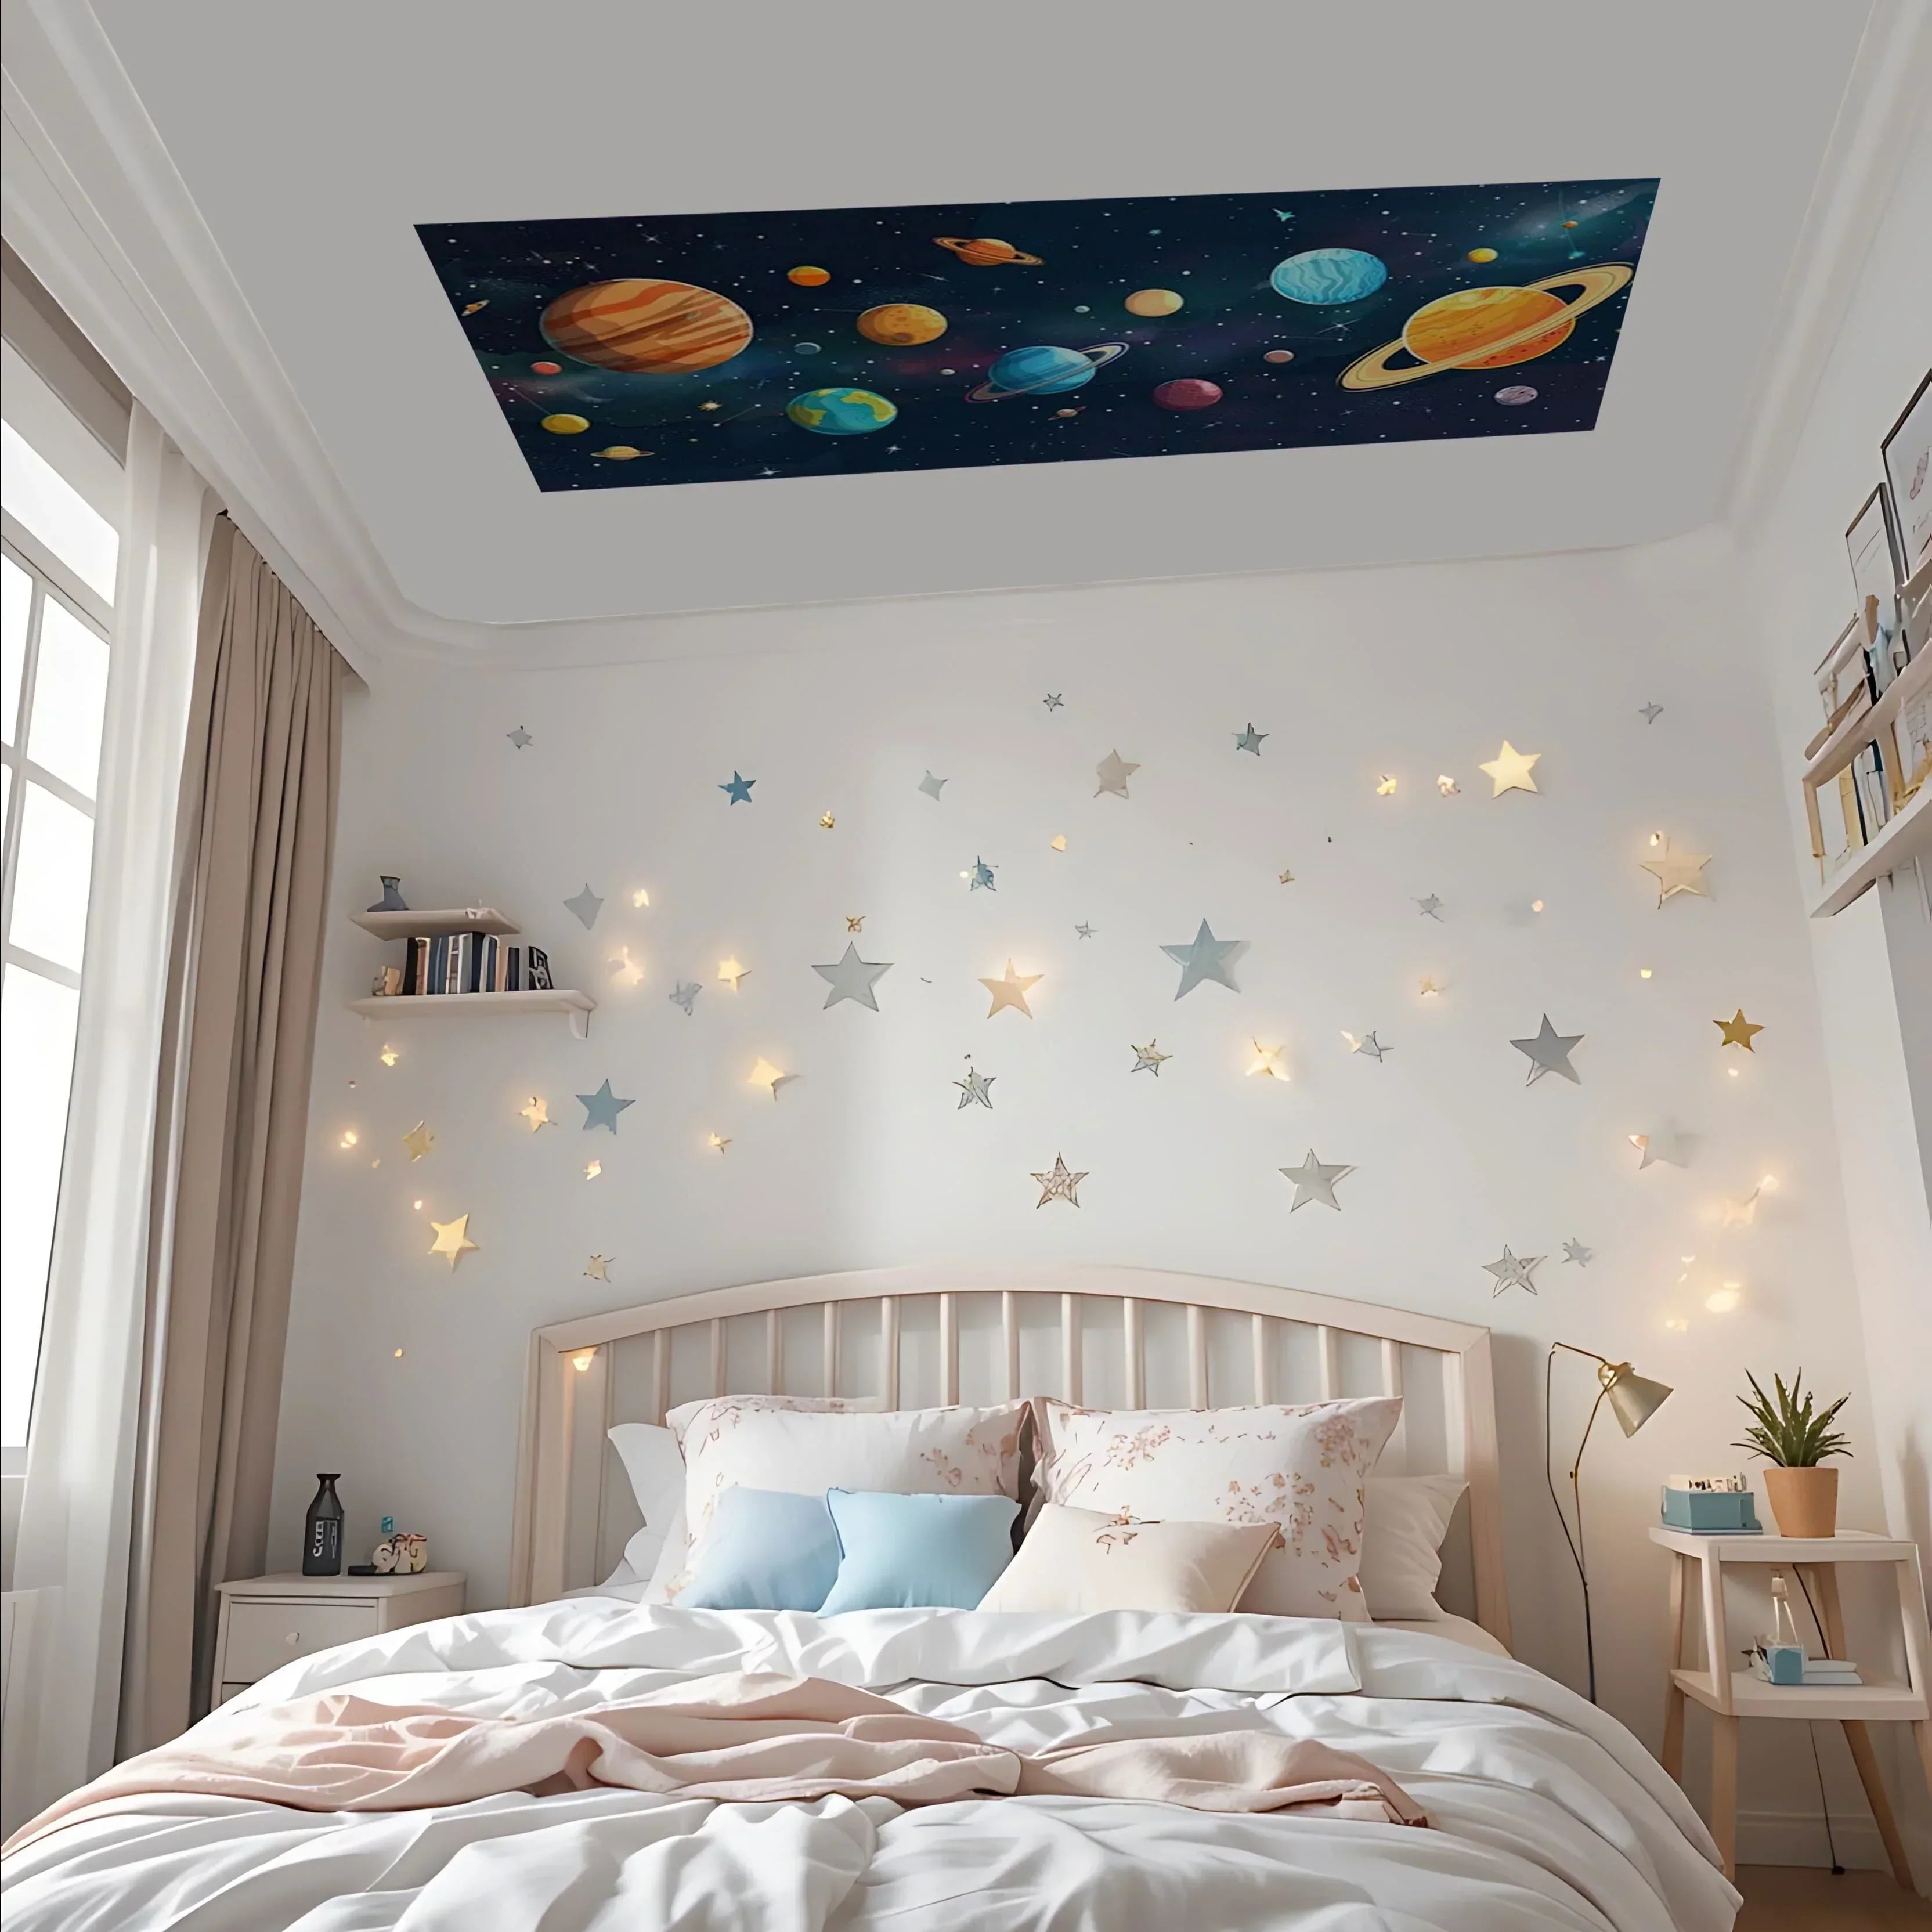
- Éclairage : Considérez le type d'éclairage qui se trouvera dans la zone où vous prévoyez d'accrocher votre impression sur métal. S'il y a un éclairage zénithal ou même la lumière naturelle du soleil qui tombera sur l'impression, il y a de fortes chances que votre impression soit affectée par les reflets. Pour aider à réduire la probabilité de cela, vous pouvez accrocher votre impression sur métal dans un espace différent ou choisir un type d'impression sur métal qui n'est pas très brillant, comme nos impressions sur métal mat.
- Emplacement : La durabilité est l'un des grands avantages des impressions sur métal. Elles peuvent être nettoyées avec un chiffon humide et peuvent même être exposées à l'extérieur. Cela dit, si vous prévoyez d'accrocher votre impression sur métal dans une zone très fréquentée comme un couloir ou un escalier, vous pourriez envisager de choisir un système de suspension plus sûr, comme notre kit d'entretoises. Bien que non nécessaire, un tel système de suspension signifie que vous n'aurez pas besoin de redresser constamment les cadres s'ils sont heurtés par les enfants qui courent dans le couloir.
- Hauteur : L'endroit et la manière dont vous choisissez d'exposer vos impressions sur métal sont une préférence personnelle, mais idéalement, le centre de l'impression devrait se trouver à environ 145 cm du sol. Référez-vous à cette infographie sur la façon d'exposer vos œuvres d'art pour plus de conseils.
- Essai : Pour réduire les risques de faire des trous inutiles dans le mur, découpez du papier kraft ou du papier journal à la taille de votre ou vos impressions sur métal et accrochez-les au mur à l'aide de ruban de peintre. Prenez du recul pour voir si le rendu vous plaît et ajustez si nécessaire. C'est un excellent moyen de jouer avec diverses configurations de murs de galerie si vous prévoyez d'accrocher plusieurs impressions sur métal.
Mettez en valeur vos impressions sur métal
Le montage et la suspension d'impressions sur métal peuvent être un jeu d'enfant lorsque l'on dispose des bonnes connaissances et des bons outils. En choisissant le meilleur système de suspension et l'emplacement idéal pour l'affichage, vous pouvez présenter vos impressions sur métal d'une manière qui reflète véritablement votre style personnel.
N'oubliez pas de rassembler tout le matériel nécessaire, de mesurer et de marquer précisément la position de suspension, et d'utiliser une quincaillerie de suspension fiable pour un maintien sûr.
En suivant ces étapes simples, vous pourrez exposer fièrement vos impressions sur métal dans votre maison et votre bureau, tout comme ces clients de Posterjack !

"La saison des pivoines est peut-être derrière nous, mais grâce à mes nouvelles impressions Posterjack, je pourrai profiter de mes fleurs préférées toute l'année ! Je n'arrive pas à croire à quel point ces impressions sur métal HD ont l'air réelles. J'adore l'éclat des couleurs, je vis pour la finition brillante, et j'adore son design en aluminium durable, mais léger." Source de l'image et de la citation

"Merci Posterjack d'avoir toujours mis mes œuvres en valeur." Source de l'image et de la citation

"Posterjack avait une promotion sur les impressions sur métal et j'en ai commandé deux. Elles se sont avérées superbes. En voici une." Source de l'image et de la citation
