
When your kid moves out, turn their bedroom into something that’s multifunctional, suits your décor style, but is still inviting to your child when they come home to visit.
I am not an interior decorator.
I just want to put that out there before I begin. So if you see a design faux pas in any of my photos—and I’m sure there will be a few—go easy on me. I’m just a regular mom who has recently become an empty nester.
That’s right, my only son just flew the nest. For anyone who’s experienced this huge life-changing event, I’m sure you know exactly how I feel – I’m sad and a little lost, but I’m also happy and excited about what the future holds for both my son, as well as my husband and me.
So, what’s first on the agenda for a mom with no more kids living at home? A vacation, maybe? Perhaps trading in the large SUV for something smaller and a little sportier? Nah. Not yet, anyway. The first thing on my to-do list is to tackle that messy—oh-so-messy!—teenager-inspired room.
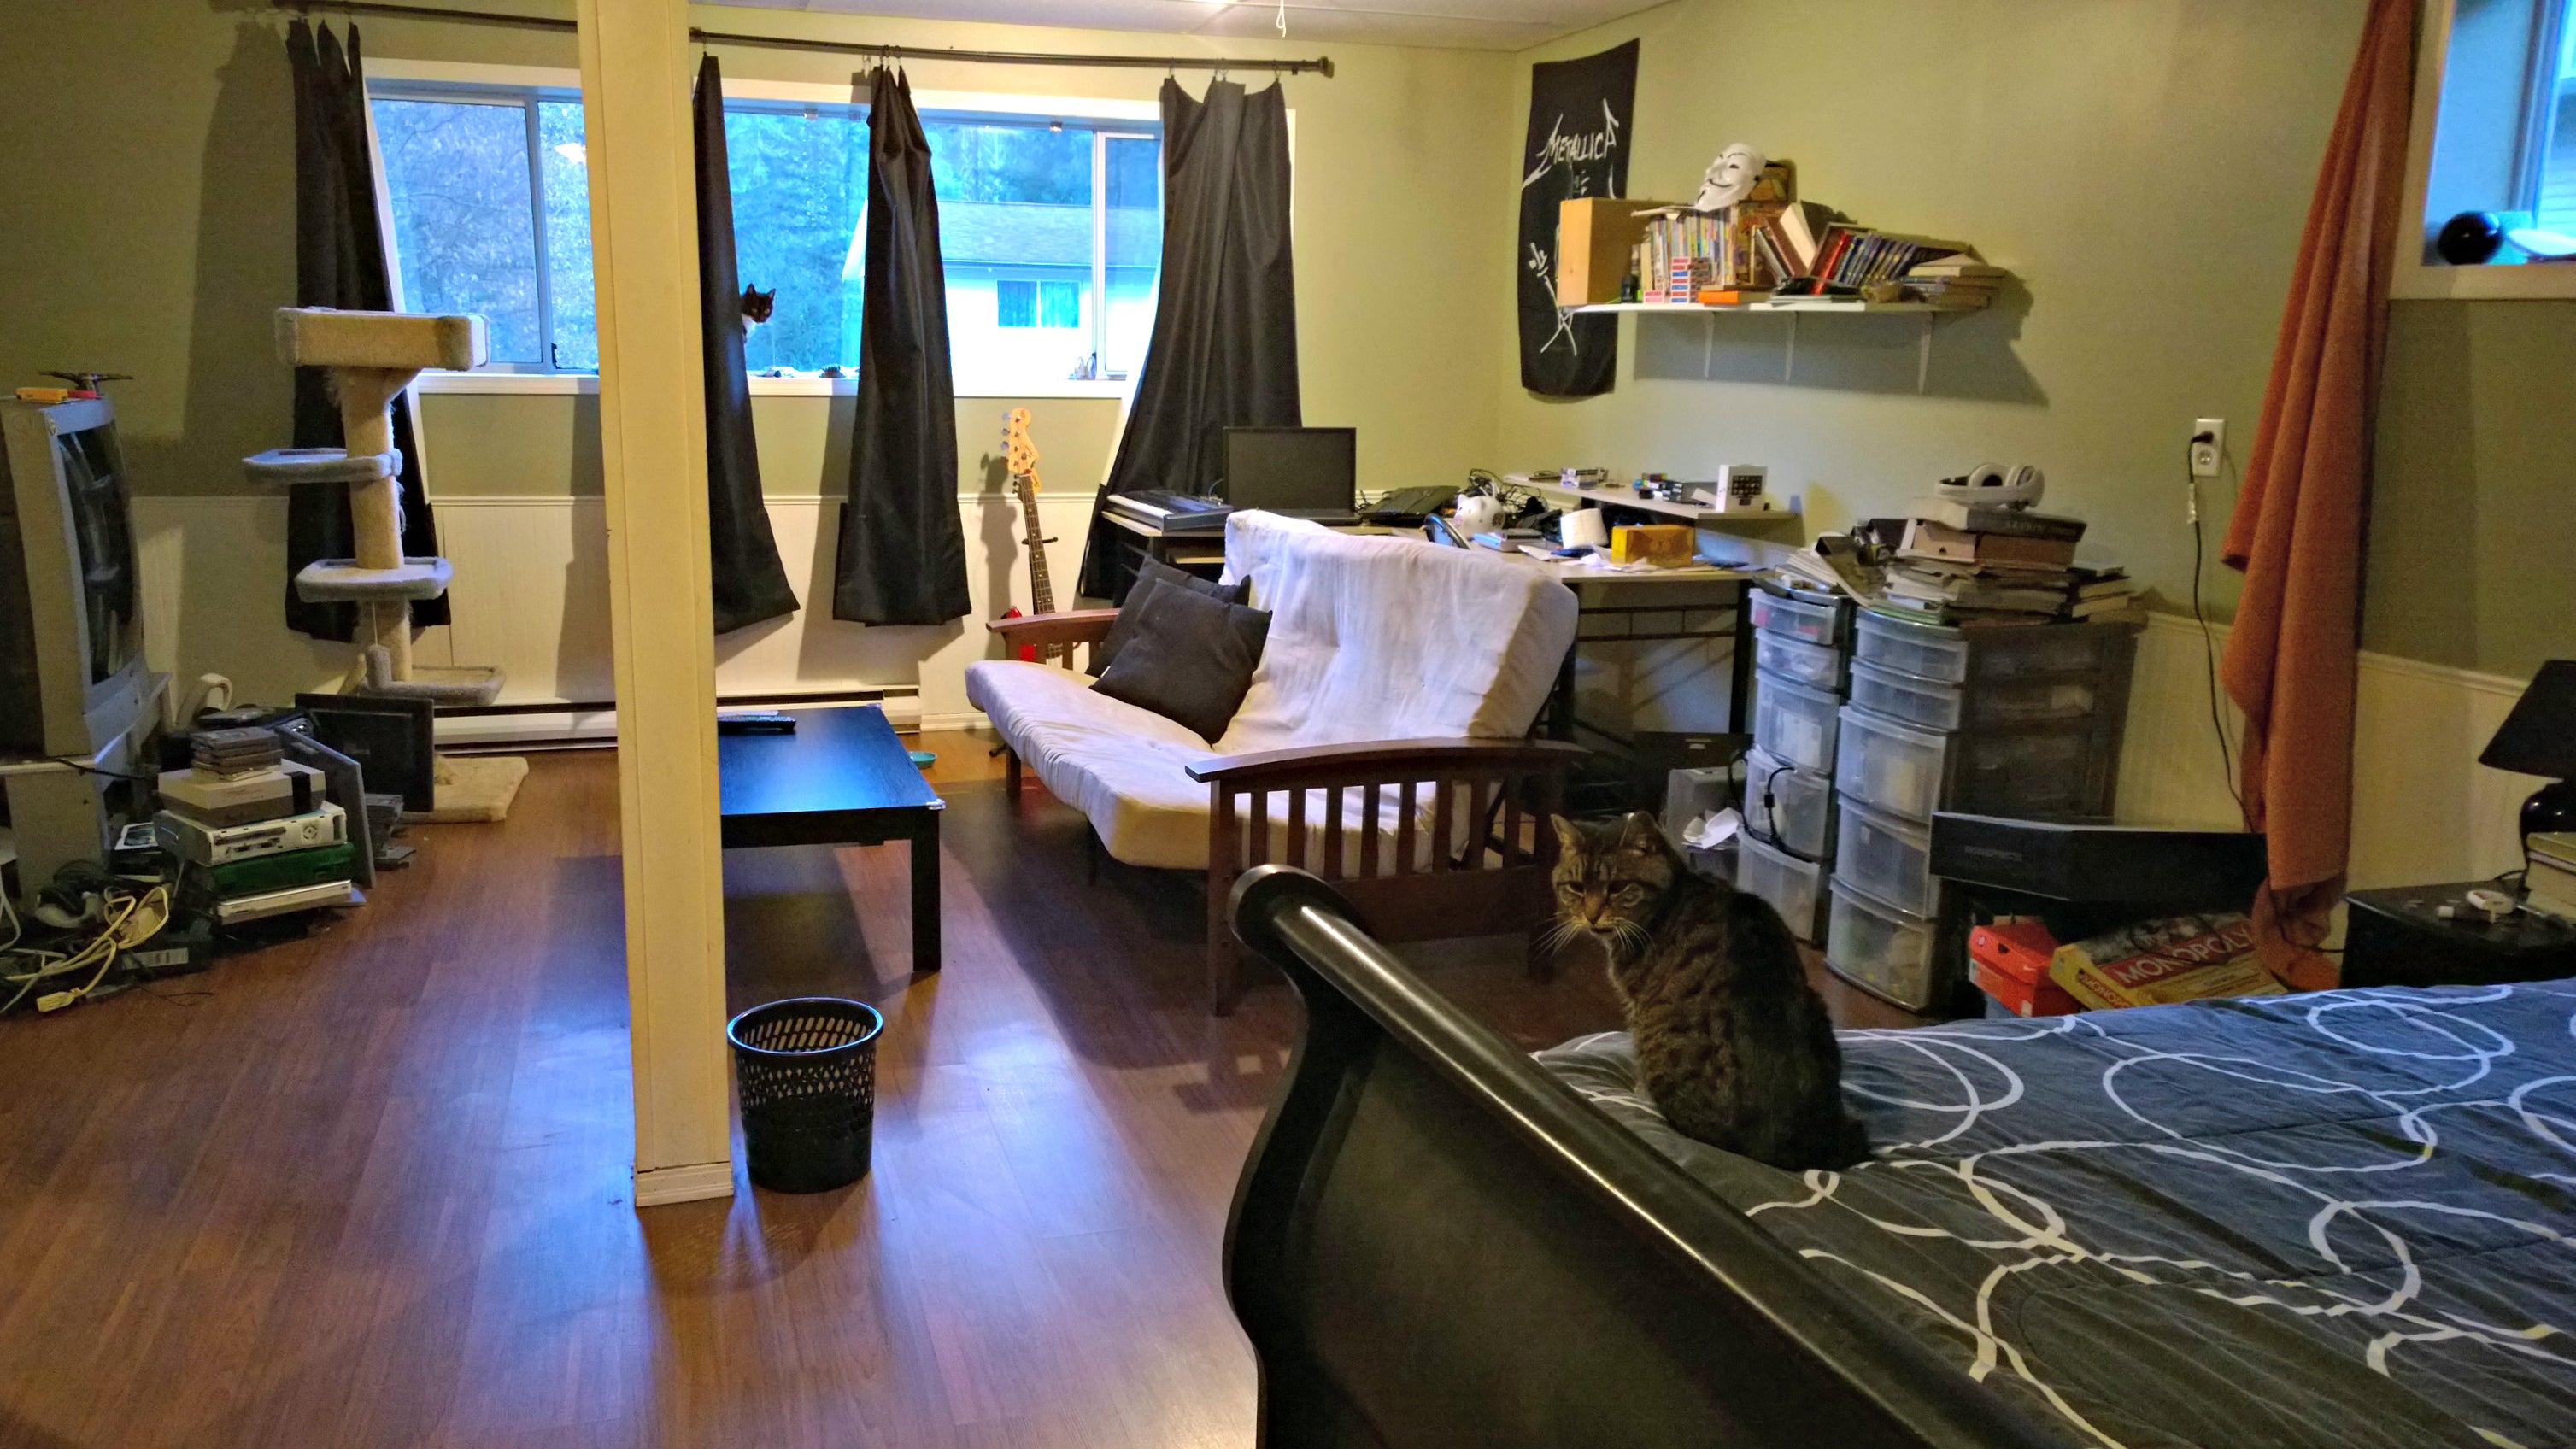
Oh-so-messy teenager room – before leaving the nest. And this was considered “clean!”
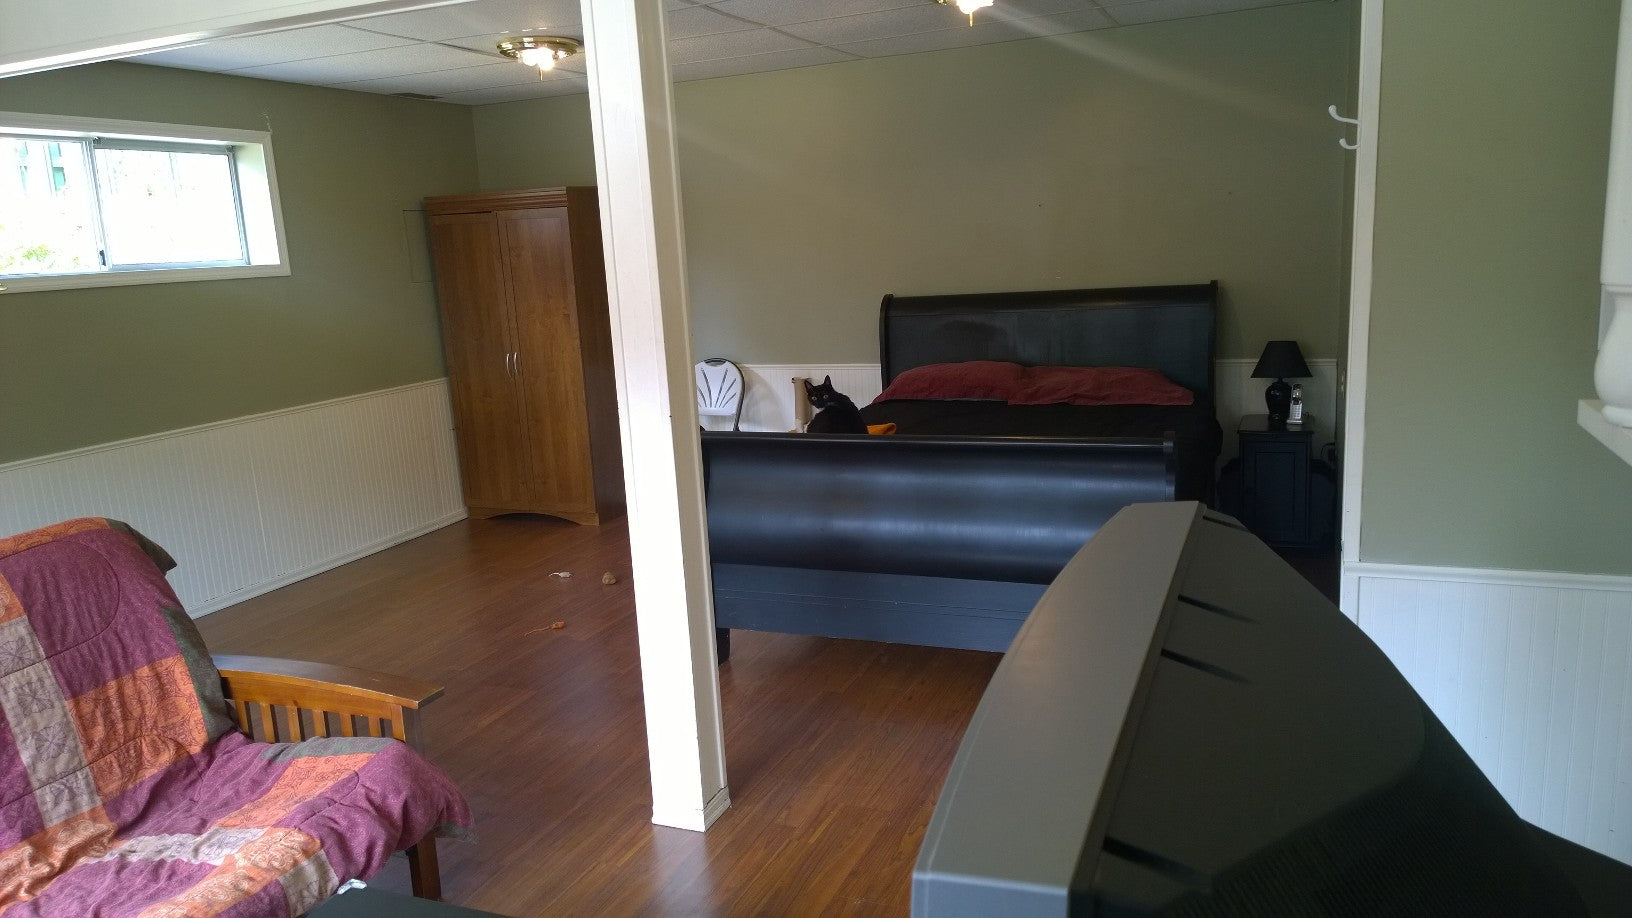
Empty bedroom after my son moved out.
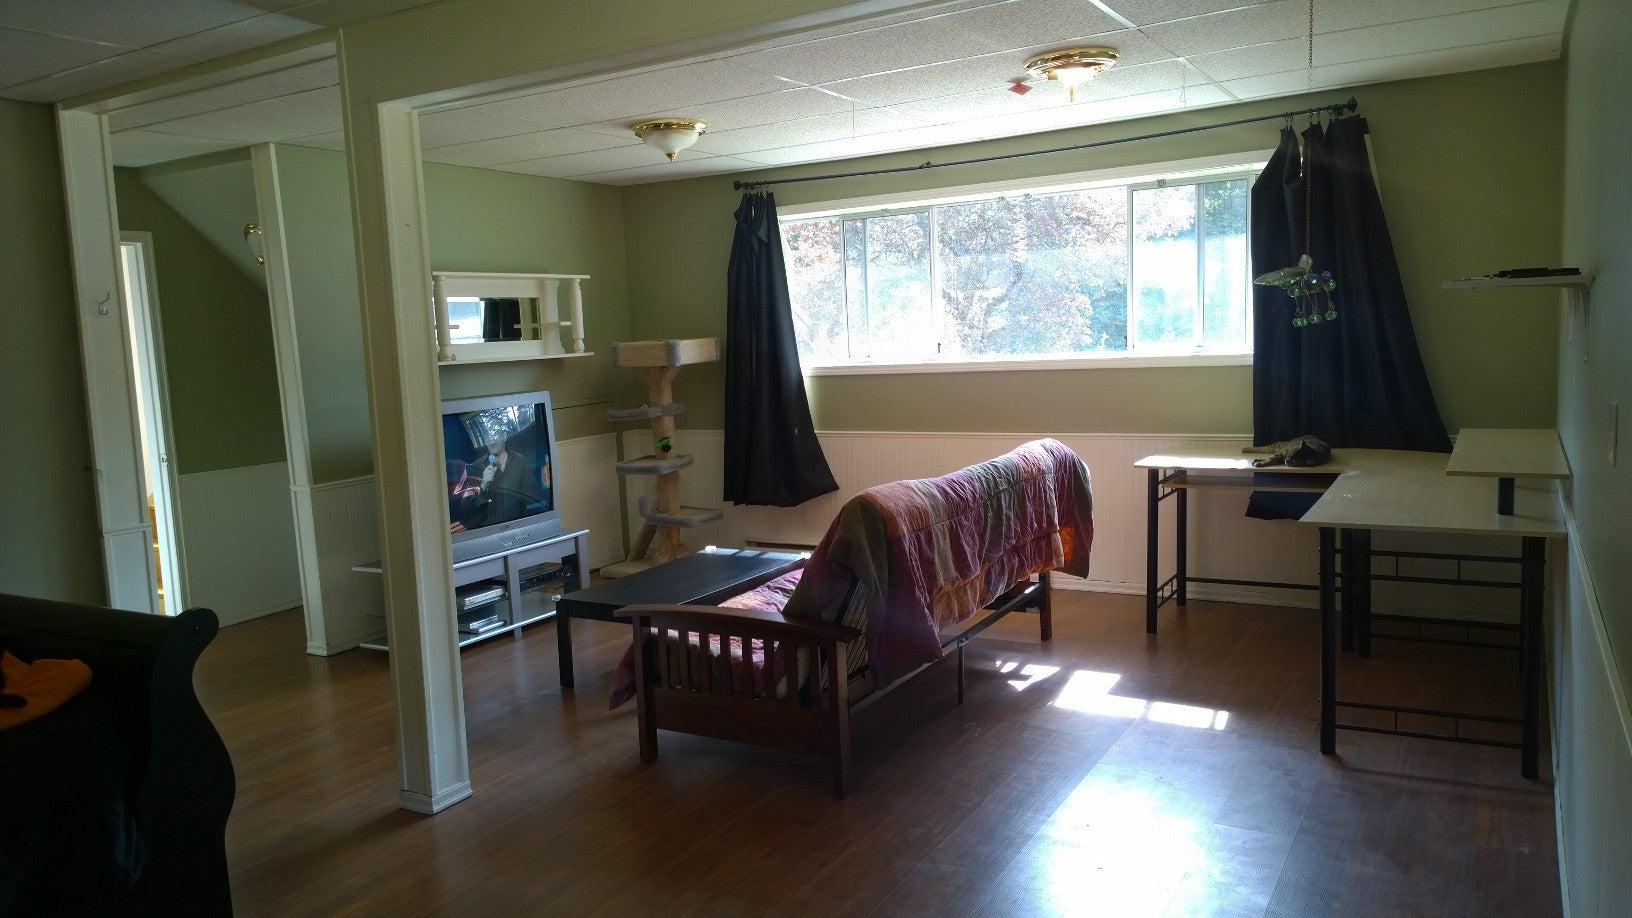
Another shot of the empty room, from a different angle.
My objective: to create a living space that’s inviting to my son when he comes home to visit, but also multifunctional so I can use it the rest of the time.
I may not be an interior decorator, but I am a crafter. This multifunctional room will be both a bedroom and a craft room. So, with my hair tied back and rubber gloves on, I stepped into my son’s old bedroom to go where no man has gone before (seriously) – under the bed and in the deepest, darkest corners where a whole thriving ecosystem existed and spiders ruled the land. That is, until the pony-tailed, rubber-fingered giant stepped in with the vacuum and a bucket of bleach. Take that, you hairy eight-legged beasts!
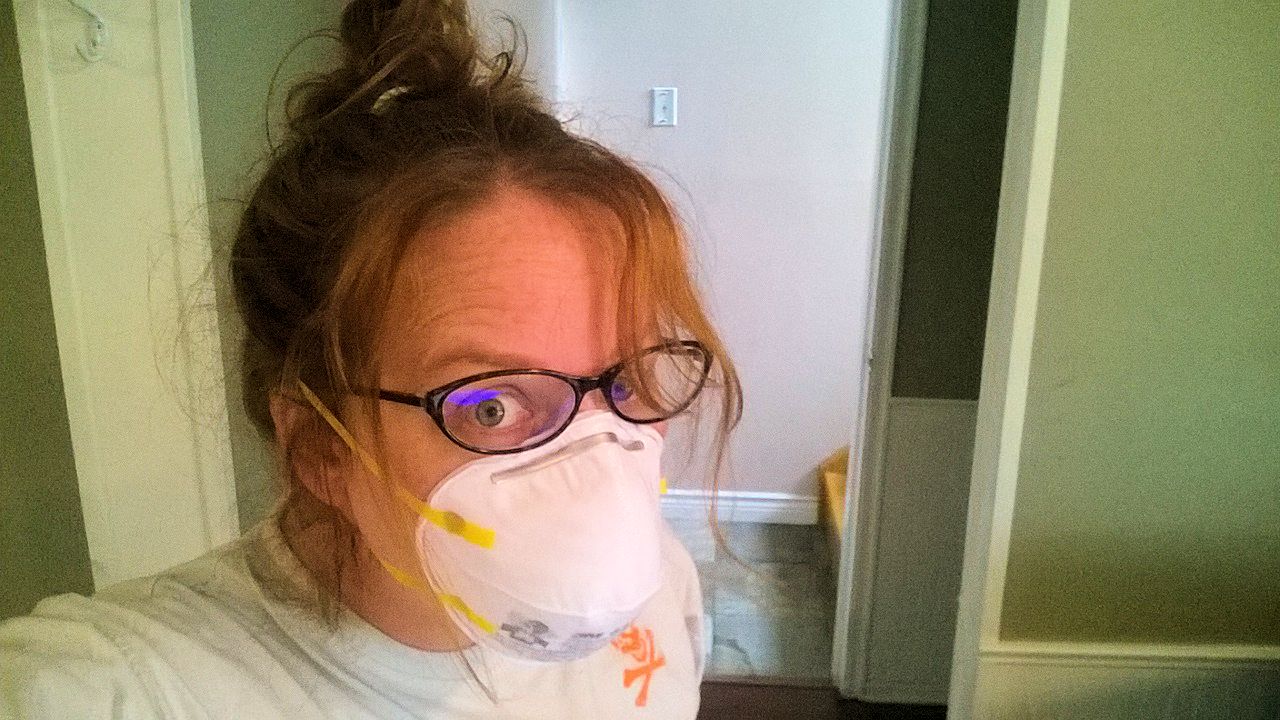
Hair up, gloves and mask on – I’m ready for anything!
Objective numéro deux: to create this multifunctional room with as little investment as possible. (Hey, this girl’s saving for a vacation and sports car, remember?)
When my son moved out, he didn’t need to take his furniture with him. That said, I didn’t like the furniture he had, and it certainly didn’t fit in with the vision I had for the room – the furniture was dark, and I wanted something light. So I painted everything. There’s literally not a single piece of furniture in that room that I didn’t paint. I even painted the cat (albeit, not intentionally)!
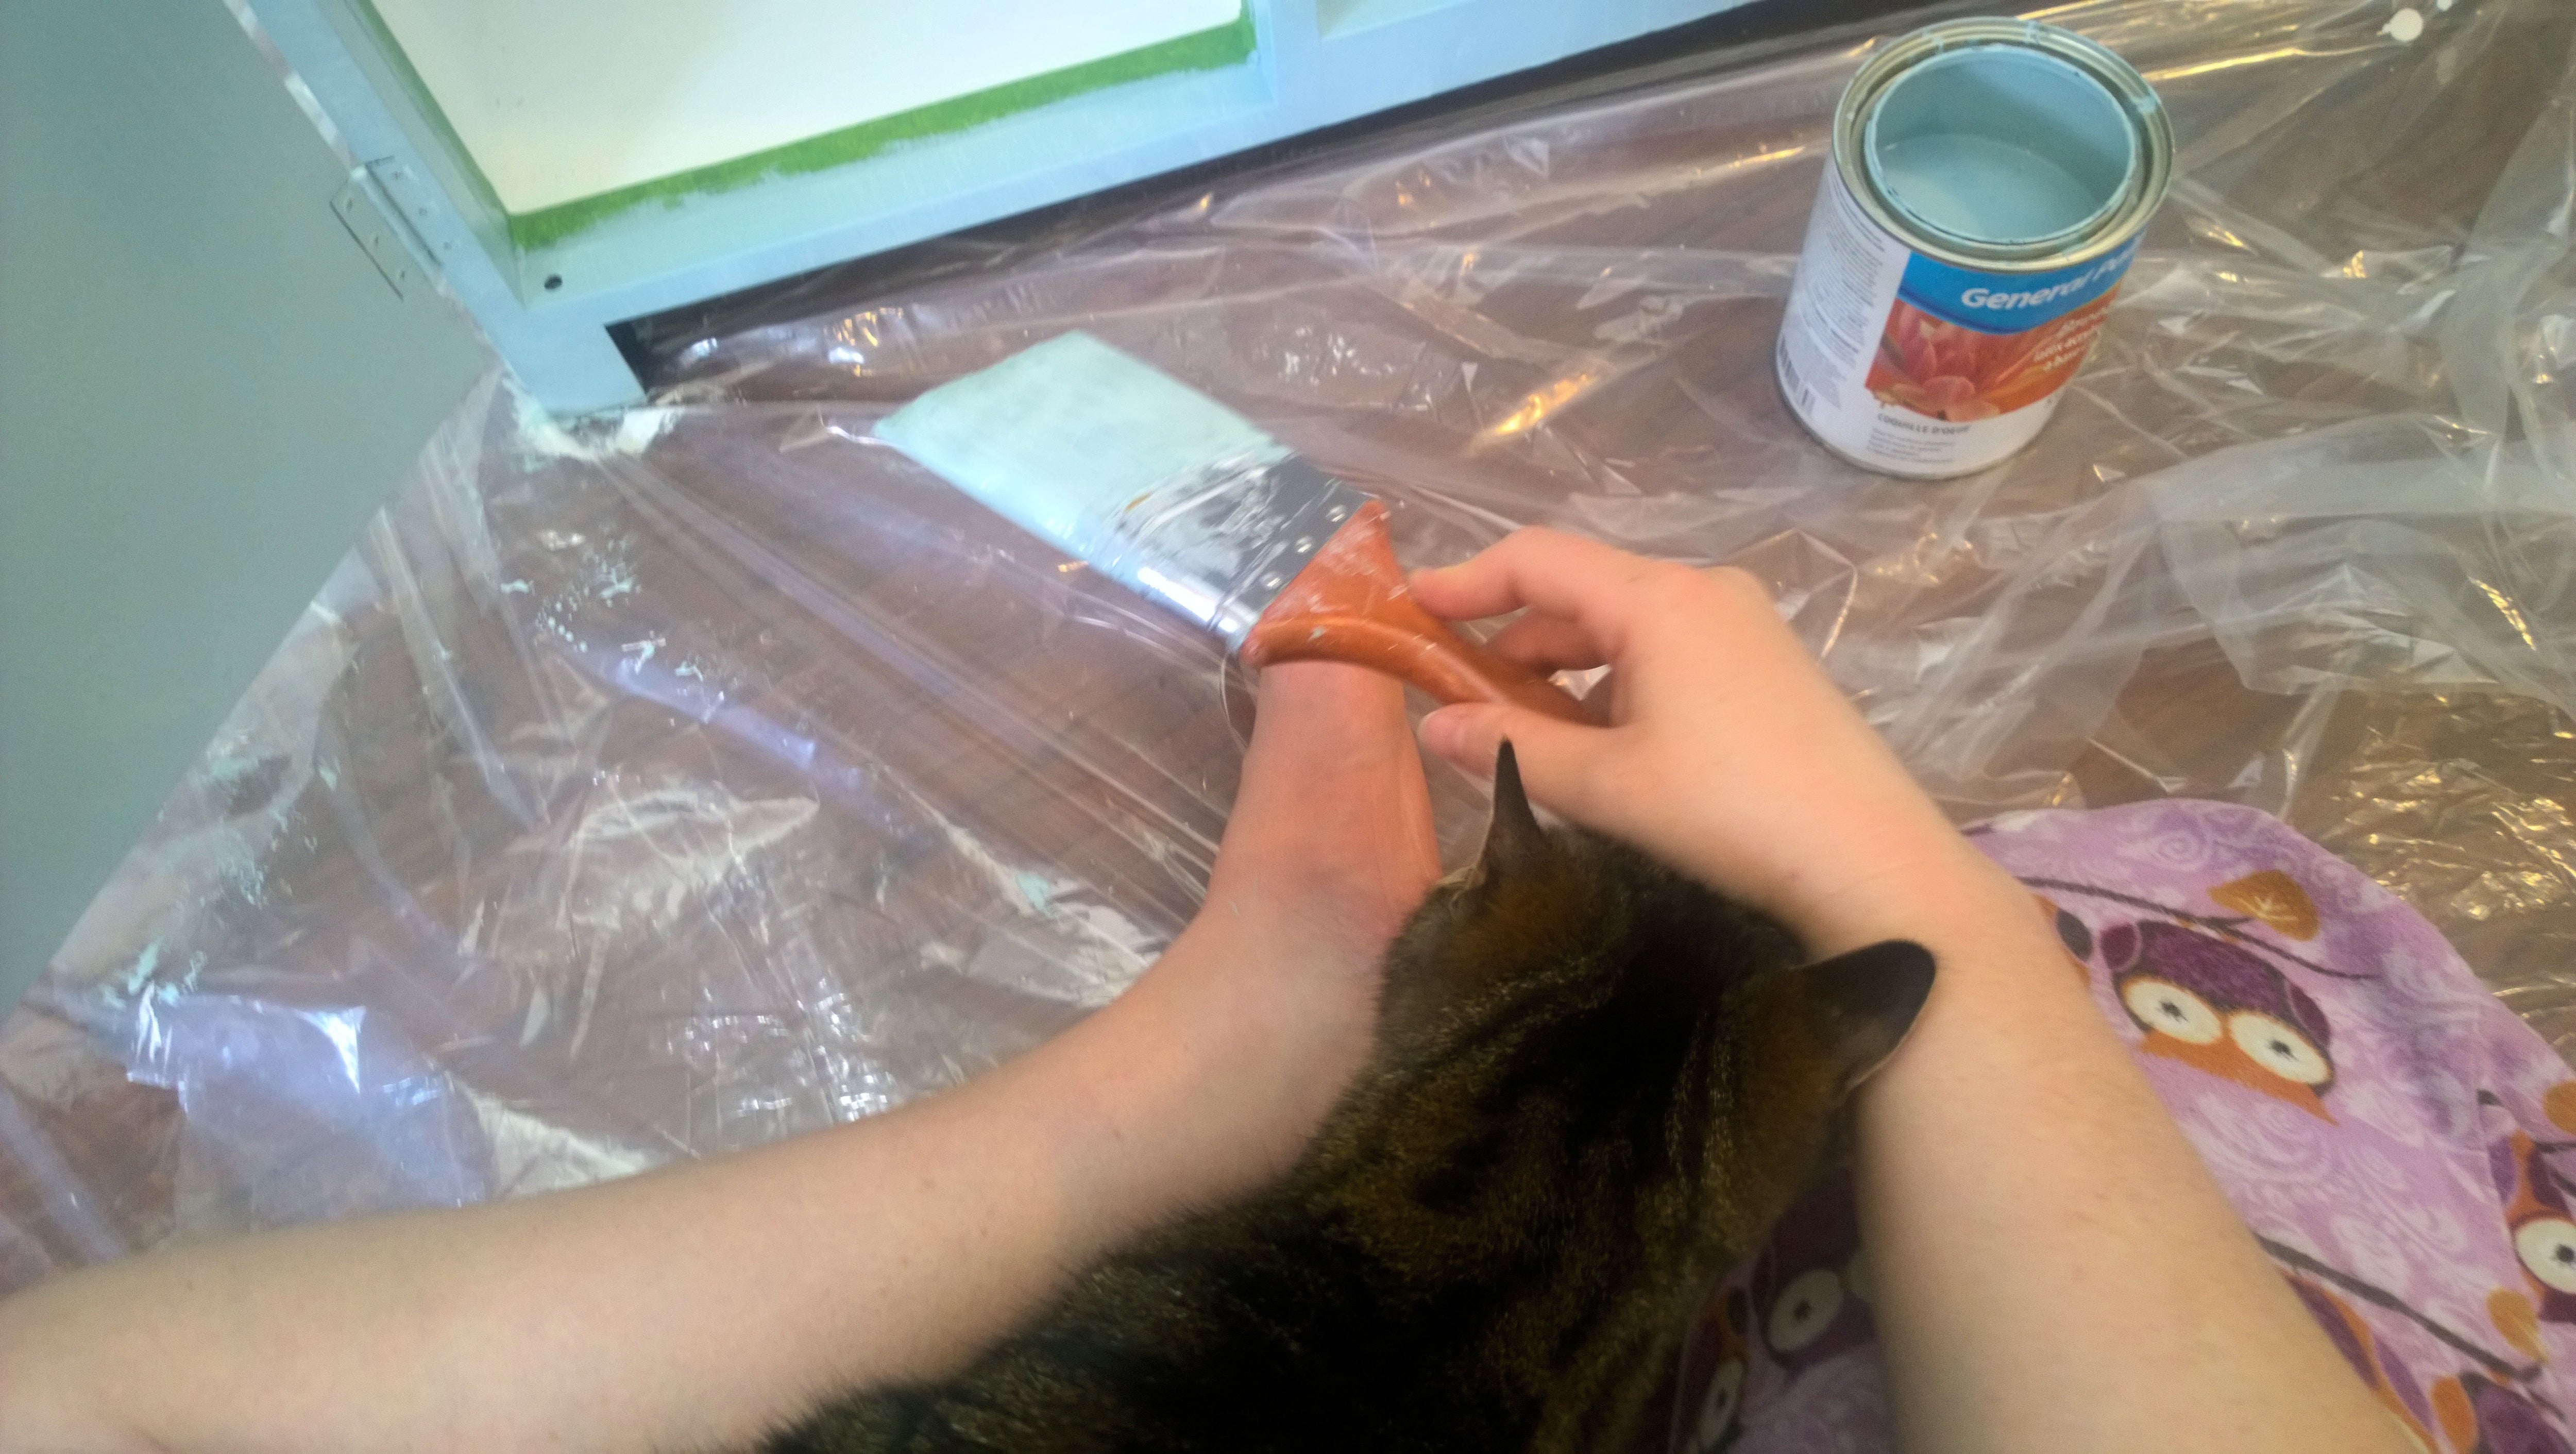
I guess I should have just locked the cat out of the room to keep him paint-free.
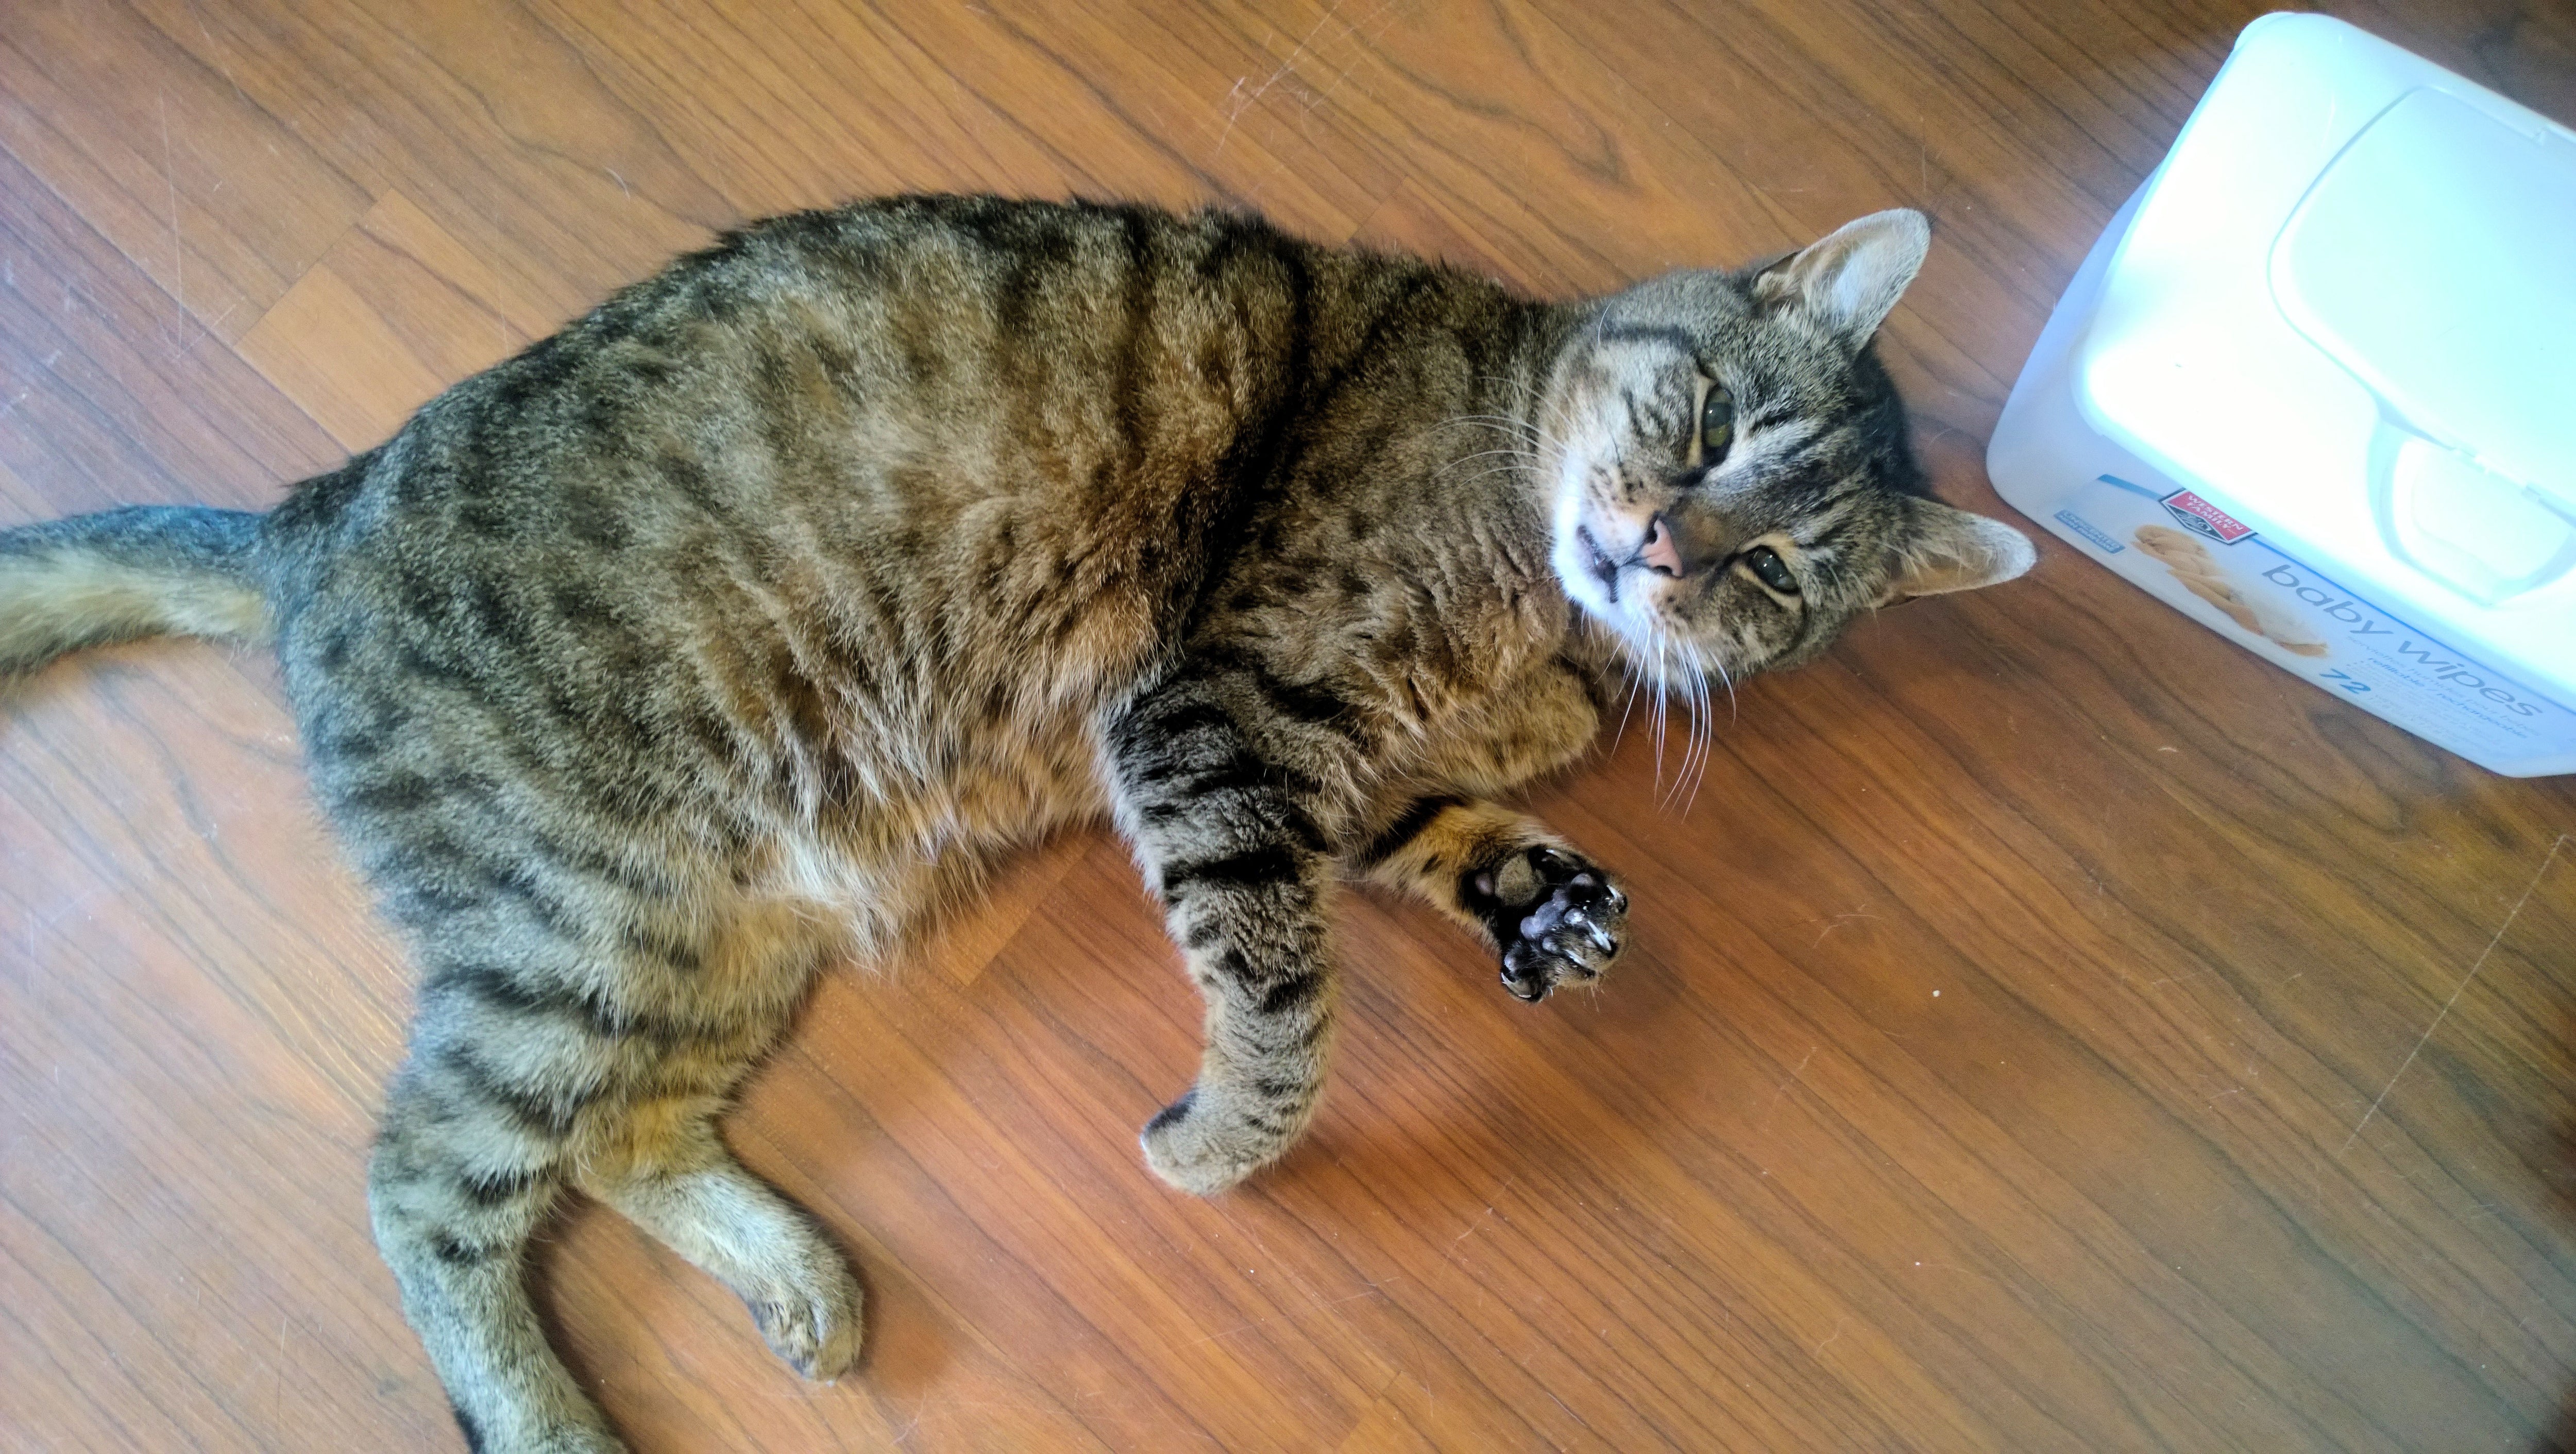
Painted cat.
I’m actually pleasantly surprised at how great it all turned out, and super affordable too! I was feeling very Martha Stewart-y.
In addition to the paint, I also purchased some new bedding, a couple of area rugs, some new curtains, and a few other odds and ends.
Hunting for good deals.
Now for the fun part: the photo art
I have a couple themes I went with for this room. I love birds and, seeing as I’m now an empty-nester, they seemed suitable for this space. And like any proud mother, I wanted to fill the space with photos and memories of my son. So, bird/son theme it is!
The gallery wall
From canoe expeditions through the rugged west coast of Vancouver Island to a Community Development & Leadership Summit in India, my son was very fortunate growing up, having been provided with several opportunities to go on adventures. I wanted to use an entire wall of this room to feature some of the photos from these trips.
It started with Post-It notes on a computer desk.
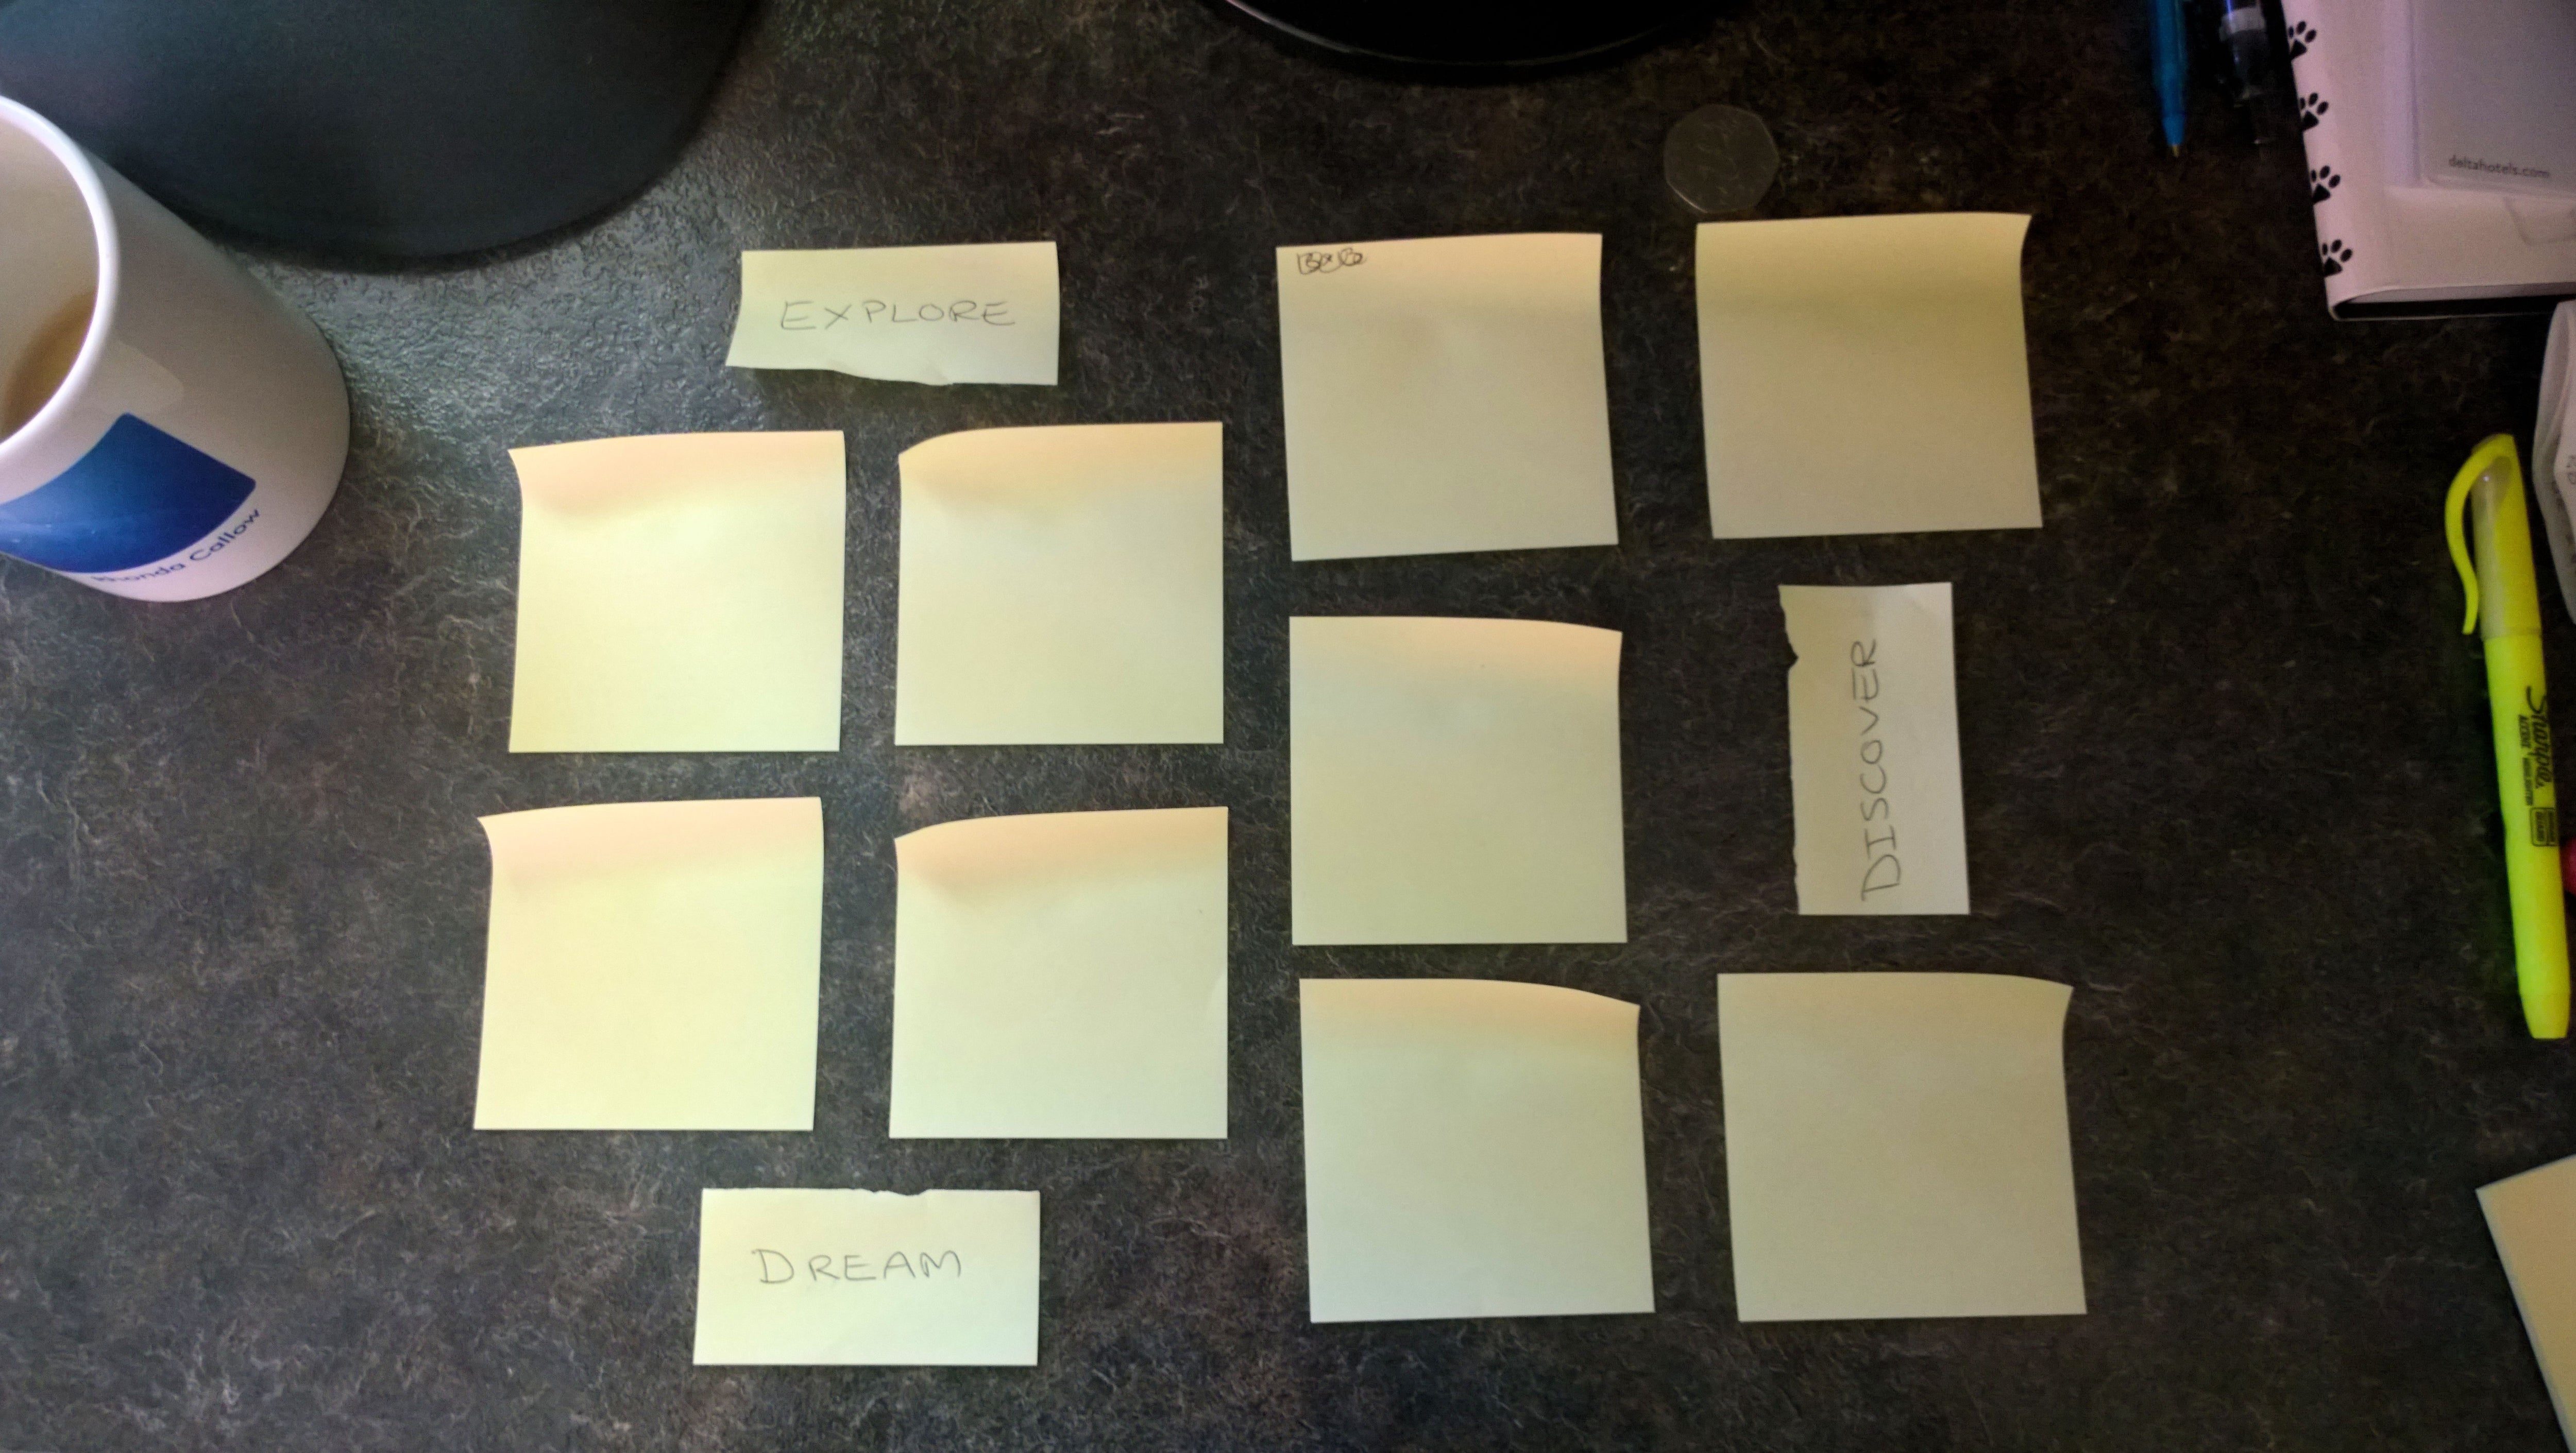
Then progressed to craft paper on the wall.
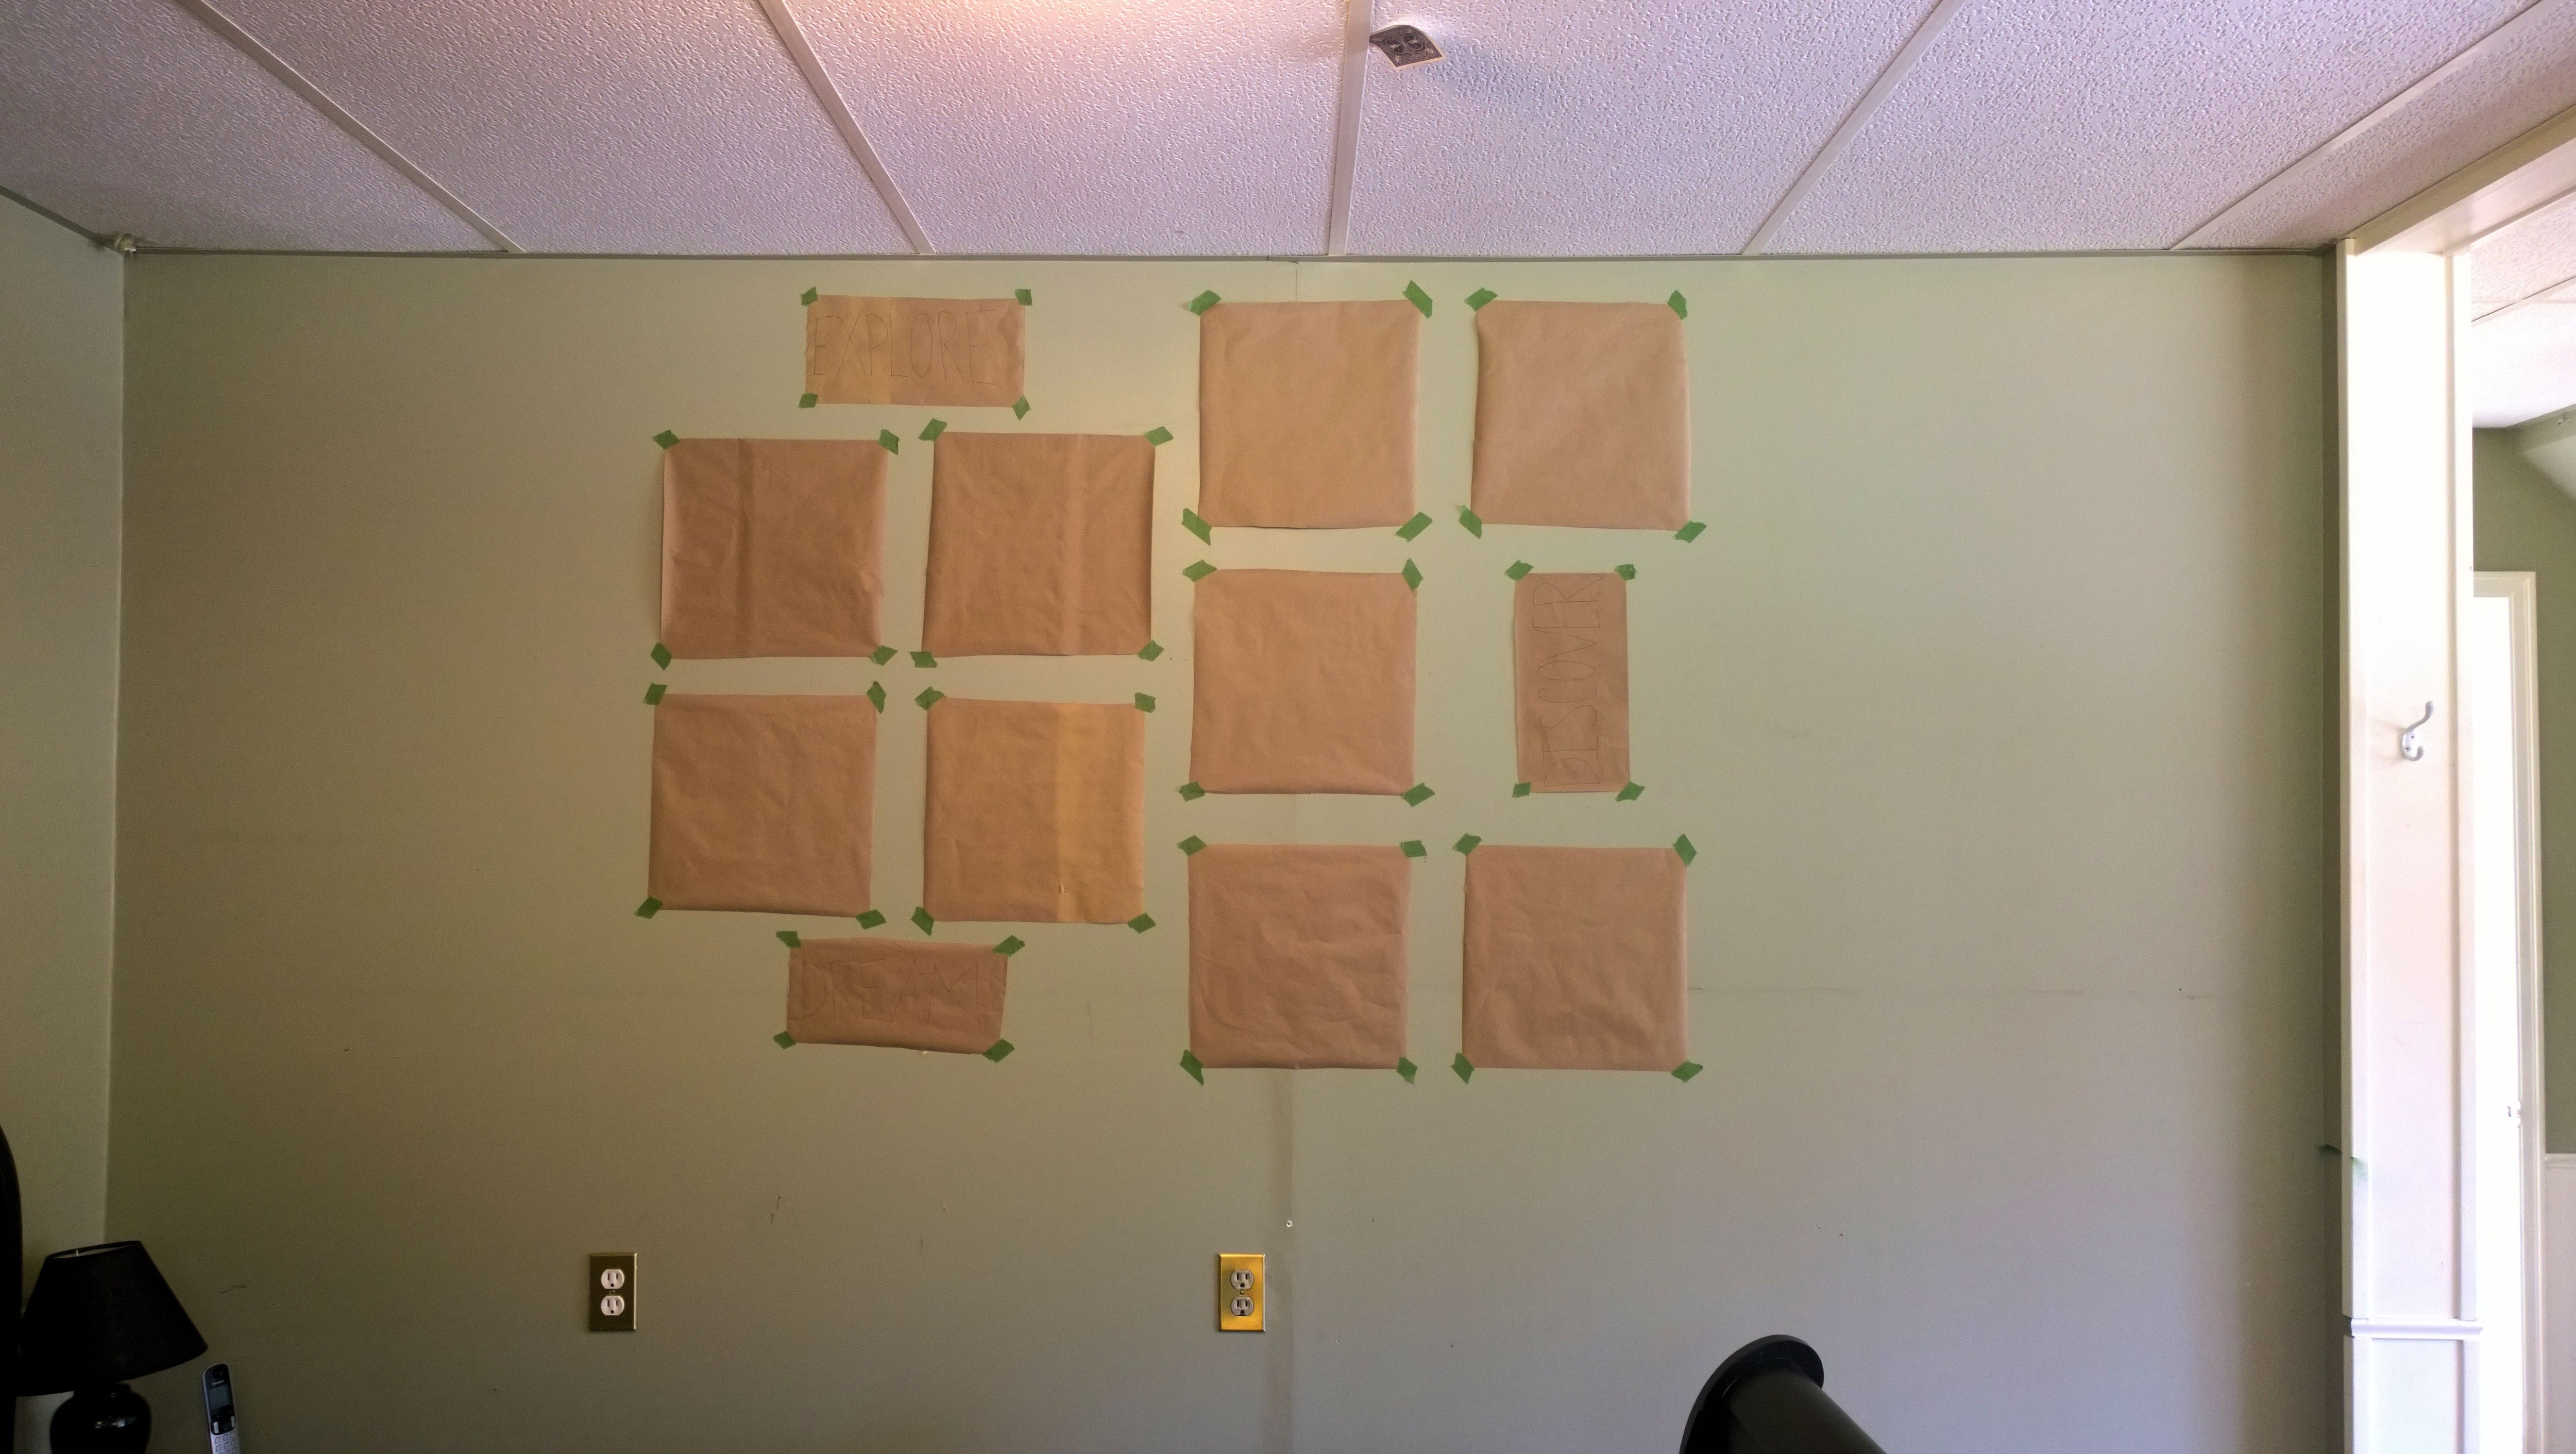
And then finally turned into something amazing.
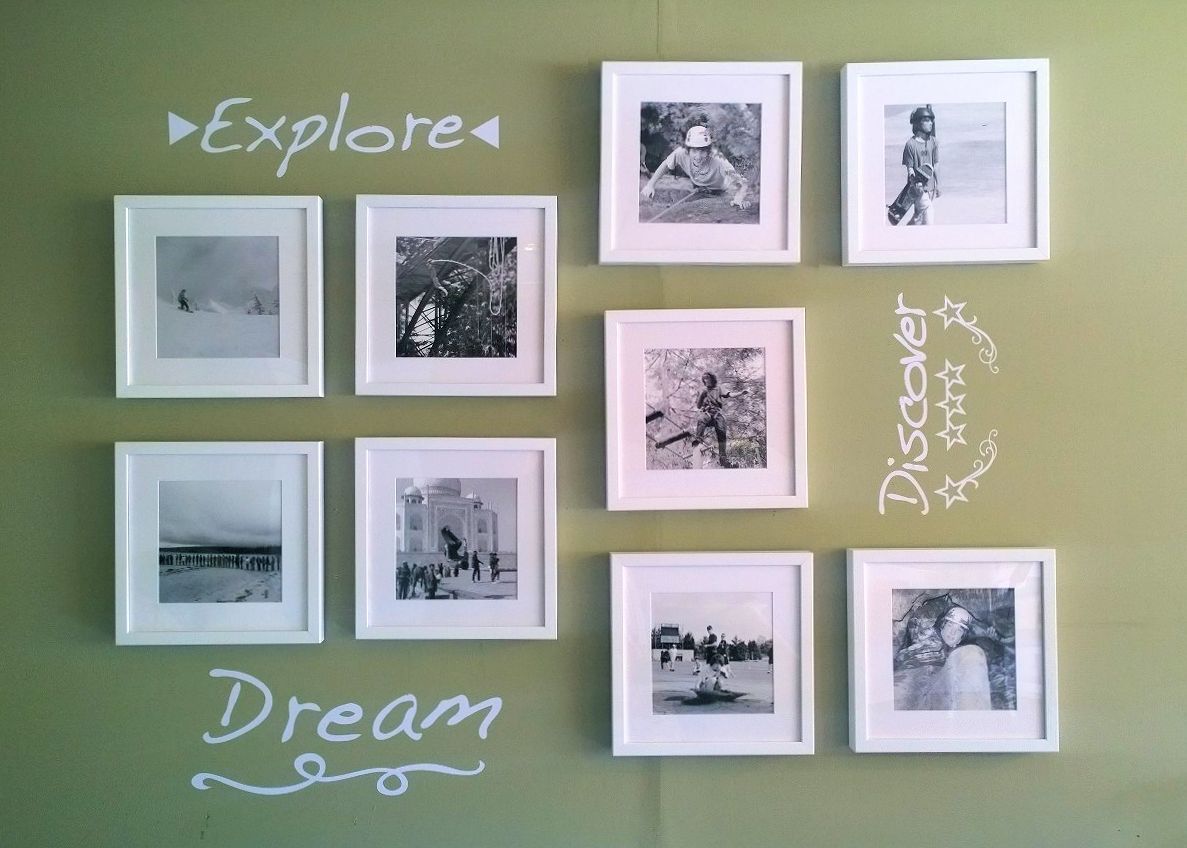
12″x12″ Posterjack Gallery Frames
I uploaded my photos to Posterjack and had them made into 12”x12” white Gallery Frames. Posterjack Framed Prints are made from solid wood, low-glare framers acrylic, and acid-free mat board. The photo is printed on Hahnemühle Photo Rag, which is acid-free and made from 100% cotton. Simply put, Hahnemühle Photo Rag is the world’s best fine art paper – it’s what the pros use.
I want to focus your attention for a moment on one particular photo on this gallery wall:
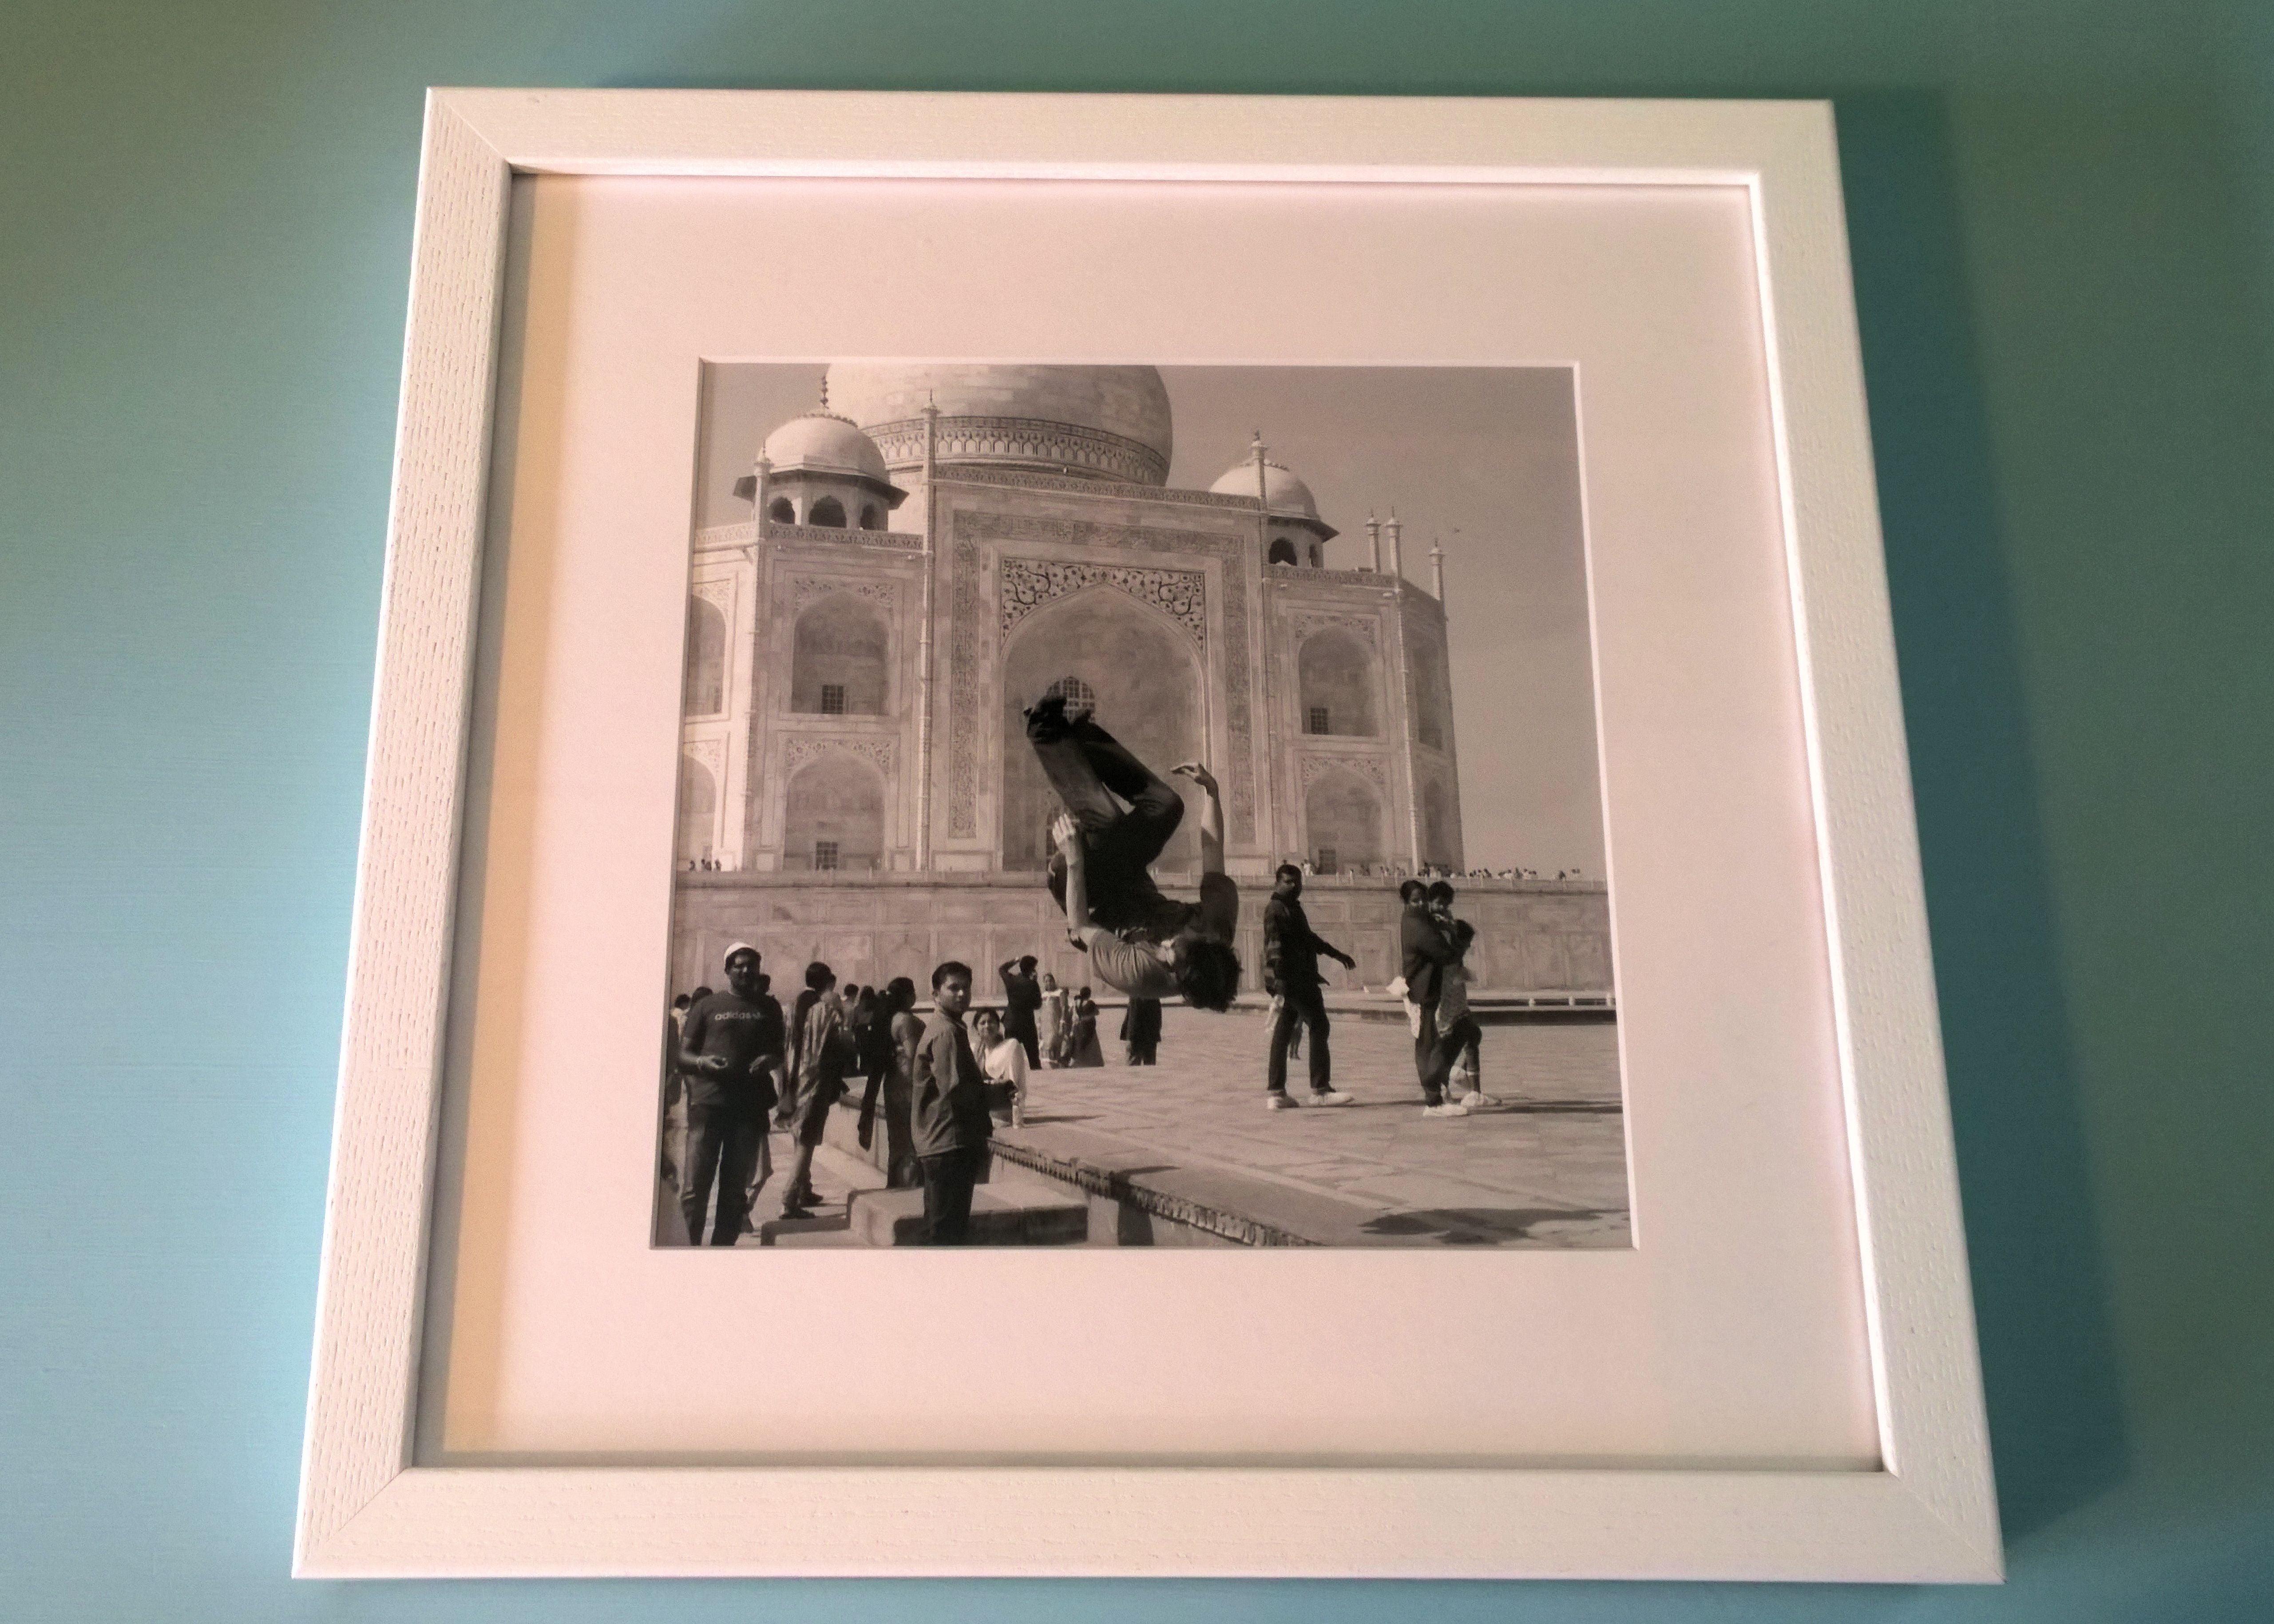
The photo is of my son doing a flip in front of the Taj Mahal. Pretty cool, right? But that’s not why I’m showing you this image. What’s really cool is that I didn’t start with a photo. I didn’t have one. What I did have was a two-second video of the flip. I paused the video clip and took a screenshot of the still image. That is what I used to create this 12”x12” Framed Print. Well played, Posterjack! Well played.
I then used my Cricut Explore Air to cut the vinyl words and designs. The words come from a Mark Twain quote, which I thought was a great fit with the theme I was going with.
The Woodstand Prints
When my son was canoeing through Nootka Sound, he and his friends opened up a tarp to use as a sail. I had already decided to use part of this Mark Twain quote on the gallery wall, so when I came across this photo, I thought it was perfect and would look great as a 7”x7” Woodstand Print.
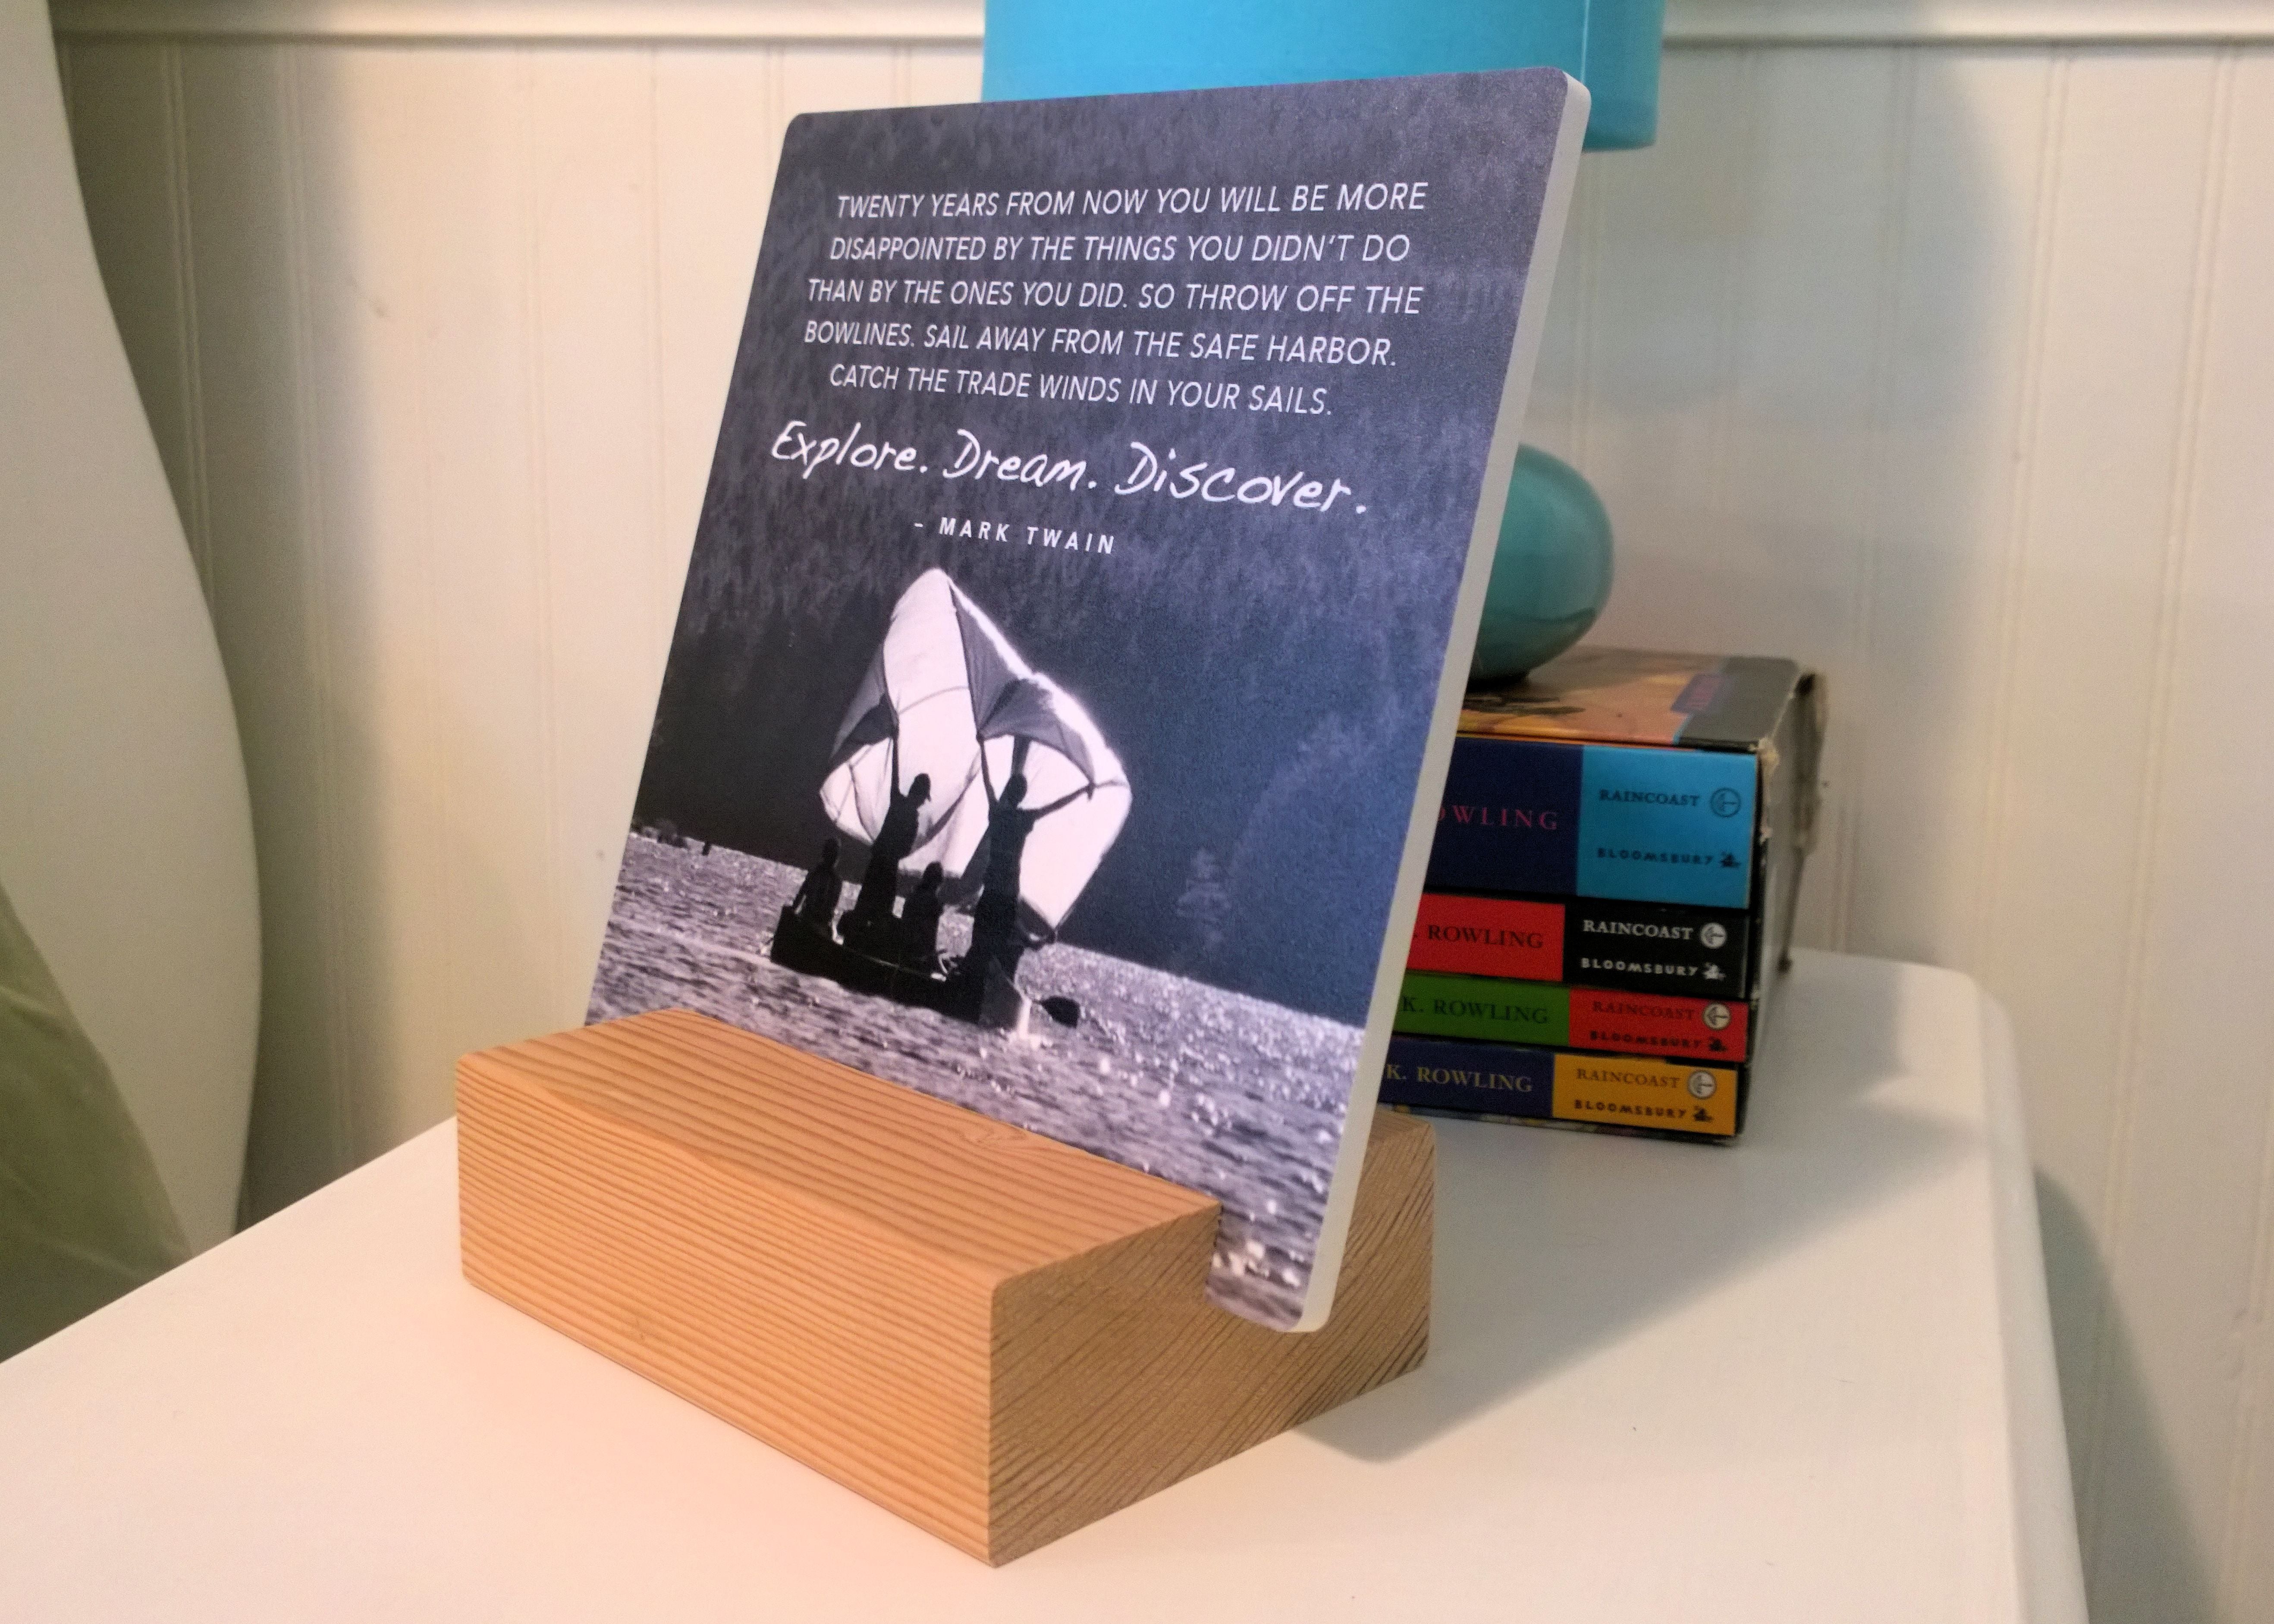
7″x7″ Posterjack Woodstand Print

Close-up photo of Woodstand Print
Woodstand Prints are one of Posterjack’s newest desk décor products. The stand is made from Canadian Douglas fir, which is renewably sourced in British Columbia, and the photo is printed on a solid ¼-inch thick board. I really like the rawness of the wood, and for DIYers, it opens the door to endless customization options!
Although I left this Woodstand Print the way Posterjack created it, I decided to paint the second Woodstand Print I had made using an old photo of my son with my mom. I wanted the photo to keep a dated feel to it, so when I scanned it, I intentionally left the date stamp visible. I then painted the wood stand and lightly sanded it to give it a distressed look.

6″x8″ Posterjack Woodstand Print with painted stand
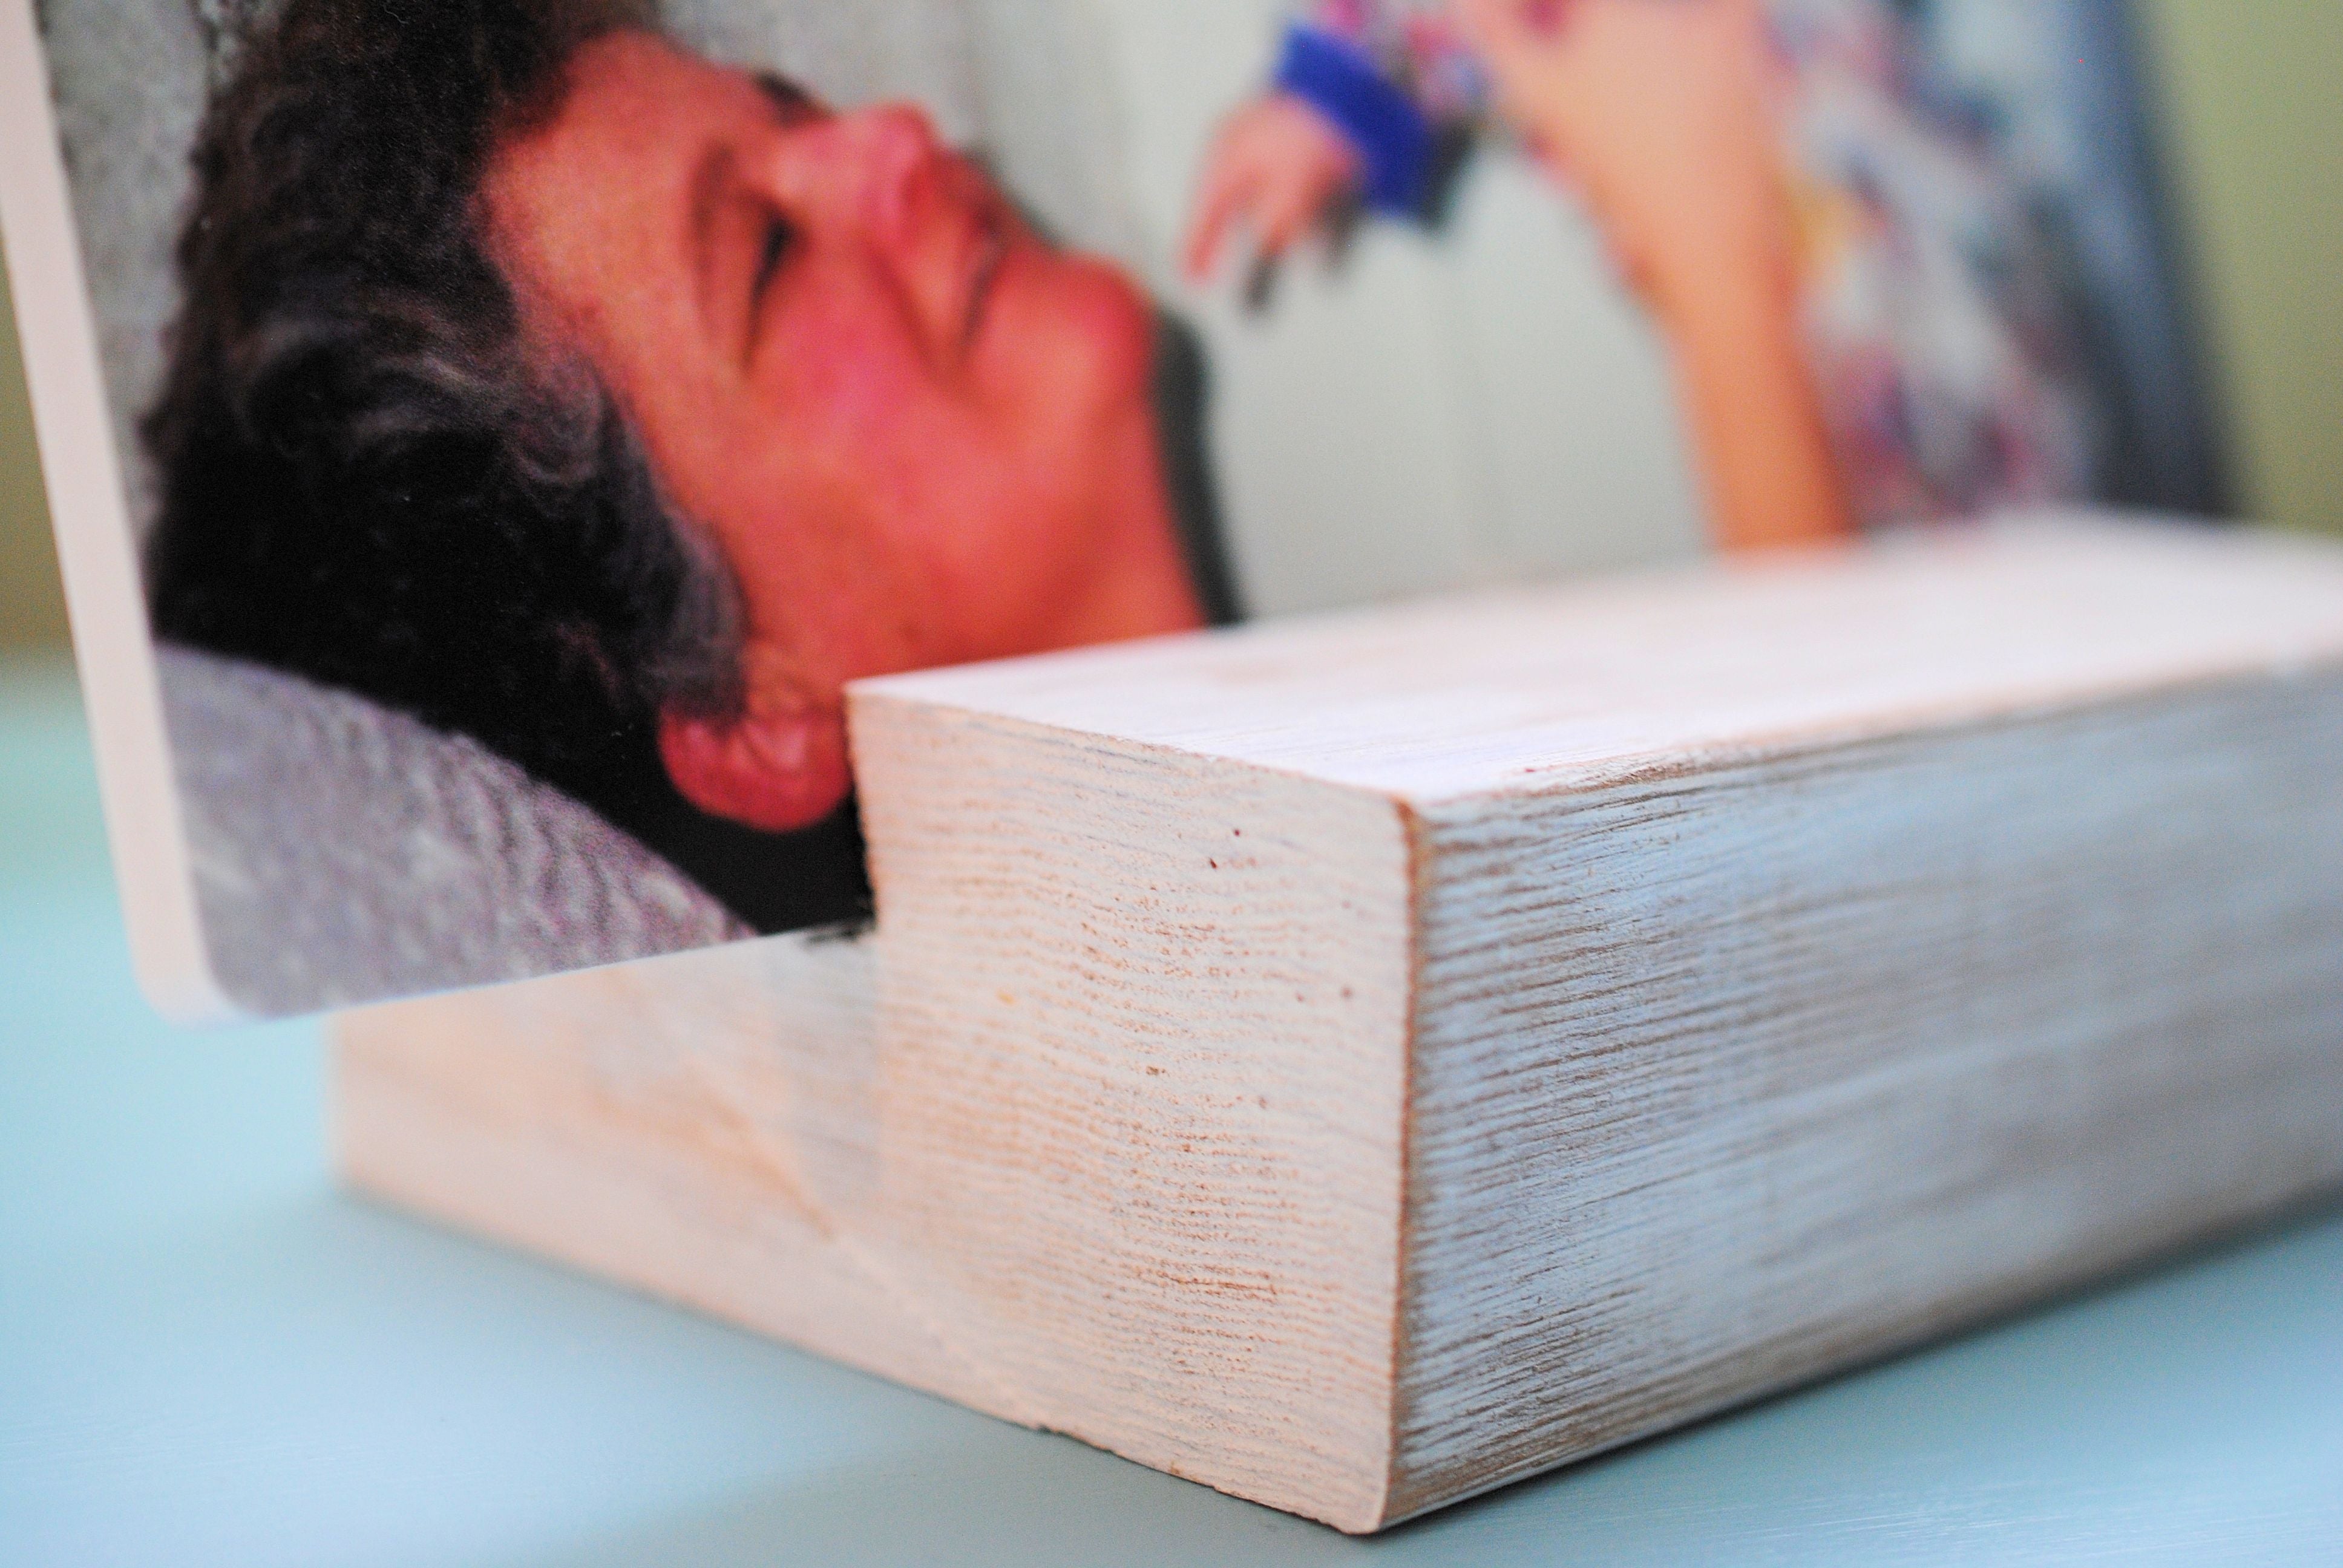
Close-up photo of painted Woodstand Print
The Metal Print
My ultrasound photos are from 1996. Light is causing them to fade, so I really wanted to do something to preserve these special images. Digitalizing them is the obvious first step, but I wanted to do more than that, so I had the best one made into an 8”x12” Classic Silver Metal Print. I love, love, love it. Posterjack prints directly onto metal, so the brushed aluminum is super visible in areas of low saturation and the raw metal replaces any white that’s in a photo. Metal Prints are surprisingly lightweight, but are also very durable, so I don’t need to worry about scratches or fading. For anyone who wants to turn their ultrasound photos into art that’s unique and will last forever, I highly recommend Posterjack Metal Prints.

8″x12″ Metal Print
The Gallery Box
It took some time for me to decide what to hang above the bed. I originally thought I wanted a Canvas Print, but eventually settled on a 24”x48” Gallery Box with a white frame. Given the size of the artwork, the print was lighter than I expected – which was great considering I live in an earthquake zone and planned to hang it above the bed! I chose a white frame for my Gallery Box, but Posterjack offers a variety of frame colours, making it a wonderful product that can fit in with any décor. As you can see, the feather is keeping with the bird/empty nest theme.
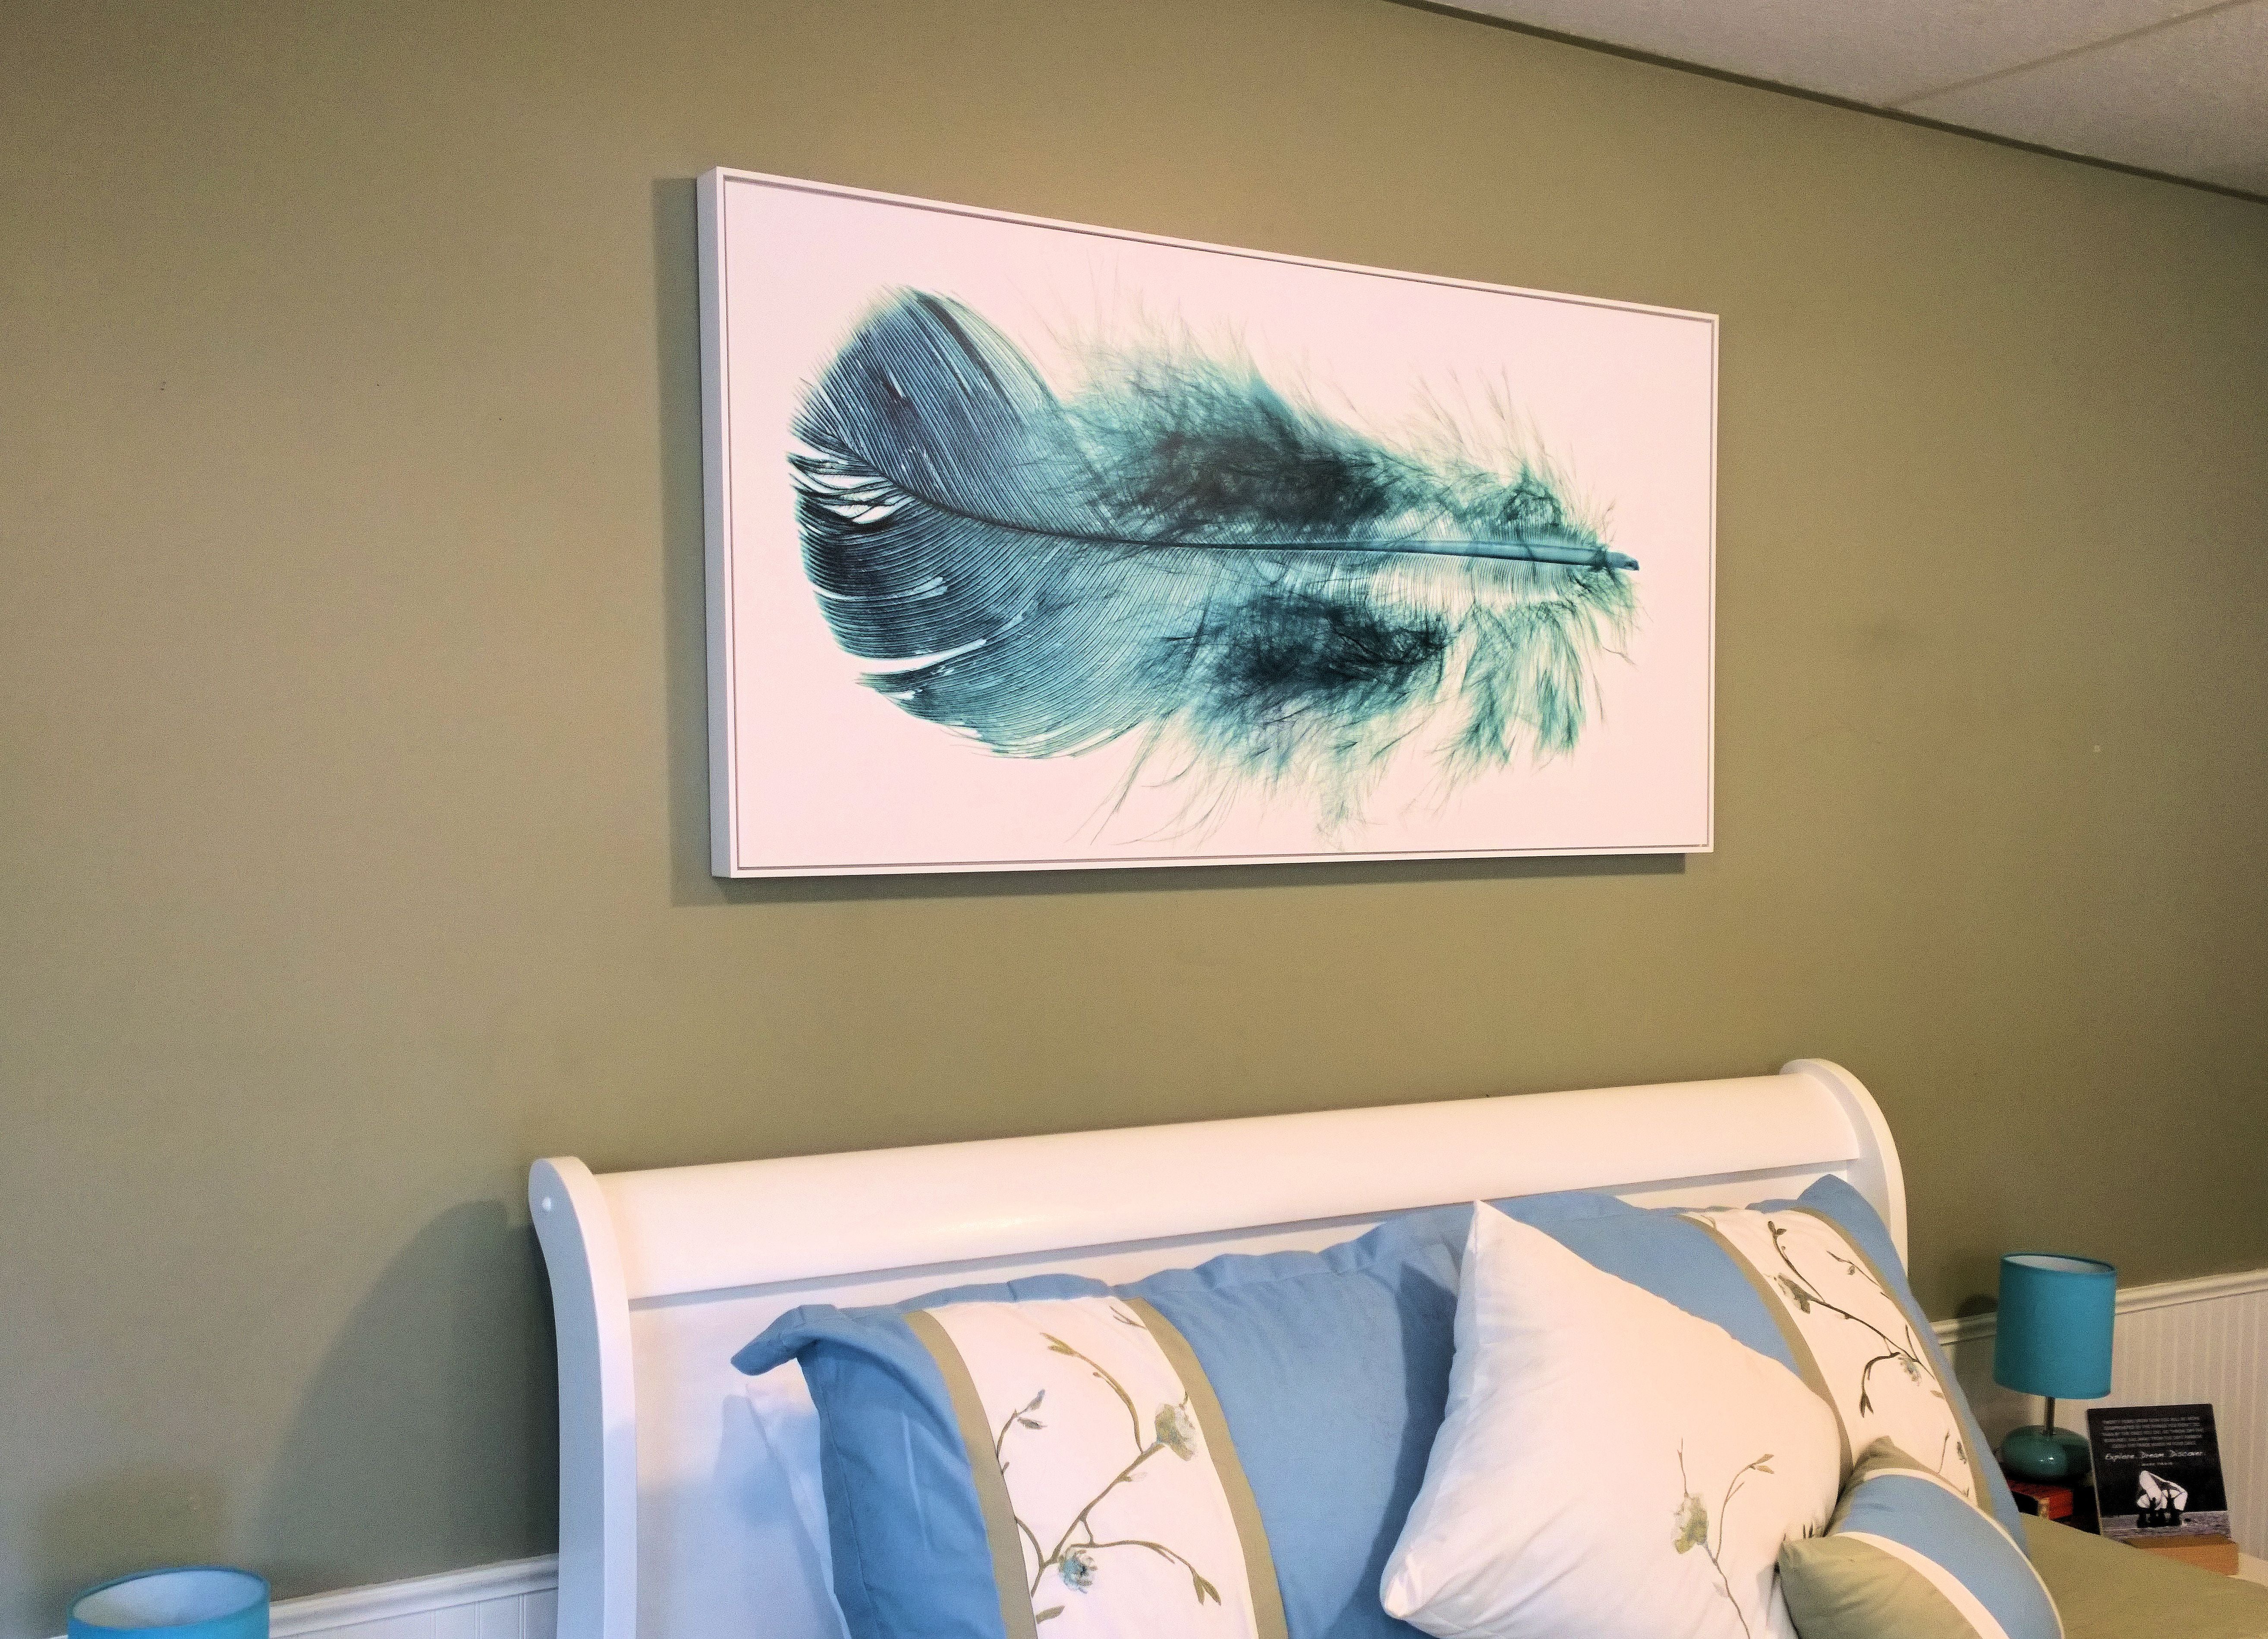
24″x48″ Gallery Box
The Canvas Prints
I came across a photo of dandelion fluff that had one of its seeds floating off into the air. I fell in love with the photo and decided that it also needed to be featured in my new room. I had it made into a 30”x20” Two-Panel Canvas Print – so it’s technically one photo split into two 15”x20” canvas prints. I thought I’d position them so I had one canvas on each side of the window.
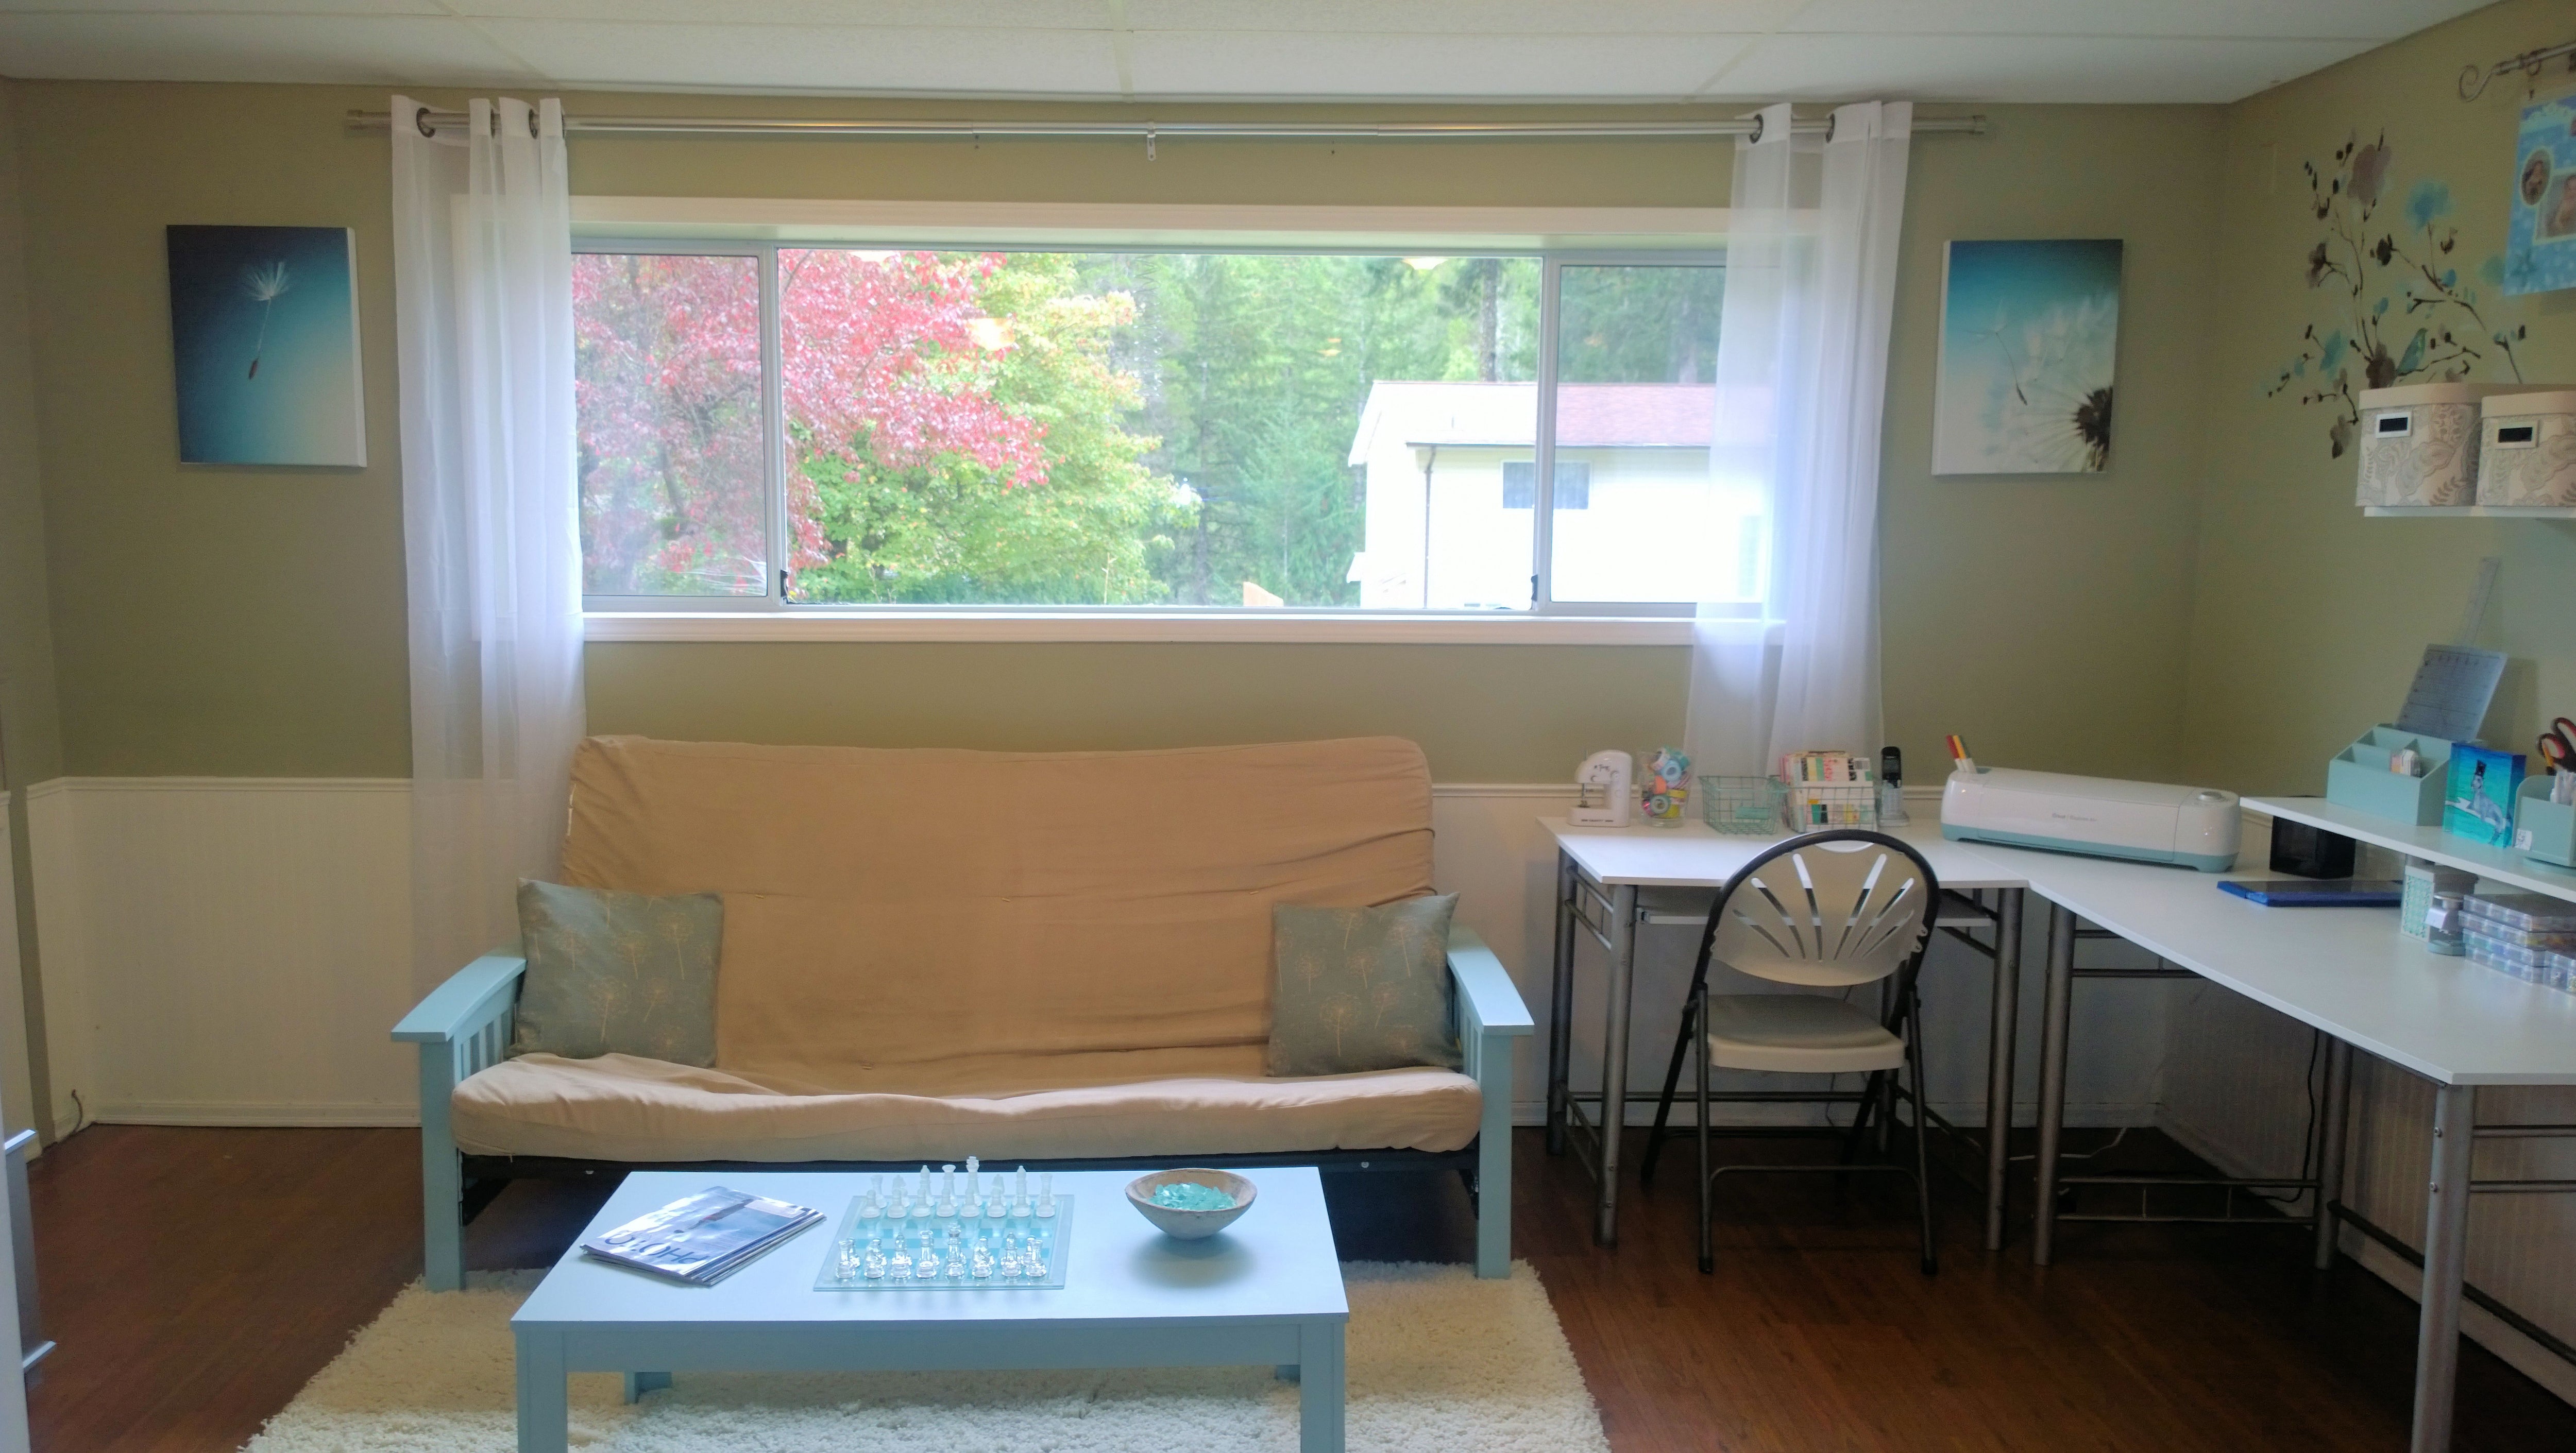
30″x20″ Two-Panel Canvas Prints
I decided to give my Canvas Prints a white edge, but Posterjack offers three different edge options: mirror wrap, straight wrap, and colour edge. When you decide on an edge style, Posterjack provides you with a real-time preview of what your print will look like, which is nice for those of us who like to get a visual before committing! The workmanship put into a Posterjack Canvas Print is outstanding. The company uses canvas that is made in Canada and whitened using an environmentally-safe process. The canvas is then hand-stretched and expertly secured over a wood frame, which has been made from renewably sourced Canadian basswood. The detail and quality of a Posterjack Canvas Print is the best you can get, bar none.
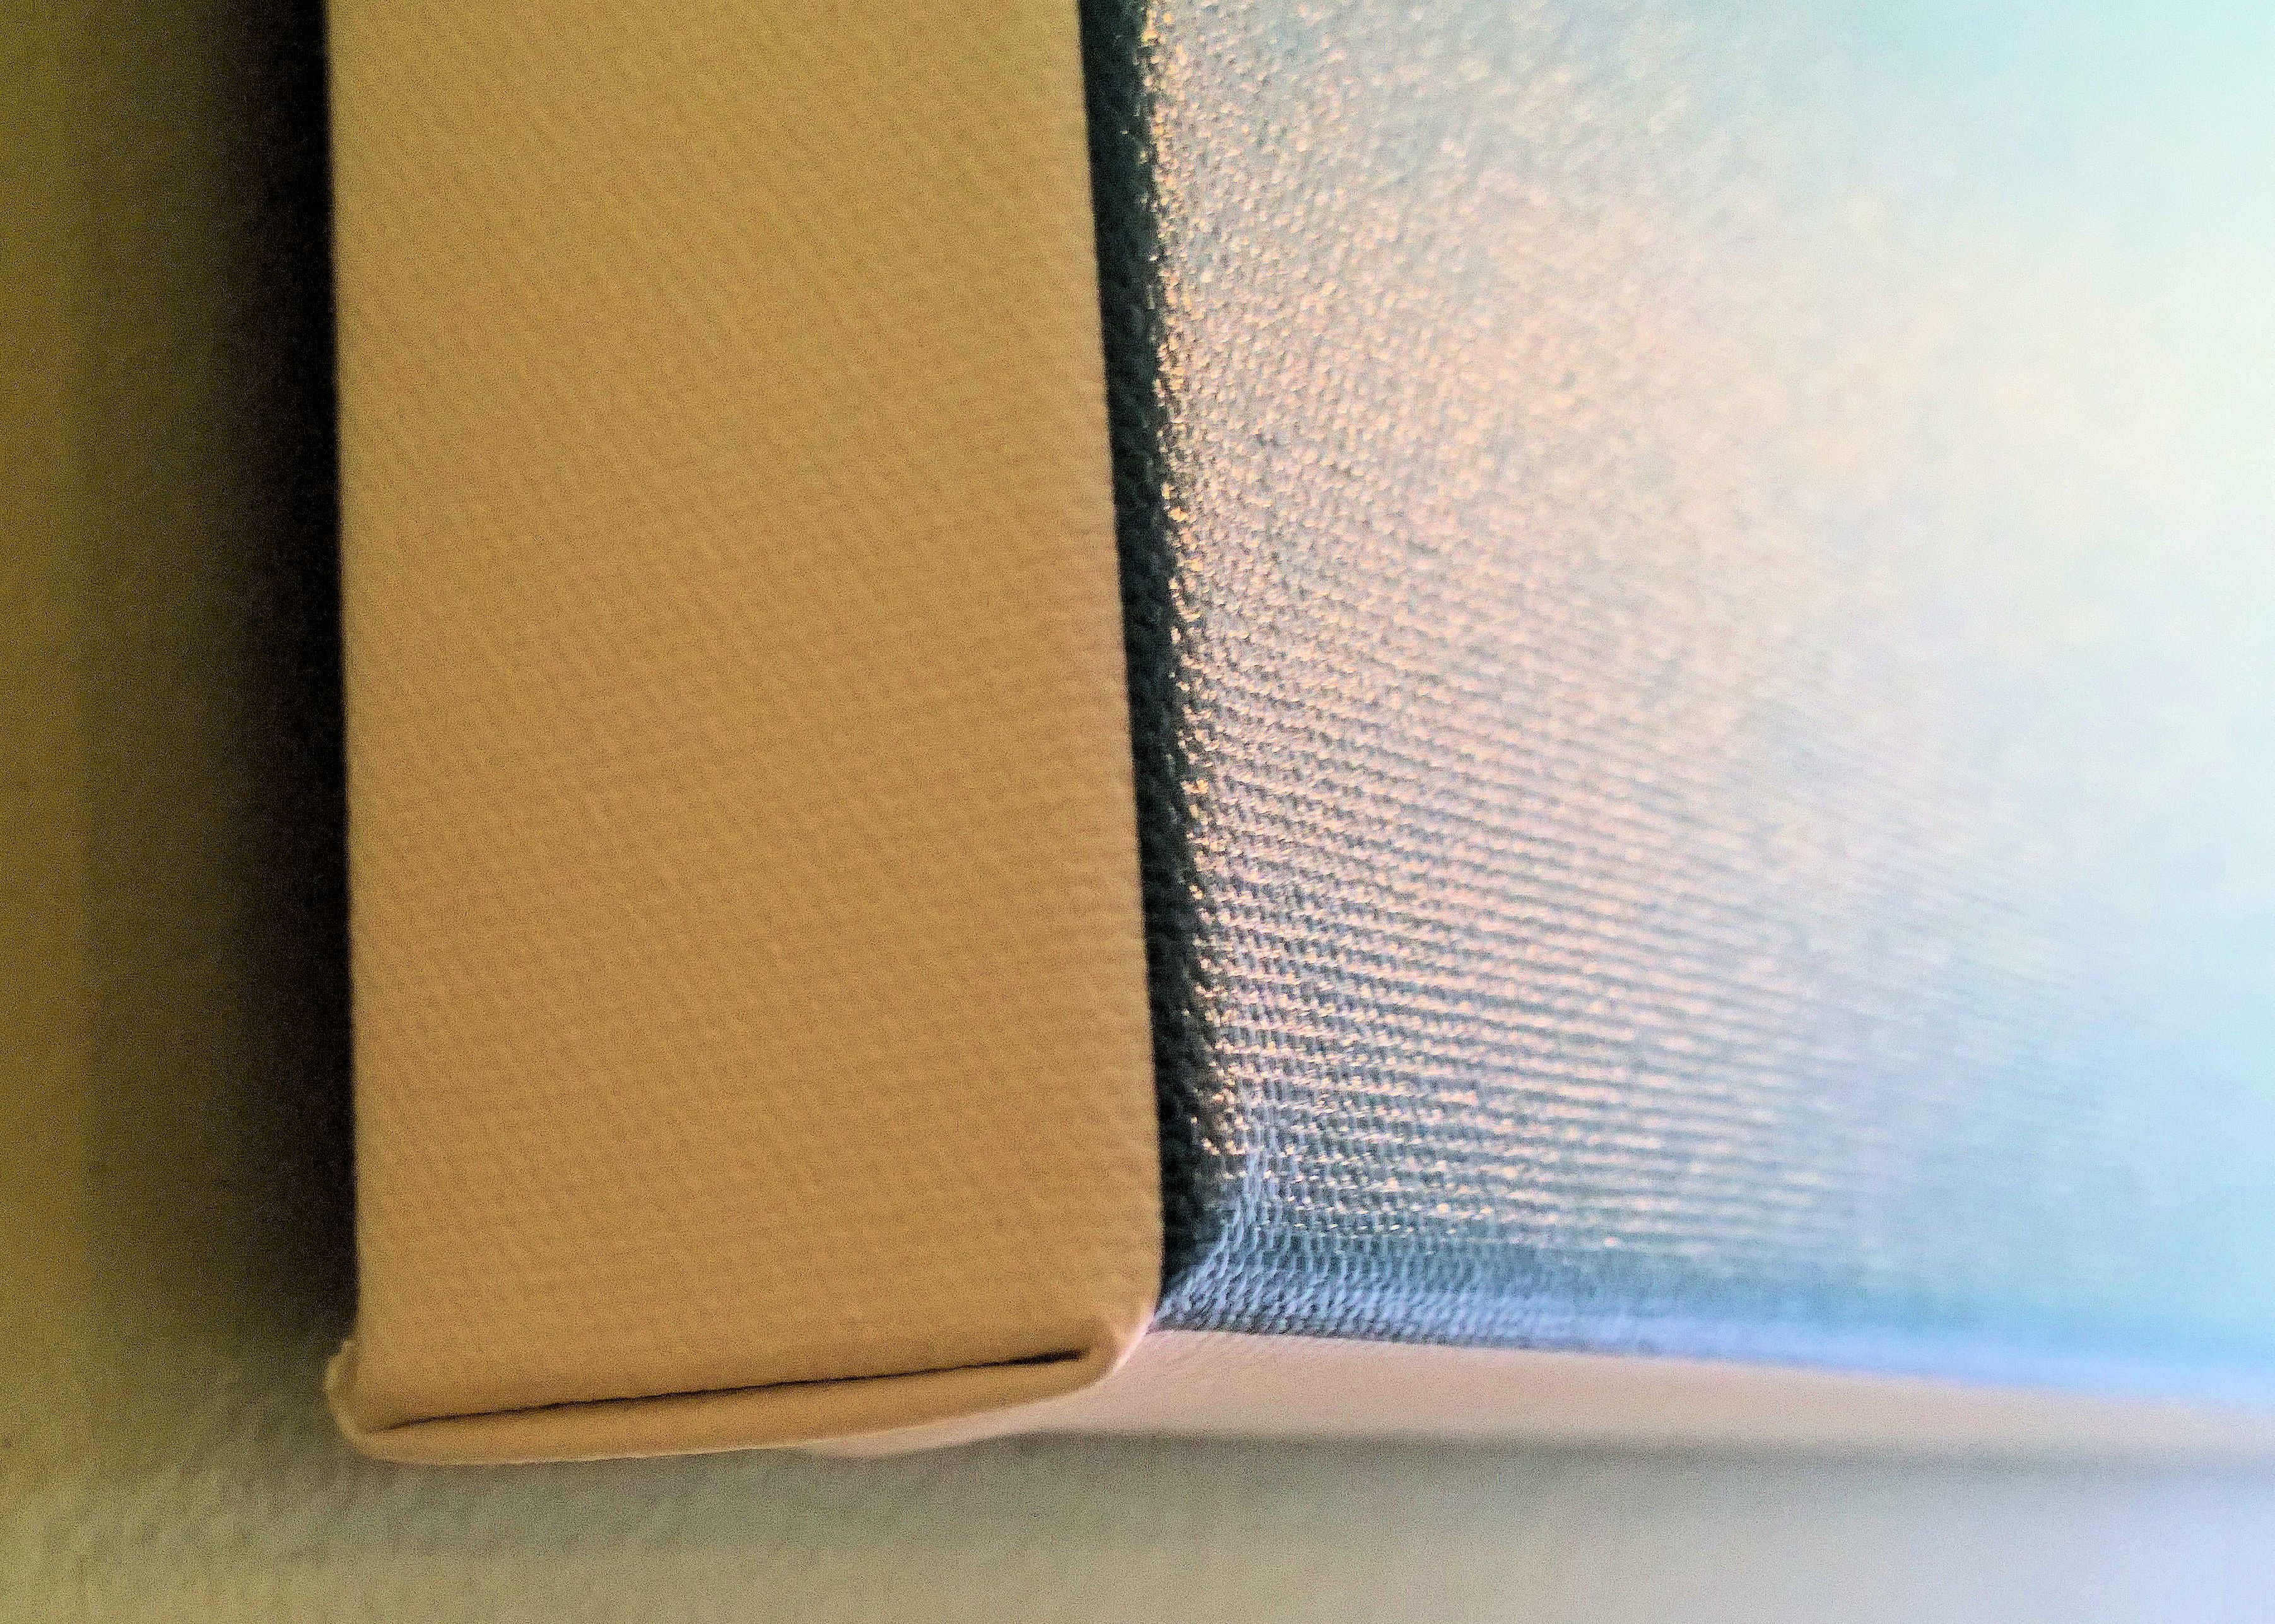
A close-up of my Posterjack Canvas Print. Look at the texture and quality!
The Acrylic Block
If you asked me what my favourite Posterjack product was, I’d have a tough time deciding, but the Acrylic Block is definitely in the running. Another one of Posterjack’s newest desk décor products, an Acrylic Block is made from a perfectly clear, one-inch thick piece of premium cast acrylic. My son loves to draw and for years has been drawing, what he calls, a “classy walrus.” Because this room is also my craft room, I thought it’d be nice to feature one of my son’s artistic creations. I asked a friend to use her Copic markers to colour in the drawing, which I then scanned and uploaded to Posterjack. This is one of my favourite things in this room. I absolutely love it. The way the light shines on the Acrylic Block along with the colours of the print, it looks almost as though it has its own light source. This photograph just doesn’t do it justice.
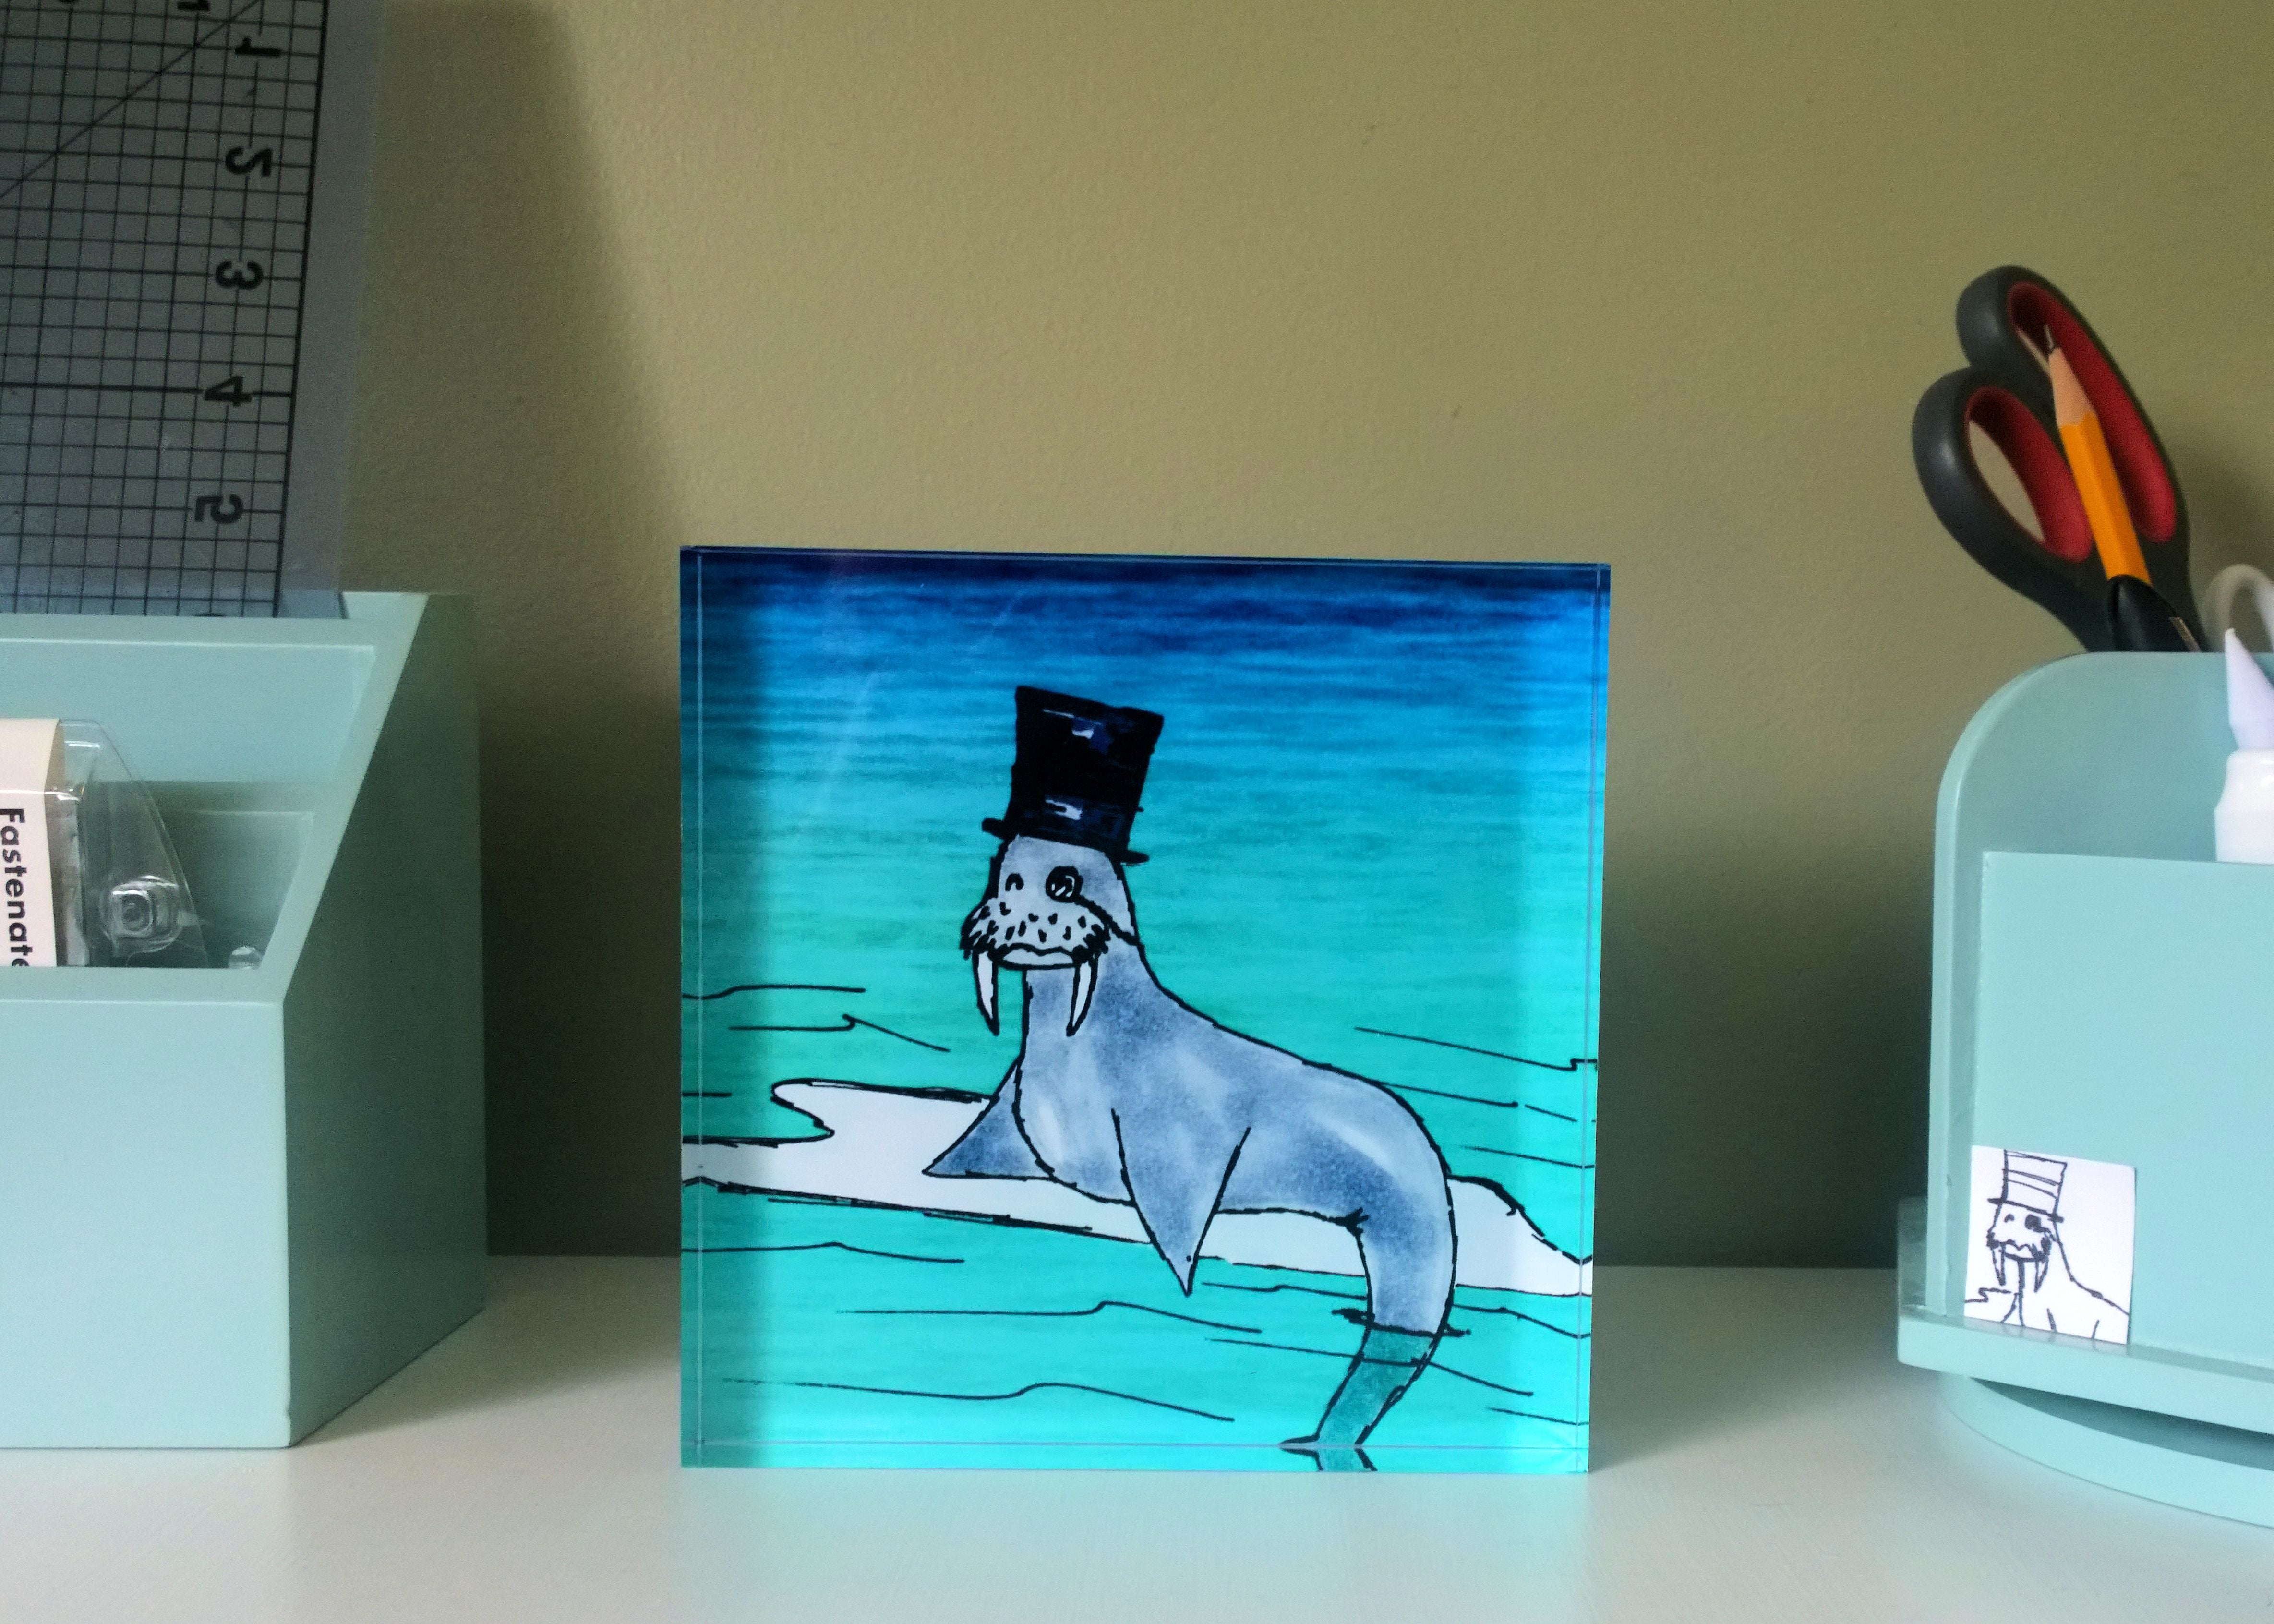
6″x6″ Acrylic Block
To show you how crystal clear the acrylic is, I took a side-view photo of my Acrylic Block. You can see right through it!

Side-view of an Acrylic Block
Before and After Photos
Remember the before photos? Here’s a reminder:

And here’s the transformation!
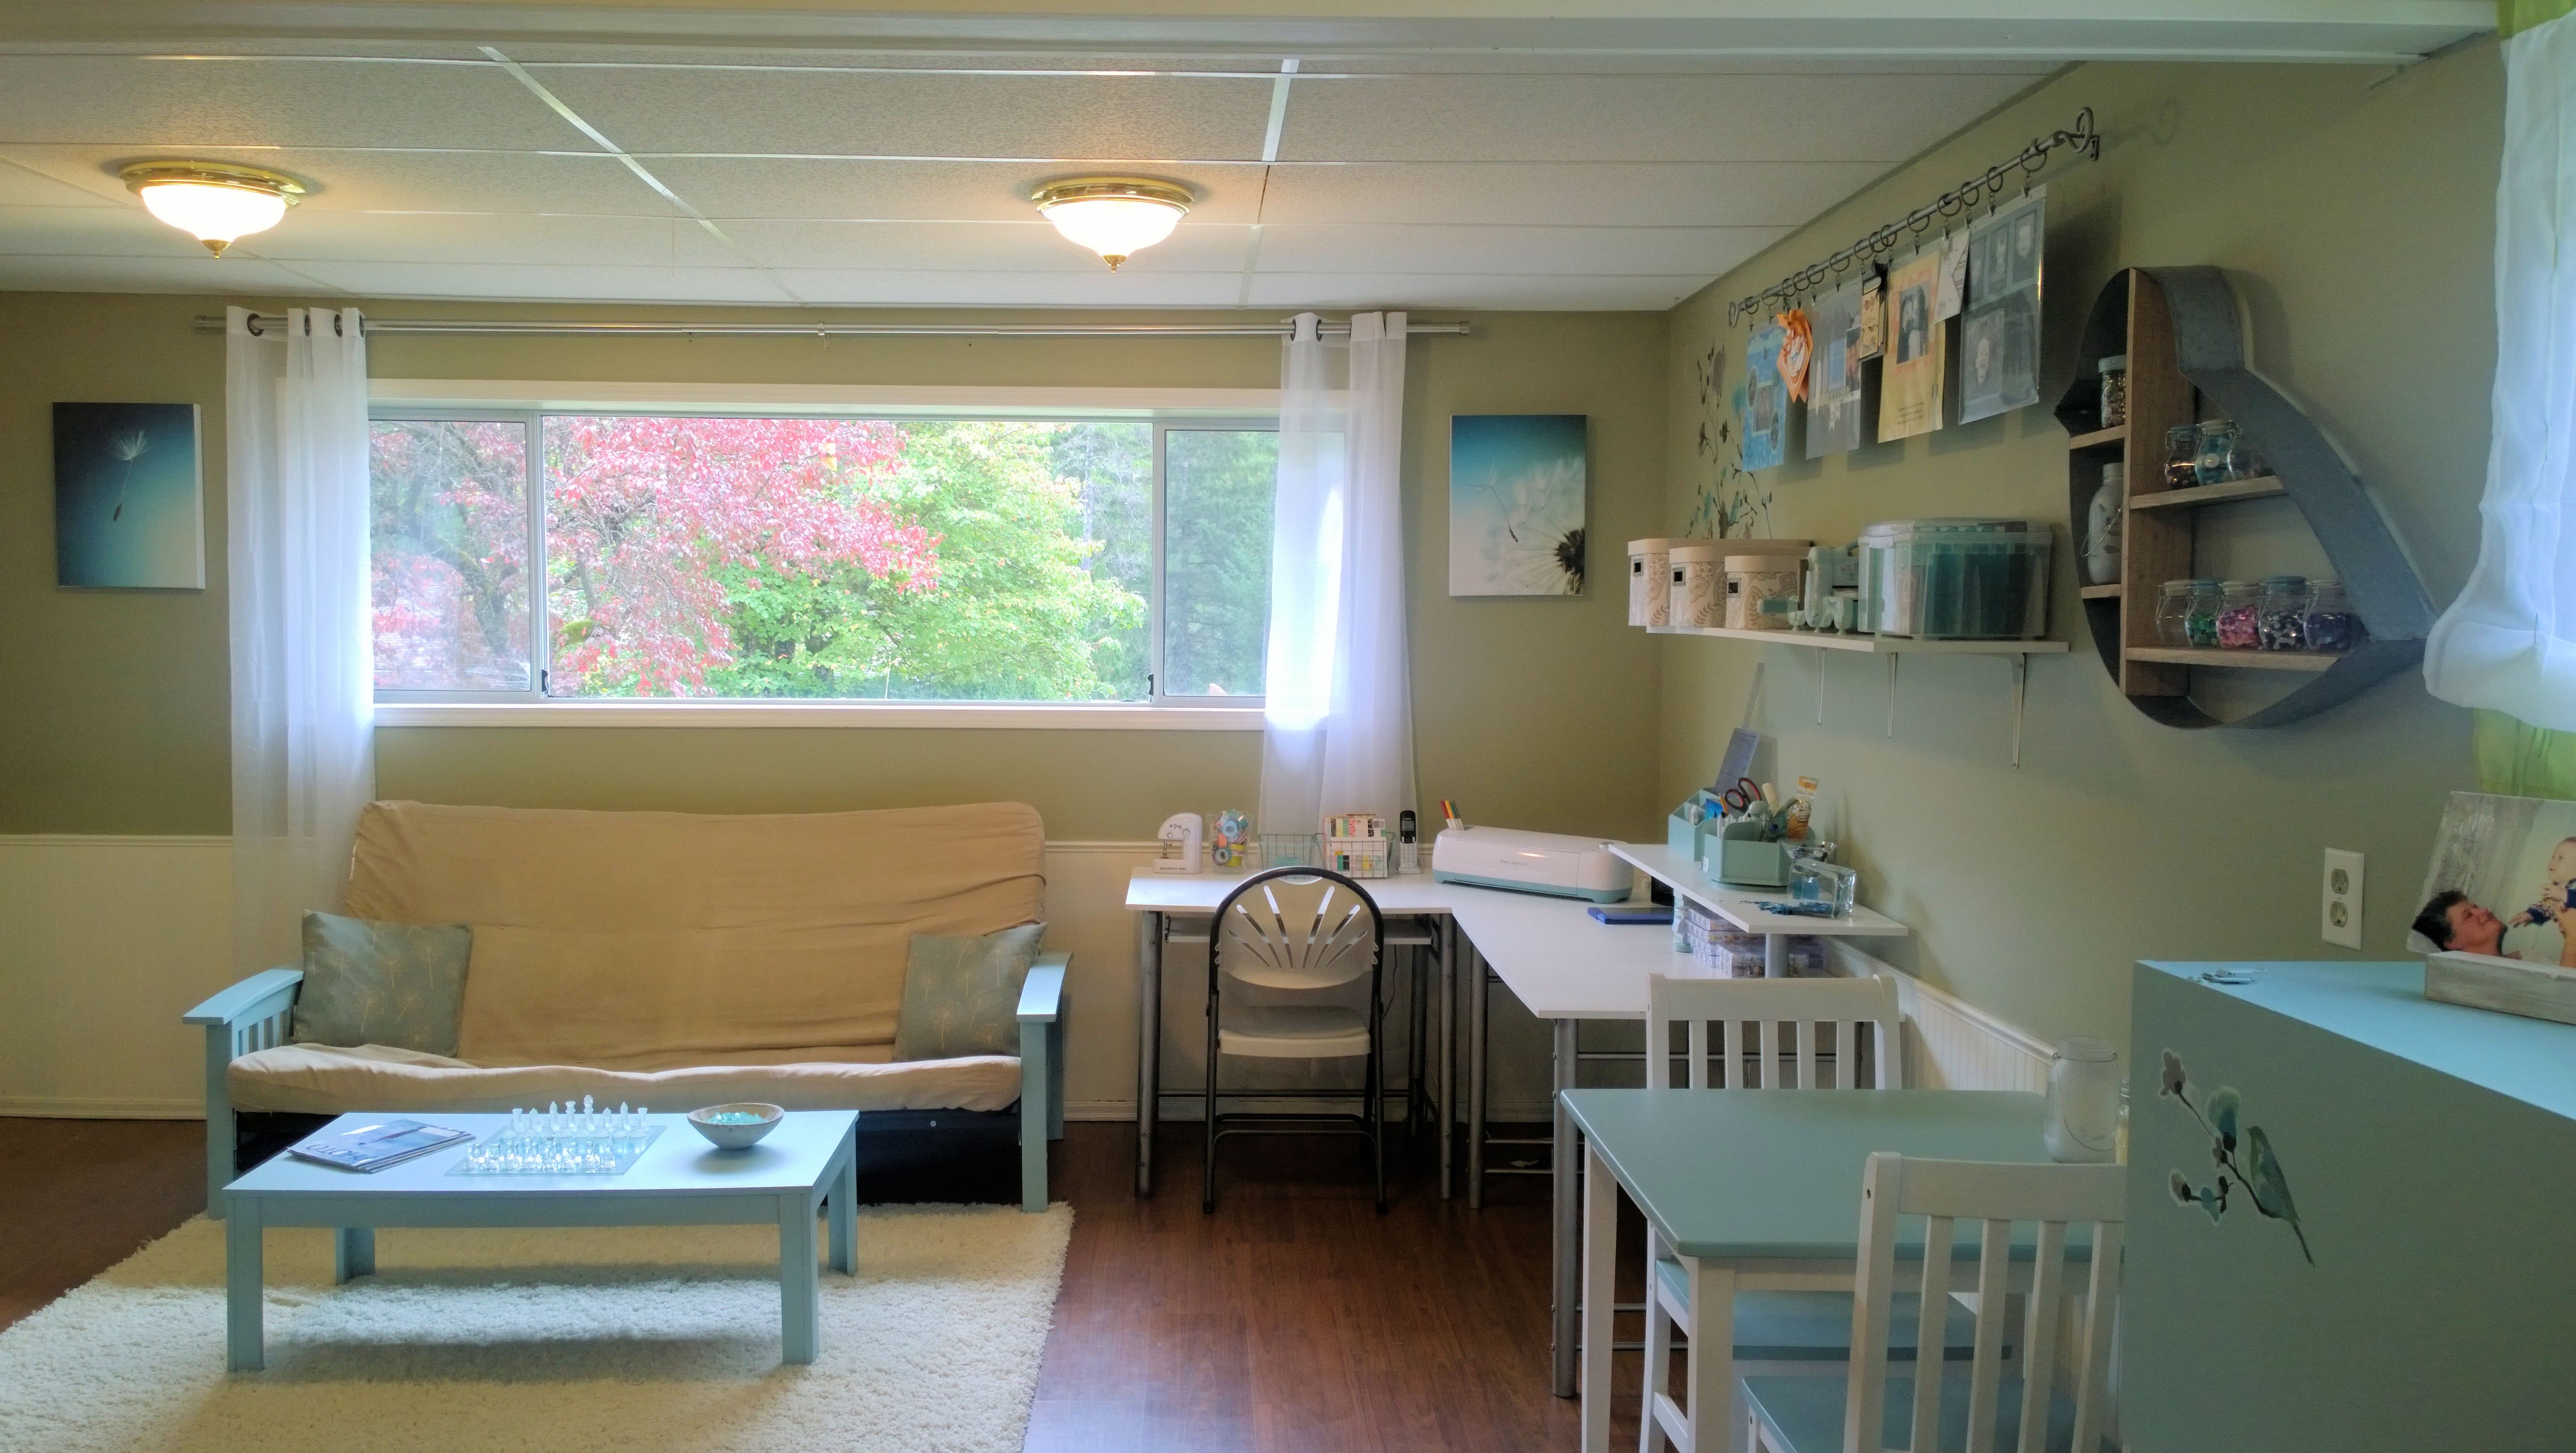
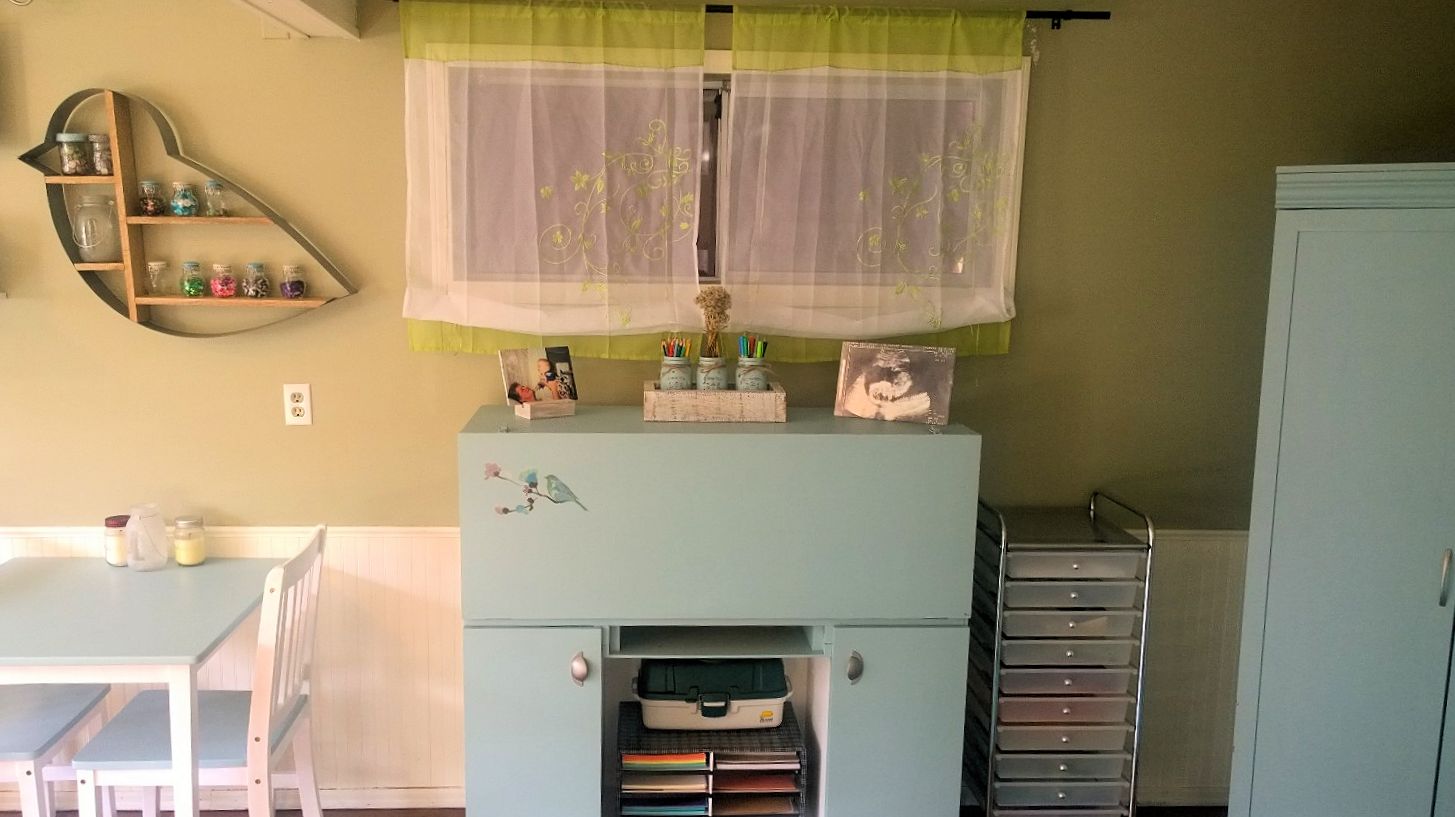
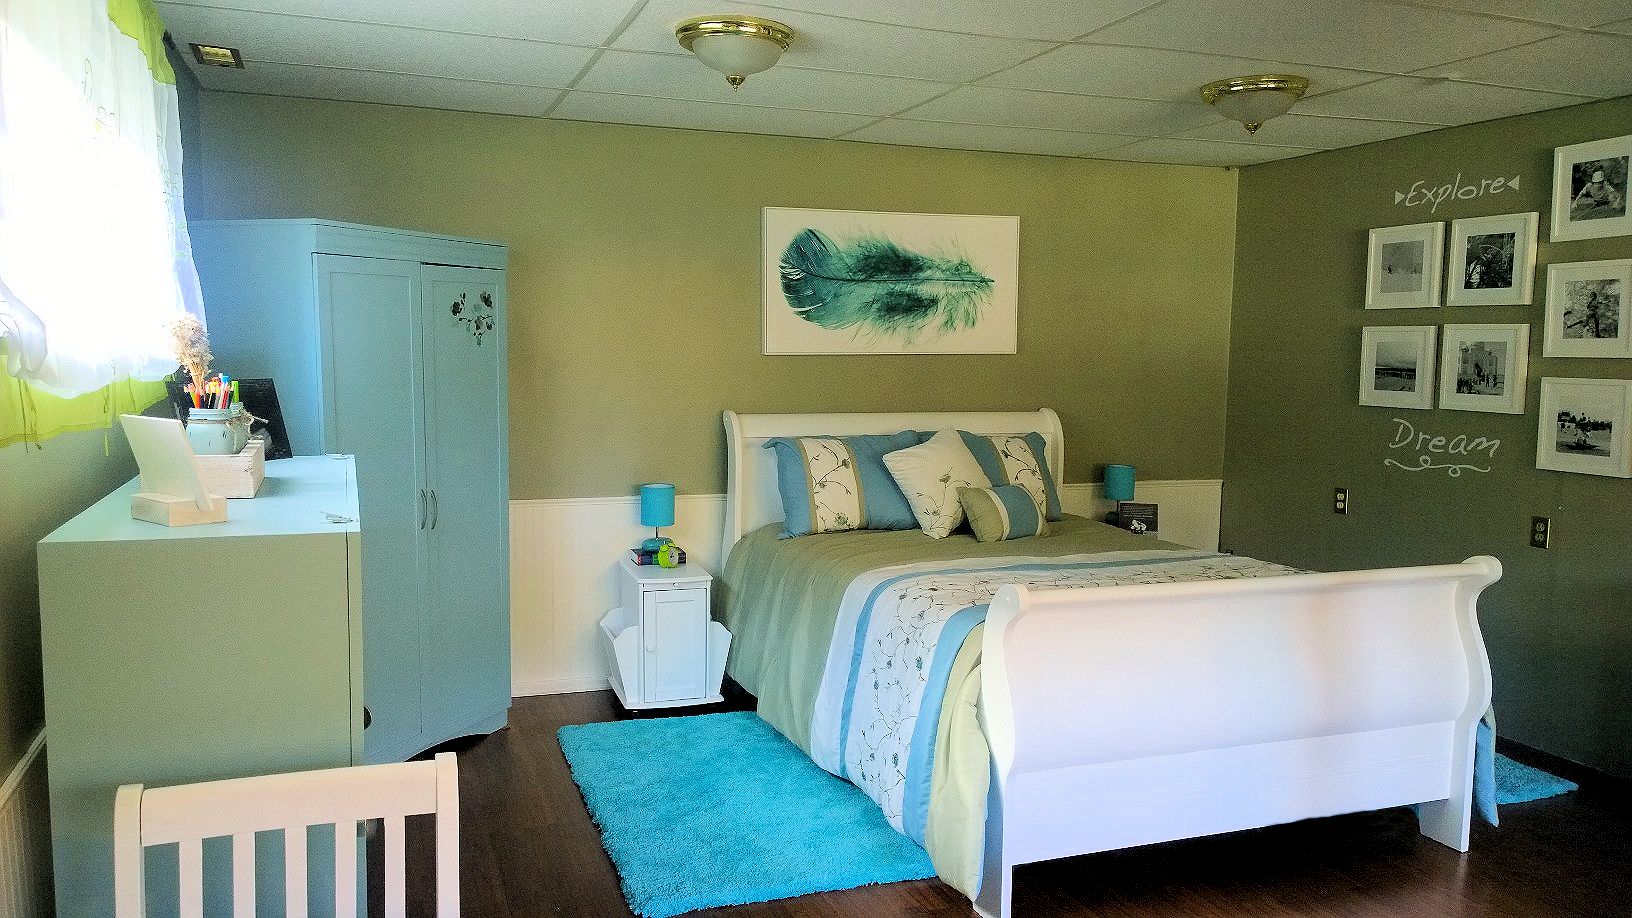
This is my happy place
Whether it’s to travel the world, go to university, or to work in a different town, I don’t think it’s easy for any parent when their kid leaves home. I miss my son terribly. With that said, I’m so proud of the young man he’s grown to be and with the help of Posterjack, this room I’ve created reminds me of all the adventures he’s had growing up. I love working in this room and seeing his smiling face looking back at me. When he comes home to visit, I think he’ll love staying in this room too. Scratch that, I know he’ll love staying in this room – after all, his mom terminated all the creepy-crawlies from under the bed, right?
Disclaimer: Although I work for Posterjack and the company generously provided me with everything I needed for this room makeover, all opinions are my own.

