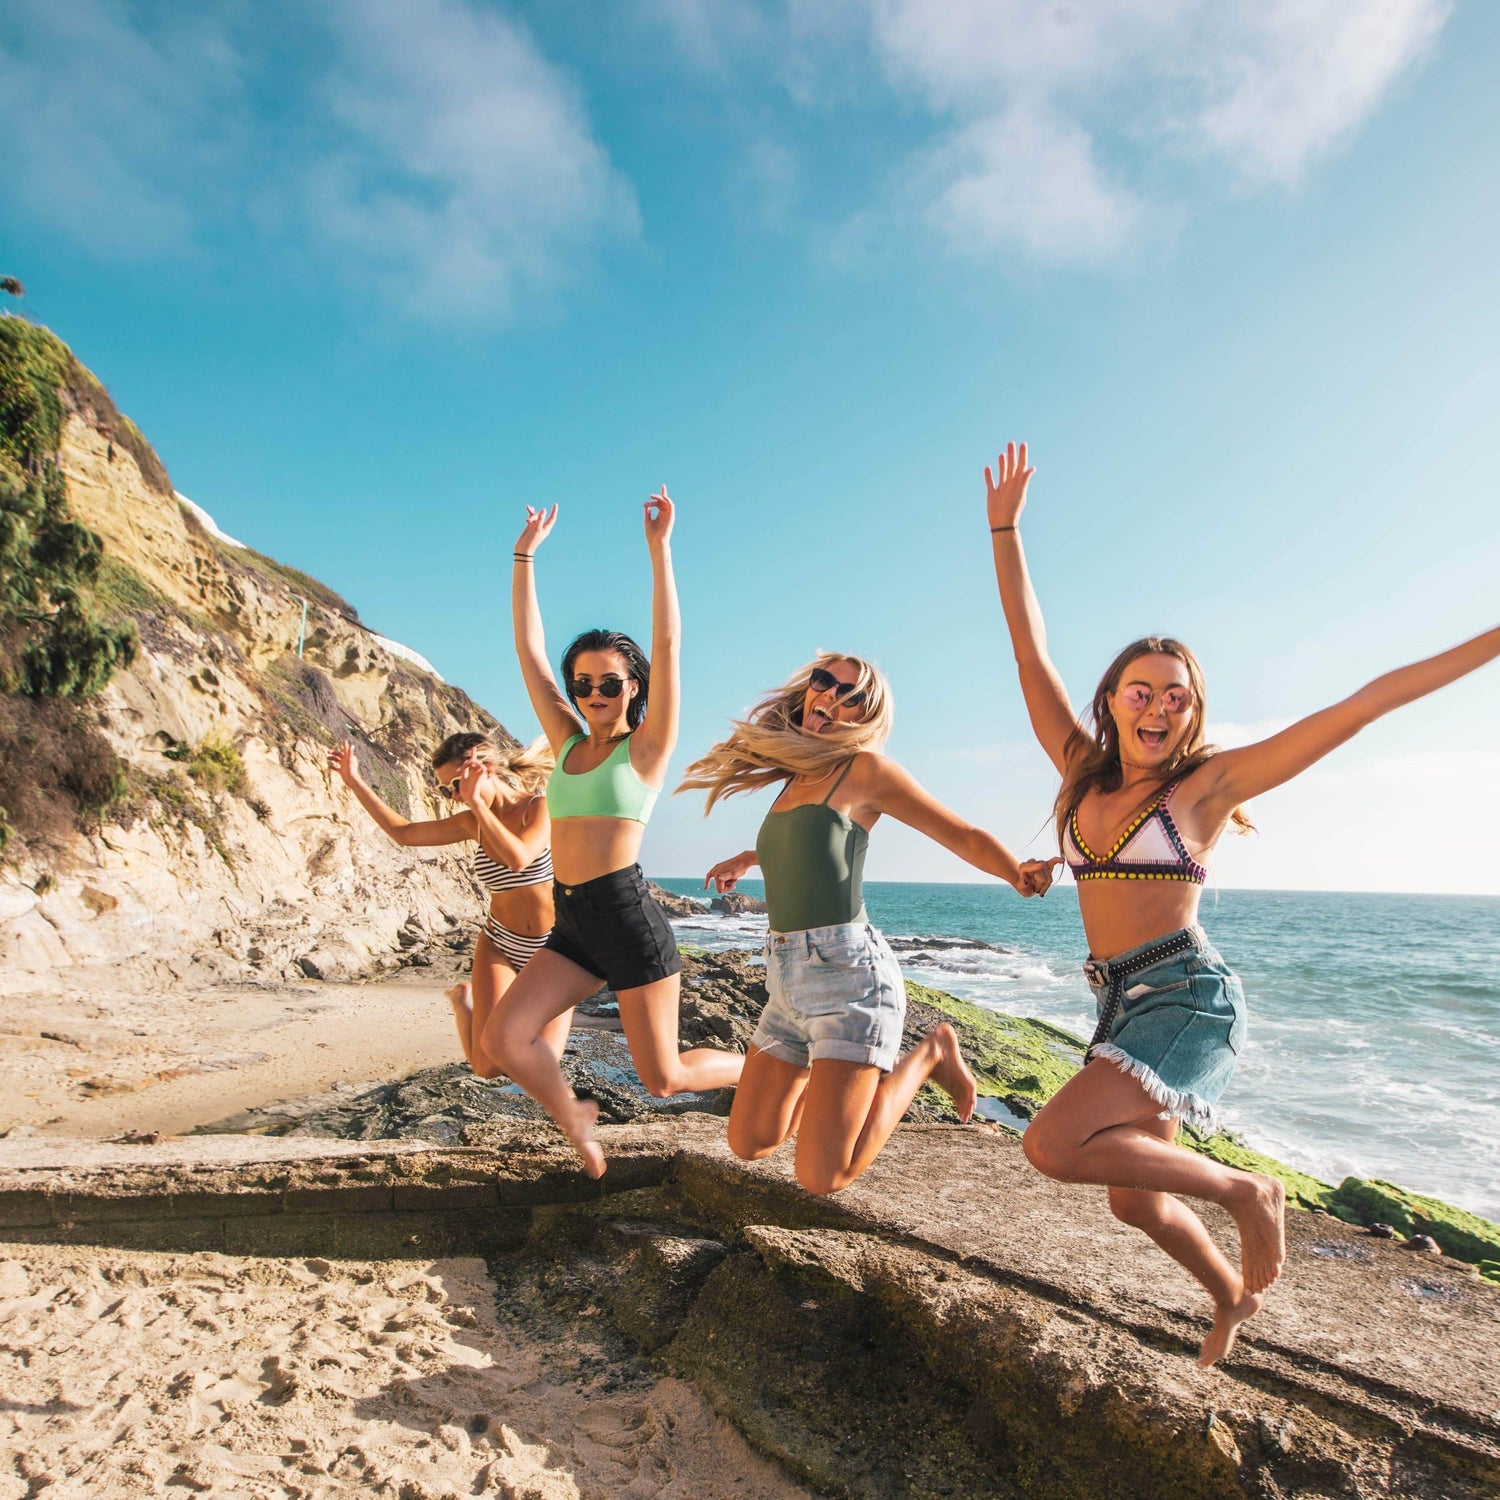
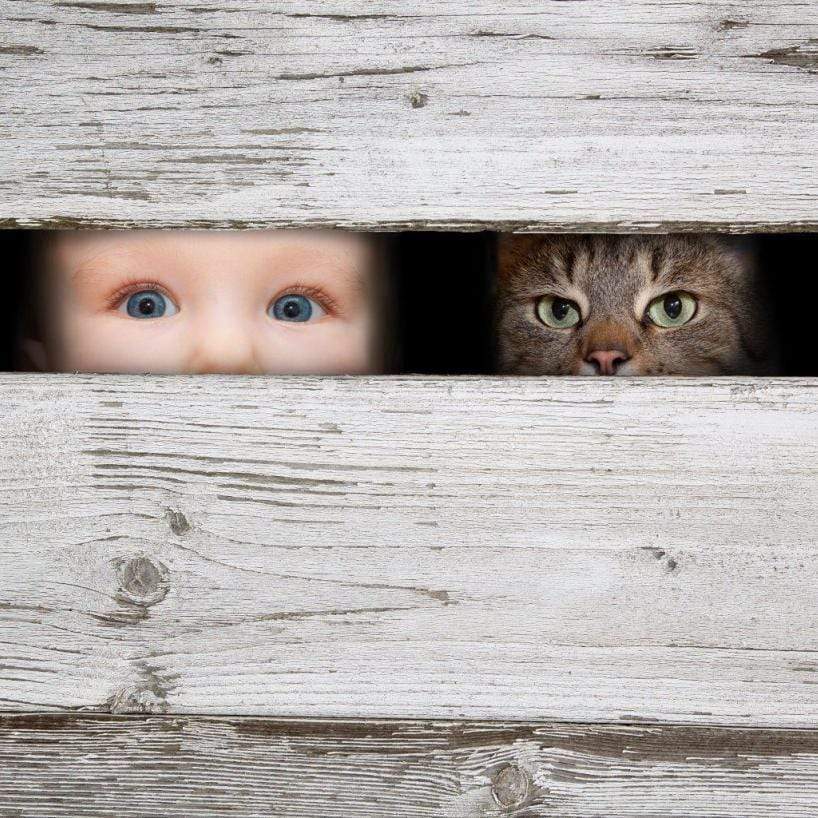
Capturing photographs of individuals can be challenging; photographing groups of people can be a nightmare. From little Billy picking his nose to your mother-in-law who always has her eyes shut, there are many obstacles that can get in your way. These group photography tips and techniques will help you get some keepers that are worthy of turning into photo art.
Posing Ideas
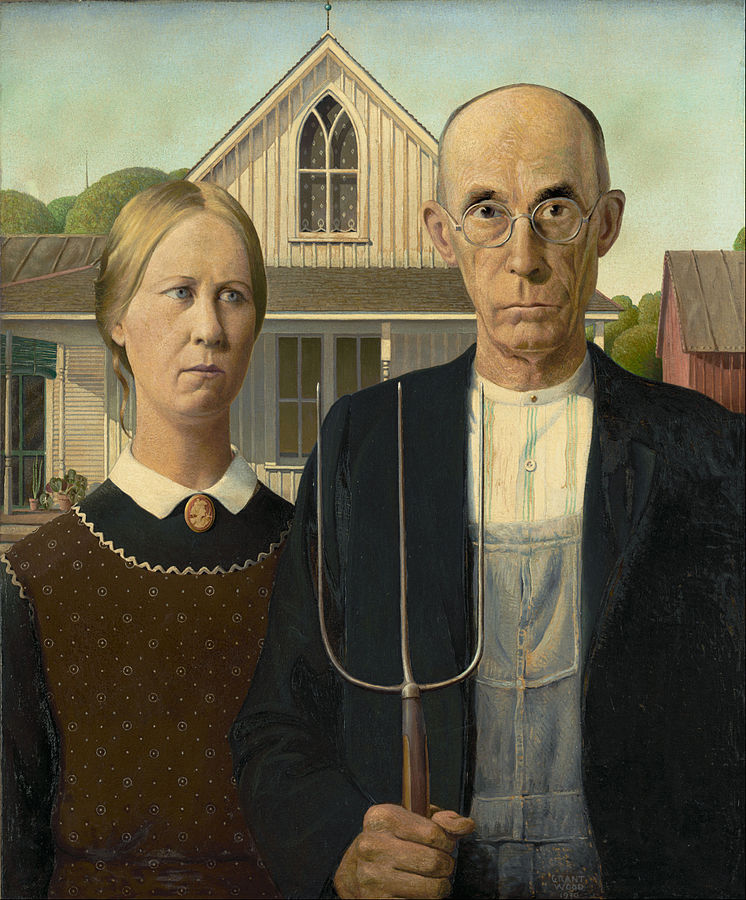
“Grant Wood – American Gothic – Google Art Project” by Grant Wood.
In order to avoid dull, lifeless, and what I like to call the typical “Pitchfork Family” group photos, it’s important to think outside the box and be creative. Here are a few ideas.
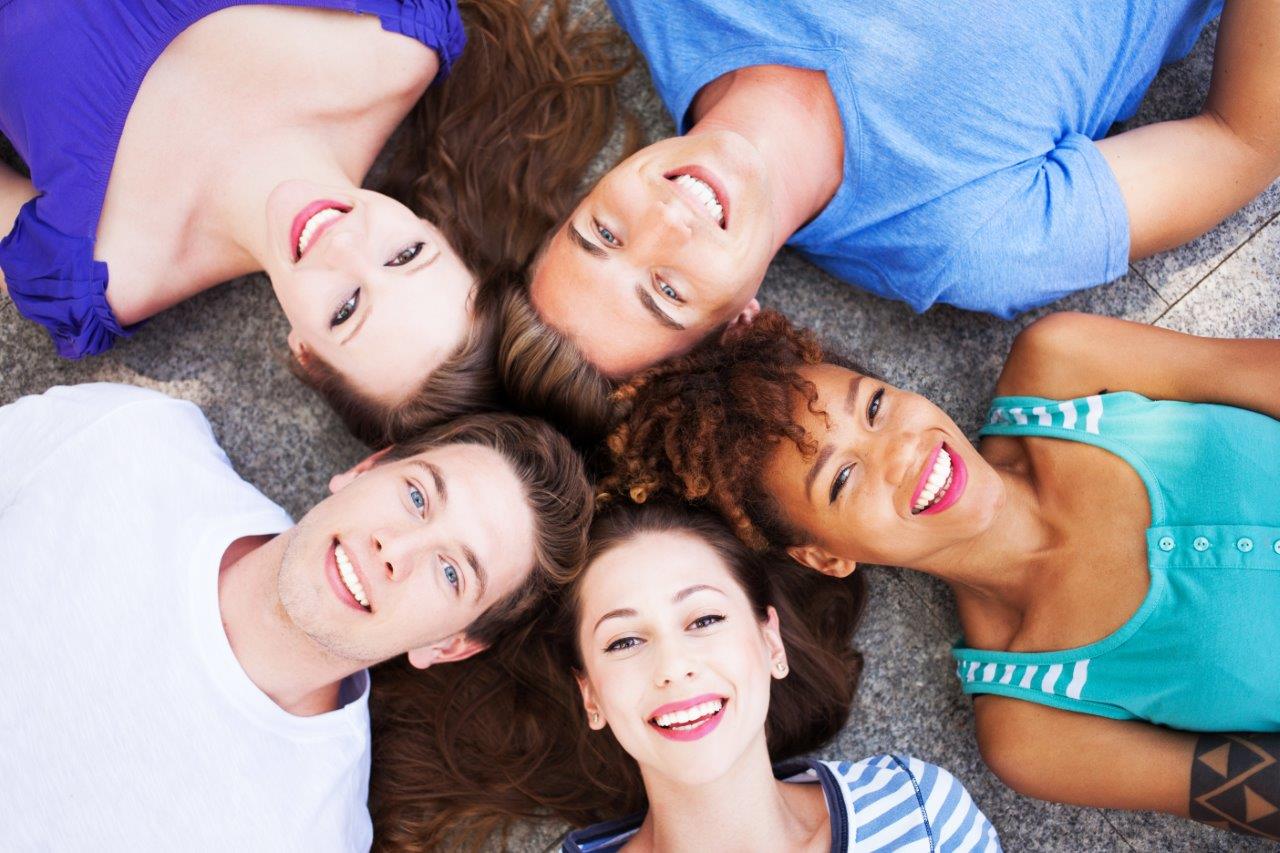
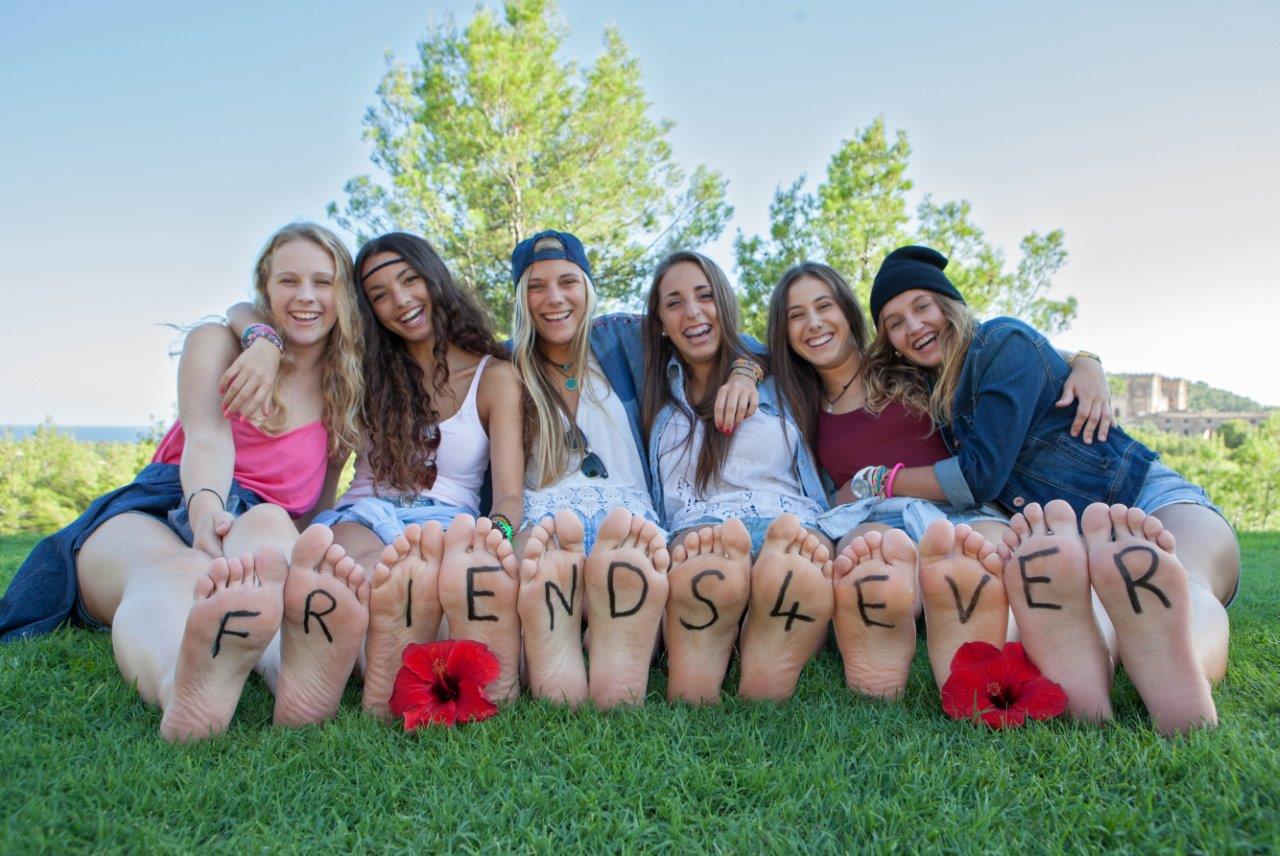
For a fun group photo that works well with kids and teenagers, have your group lay on the ground with their heads in a circle.
If you’re photographing a large group at a family reunion, wedding or other event, place the honorary subject(s) in the centre of your frame while positioning the rest of the group around them. So, for example, a great family reunion photo could consist of the grandparents seated in the middle of all the grandchildren; if it’s a wedding you’re photographing, position the wedding party around the bride and groom.

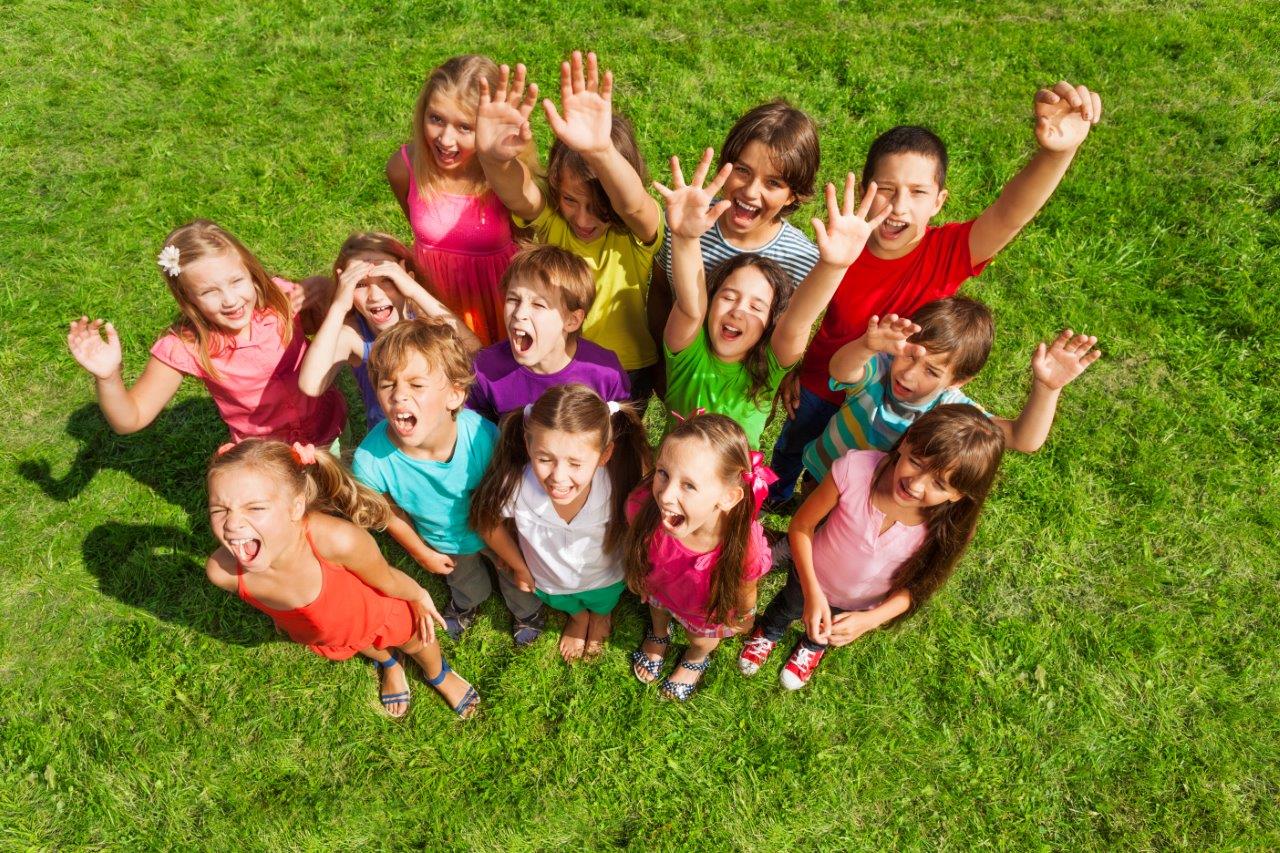
For a more original angle, group everyone as close together as possible and position yourself higher than they are—by standing on a ladder or table—so they need to look up towards you.
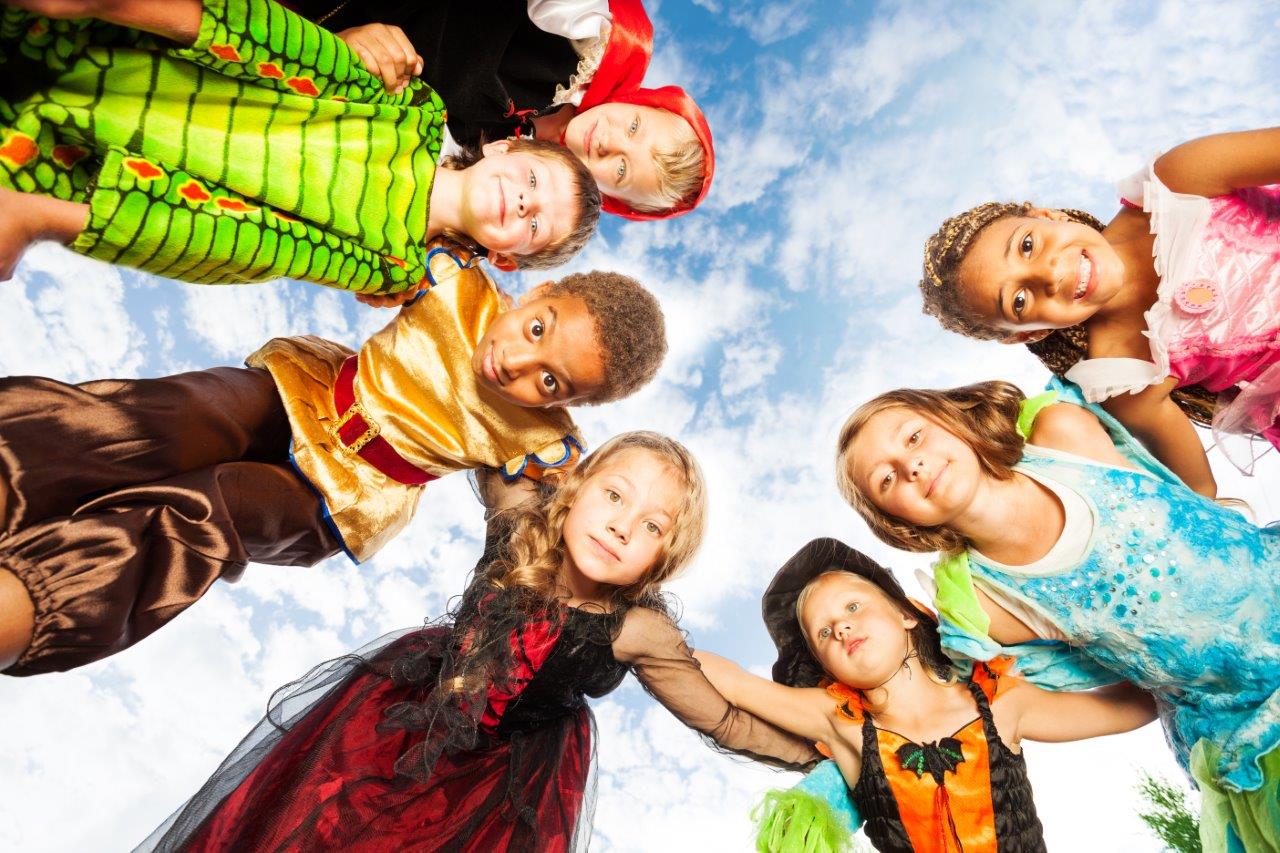
Conversely, you can position yourself so you’re lying on the ground and have the group gather around your camera so that they’re looking down.
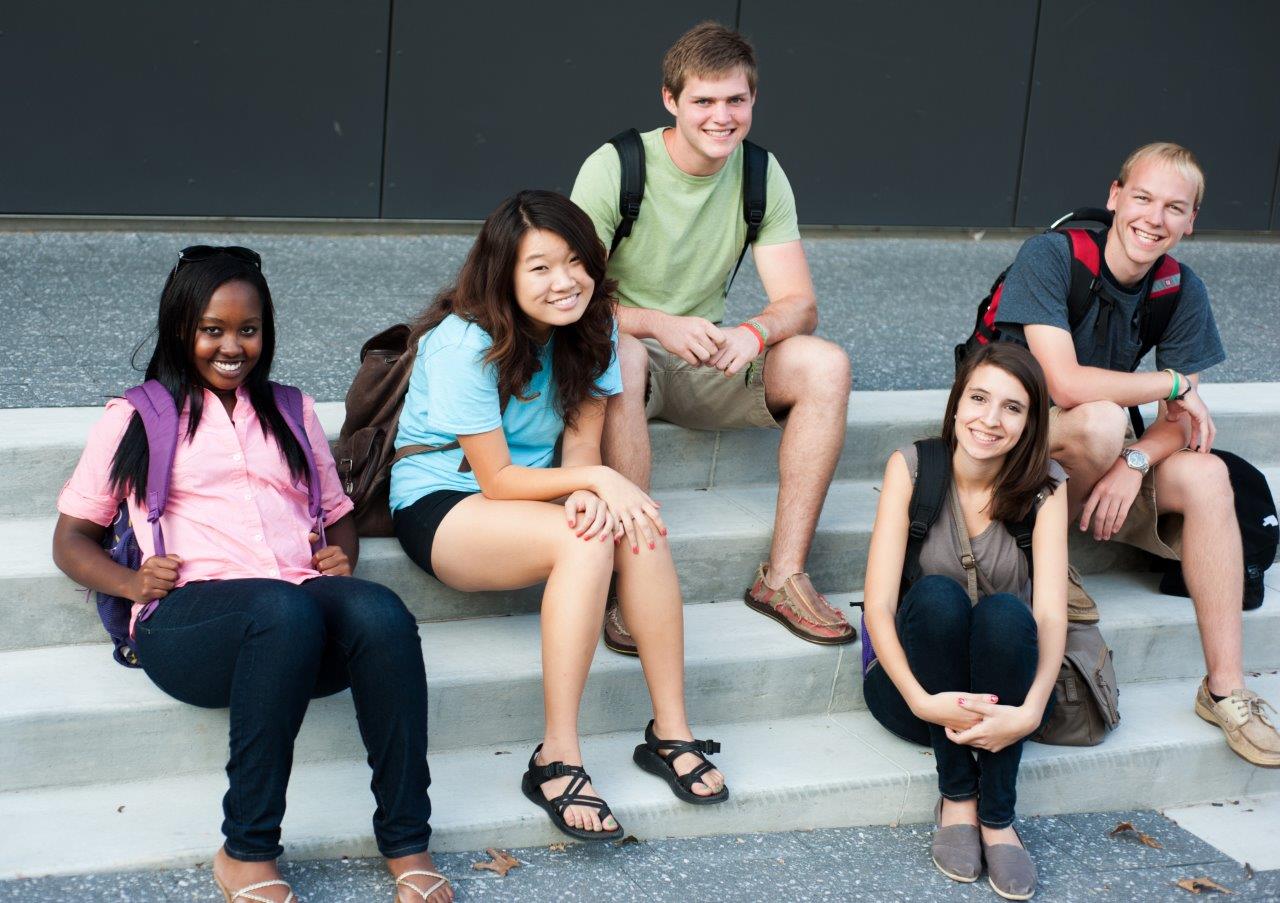
By positioning a couple of people on each step, utilizing stairs in group photos is a great way to add interest to your images. Although shooting from the bottom of the stairs produces great results, consider also shooting from the top with your subjects turning to look at you.
If you’re photographing a small family or group of friends, try “stacking” them for an interesting shot. Position one person behind another, with their elbows resting on the shoulders of the person in front of them.
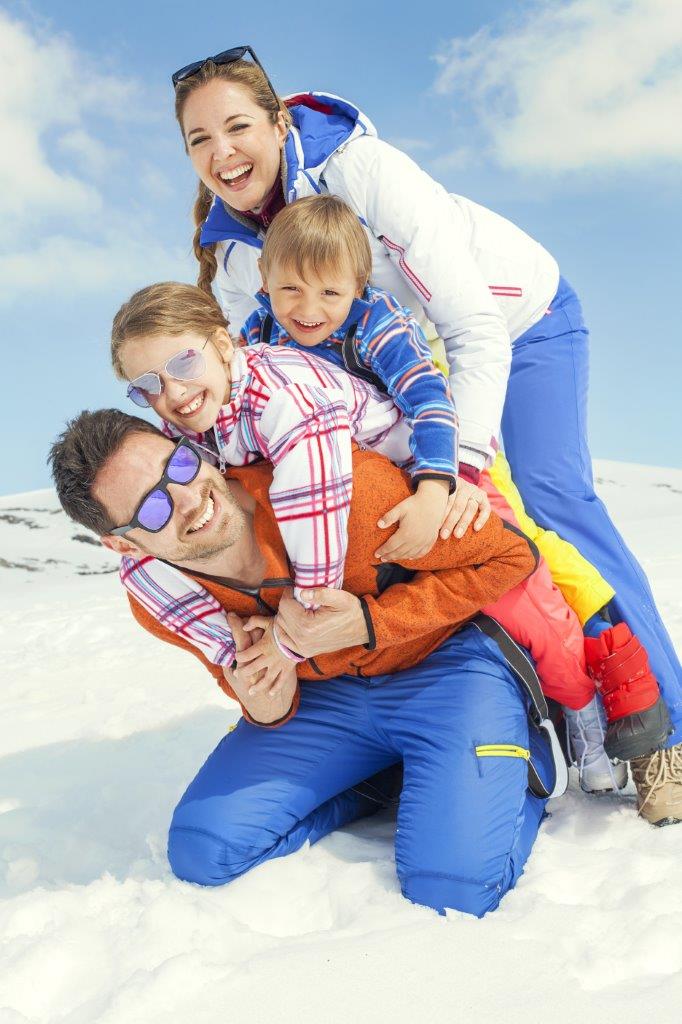

Composition Techniques
In order to keep everyone’s face in focus, position them as close together as possible. For larger groups, try to keep the group to no more than four rows or so deep; the more depth there is to your group, the more difficult it will be to keep all the faces in focus.
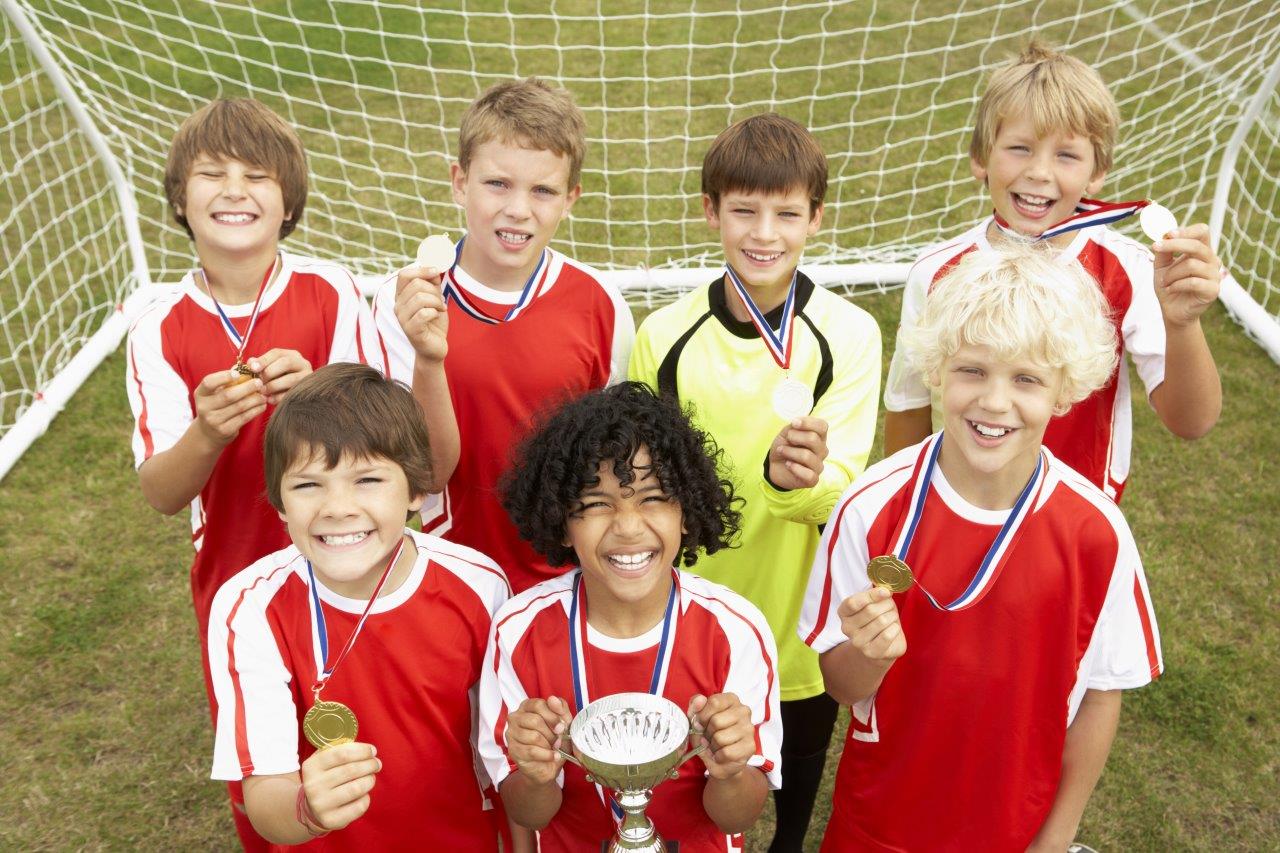
For a more interesting shot (and to eliminate the risk of your group looking like a firing squad), position the heads of your subjects so they aren’t all level. For smaller groups, pose them so there are in the shape of a triangle; larger groups can be positioned to form a diamond. You can also get your subjects to pose so their heads create an “M” or “W” shape.
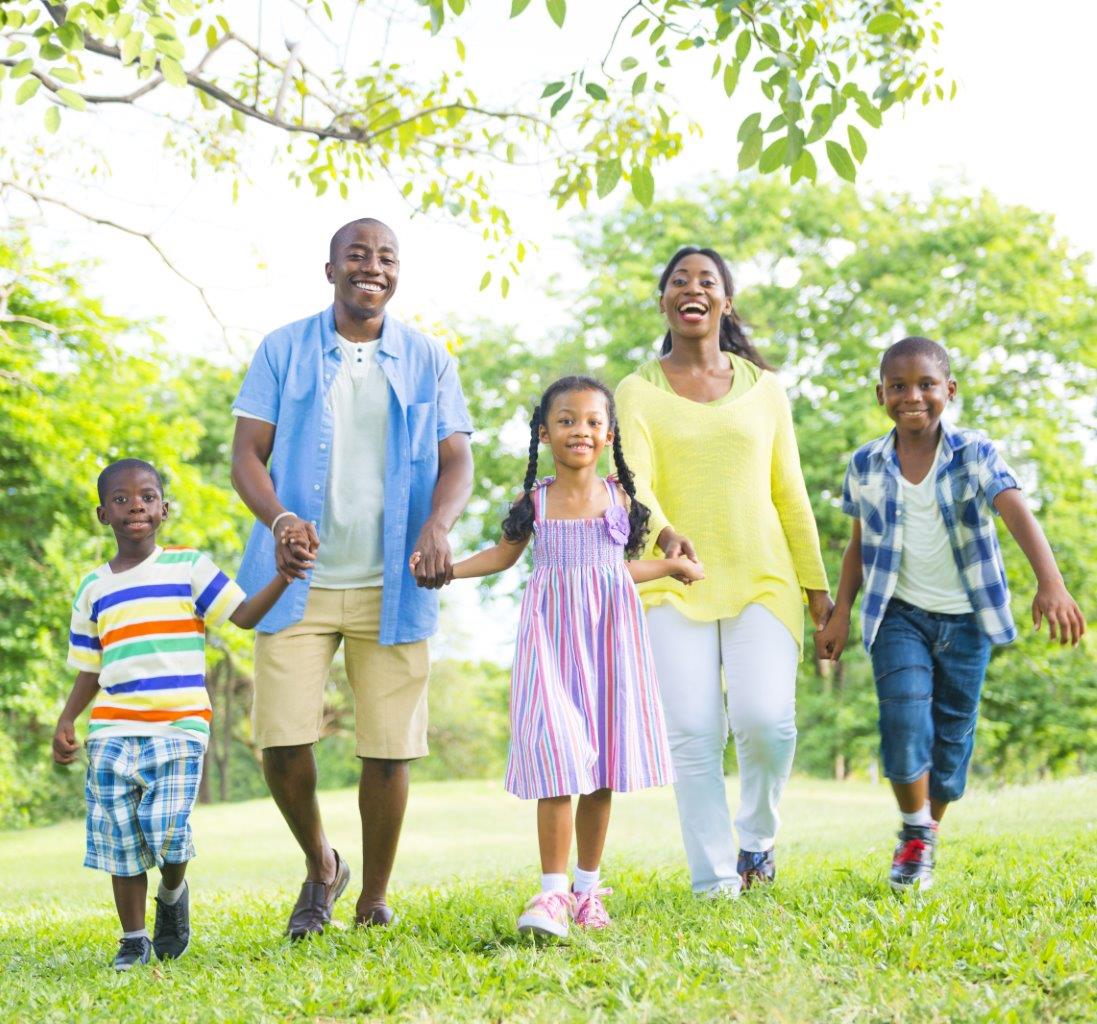
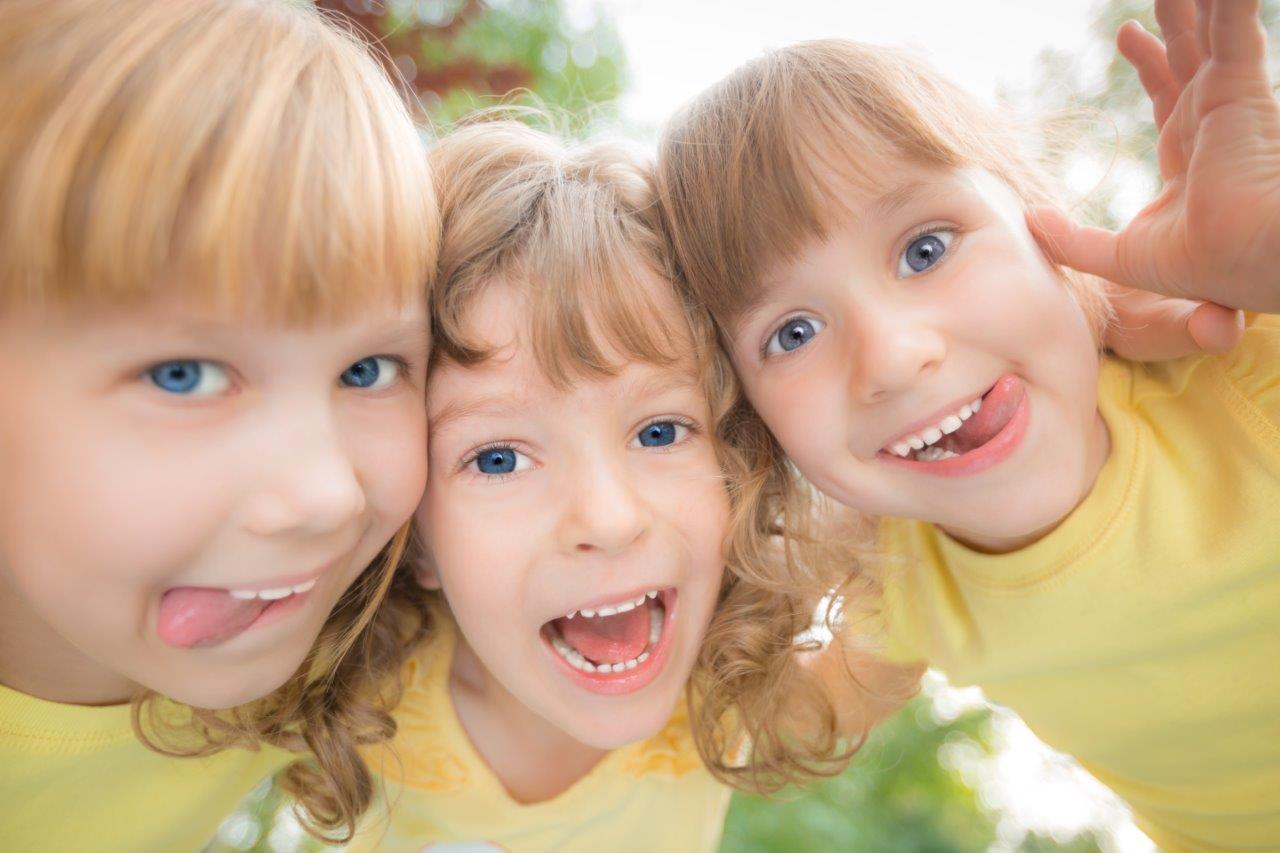
To capture as much detail and facial expressions as possible in smaller groups, get in close and fill your frame.
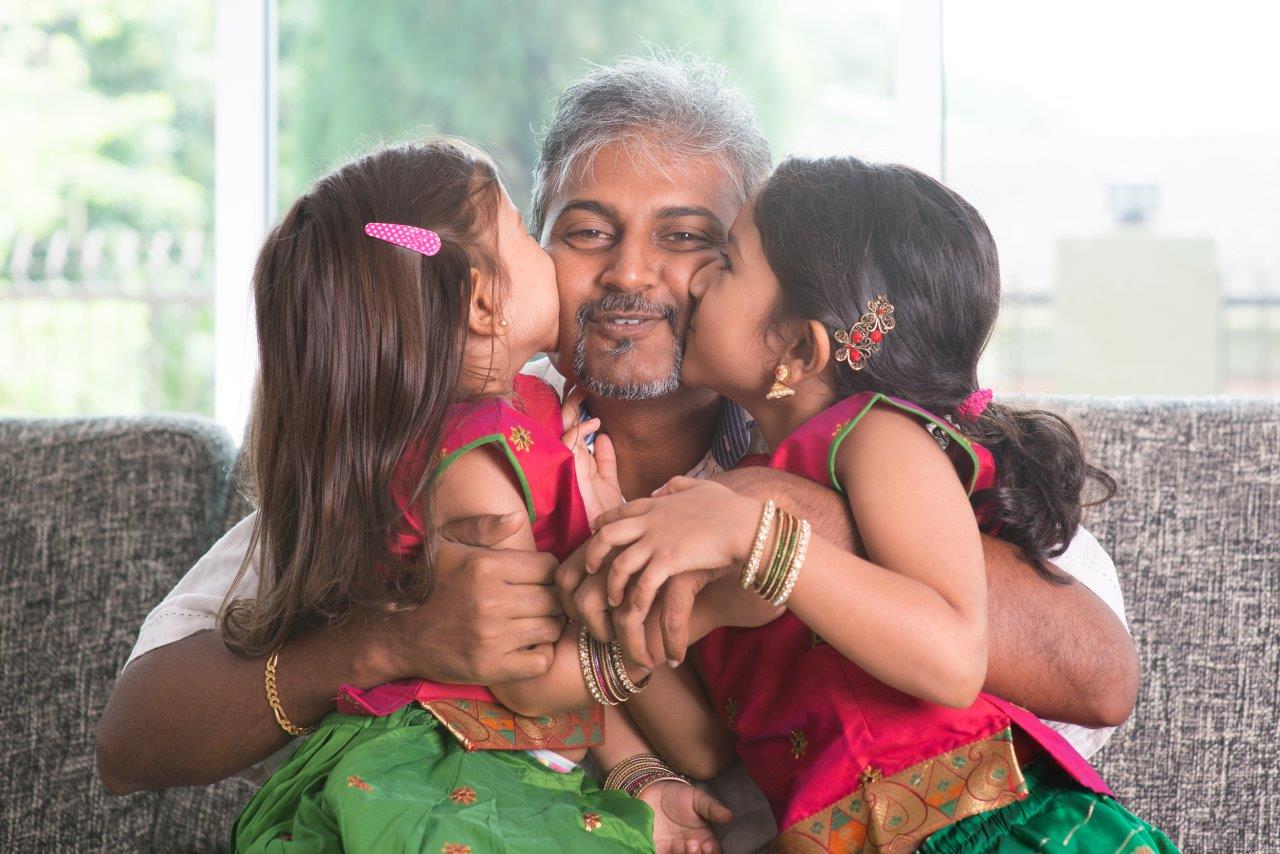
Remember that you don’t need your subjects to look directly at the camera. If you have the group posed around a single person, they can all be looking at that person. If you are photographing a small single-parent family, for example, you can have the parent looking at the camera while the children are kissing him/her on the cheeks.
Lighting Advice
When composing your subjects, try to incorporate natural light as much as possible and reduce the need to use artificial lighting and flashes. Shooting outdoors on a cloudy day is perfect, as the clouds offer diffused light that won’t cast harsh shadows over the faces of your group, as the sun would do. If you’re stuck shooting on a sunny day, try to place your group in the shade of a tree or large building. If you have control over the time of day when you’ll be shooting, aim for early morning or just before the sun sets, as the lighting at these times are more desirable.
Timing the Shots
For best results, capture your group photos near the beginning of the get-together when people are still looking their best, aren’t too hungry just before a meal (smaller children are next to impossible to capture decent photos of if they’re hungry and grumpy!), or too tipsy towards the end of the event.

Additional Tips
Here are a few more group photography tips and techniques to take with you:
- Tell everyone you’ll be shooting on three, but really press the shutter button on two. Doing so will often provide photos with people looking more natural and they are less likely to be blinking on two and don’t yet have the fake cheesy smile on their faces.
- To help avoid red-eye, raise your hand near the camera and ask the group to look at that, rather than directly at the camera.
- To avoid double-chins, ask your group to raise their heads slightly.
- Take more photos than you think you’ll need and consider shooting in “Continuous Burst” mode. By capturing several images in a row, you give yourself the option to later edit the images to where you can cut the head from one shot and paste it in another in order to get everyone smiling or, at least, all have their eyes open.
Do you have special techniques you follow when photographing groups of people? Leave a comment to share your tips!
